
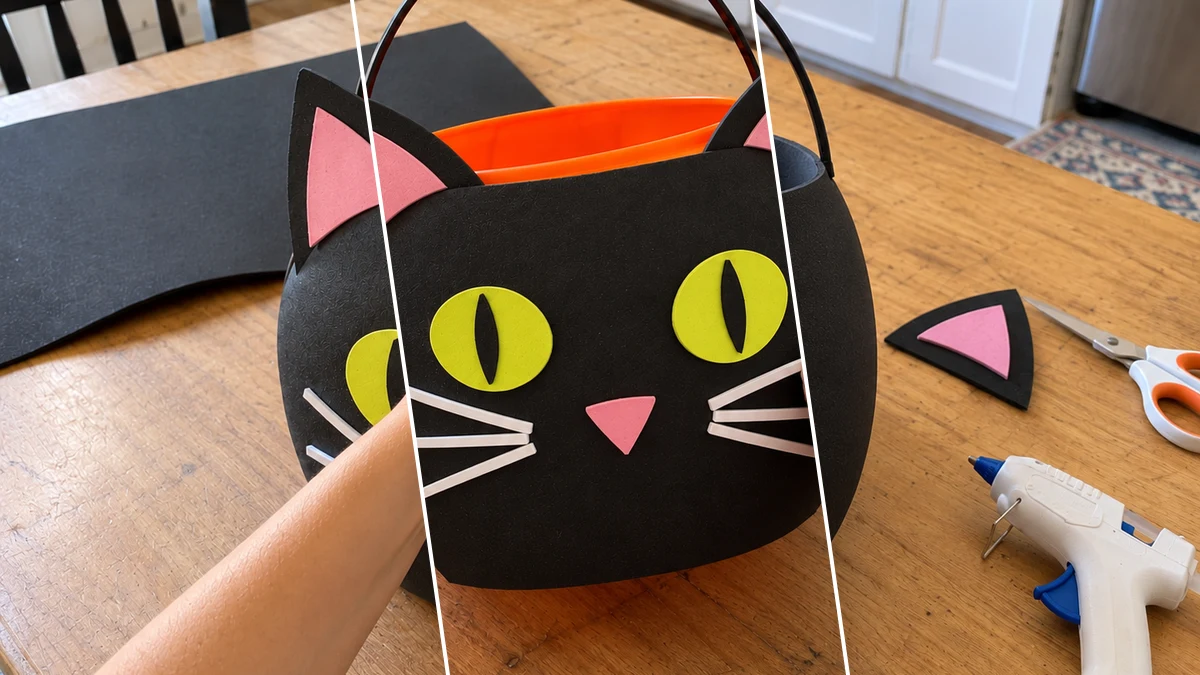
Create a friendly black cat trick-or-treat bucket for Halloween with this DIY guide. This craft transforms a basic orange pumpkin pail into a charming feline companion using craft foam. It's an easy way to customize a candy collection container for the spooky season.
Project at a Glance
- Difficulty: Easy
- Estimated active time: 45 minutes (drying and curing waits not included)
- Estimated component cost: $2.5 to $4 (reusable tools and general supplies excluded)
- Main material: Foam
- Suggested placement: Entryway
Why Make a Black Cat Trick-or-Treat Bucket?
A custom black cat trick-or-treat bucket offers a unique touch to Halloween celebrations. This project allows for personalization beyond standard store-bought containers, providing a friendly and whimsical way to collect candy. It also serves as a charming piece of seasonal decor for an entryway or porch during the fall.
This craft is designed to be accessible for beginner crafters and families, with adult supervision for hot glue use. Utilizing readily available craft foam and an existing pumpkin pail, it transforms an ordinary item into a characterful accessory. The finished bucket features distinct black ears, yellow-green eyes, a pink nose, white whiskers, and a small decorative bow.
Materials for DIY Black Cat Foam Trick-or-Treat Bucket for Halloween Candy
- Orange Plastic Pumpkin Pail
- Black Craft Foam Sheets
- Assorted Craft Foam Scraps (Yellow-Green, Pink, White)
- Hot Glue Gun and Glue Sticks
- Scissors
- Pencil
Need another material? Browse current craft supplies and deals.
Crafting Your Black Cat Trick-or-Treat Bucket
Follow these steps to transform an orange pumpkin pail into a delightful black cat bucket. This easy project uses craft foam and hot glue to build the cat's features. The estimated active time for this craft is 45 minutes, excluding unattended drying and curing.
Step 1: Cover the Pumpkin Pail
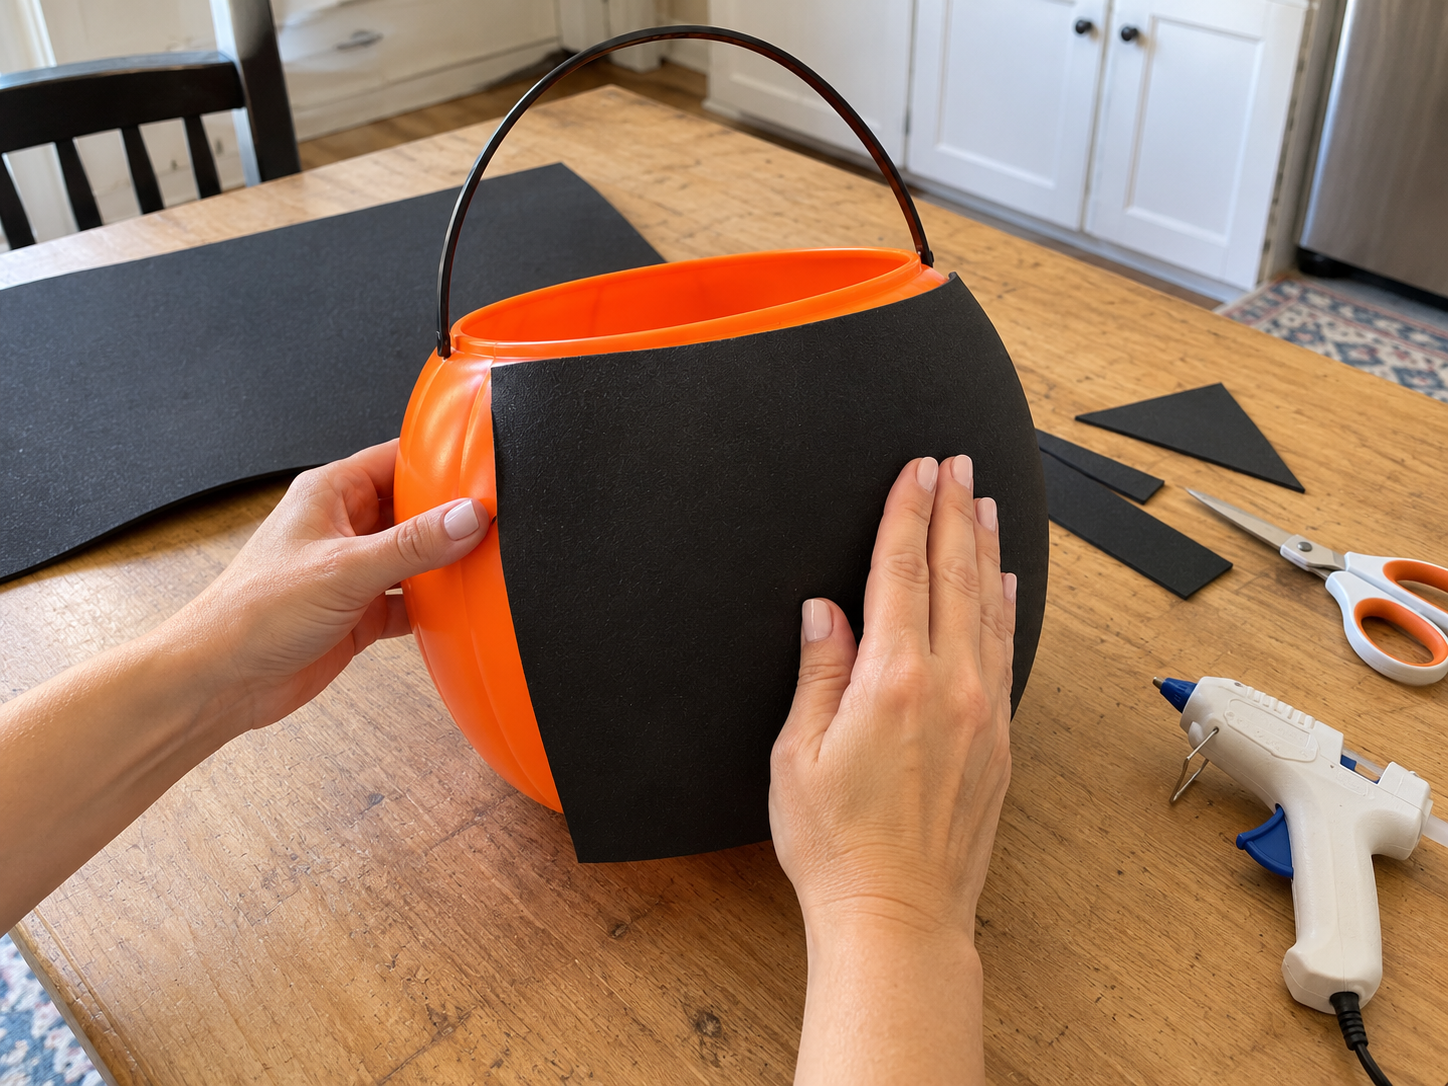
The first step is to completely cover the orange pumpkin pail with black craft foam to create the cat's body. Measure and cut large sections of black foam that can be wrapped around the curved surface of the pail. Use hot glue to secure the foam, starting from the back or bottom and working your way up and around, ensuring a smooth, tight fit without visible orange showing through. Trim any excess foam neatly around the rim, leaving the original handle free.
Step 2: Create and Attach the Ears
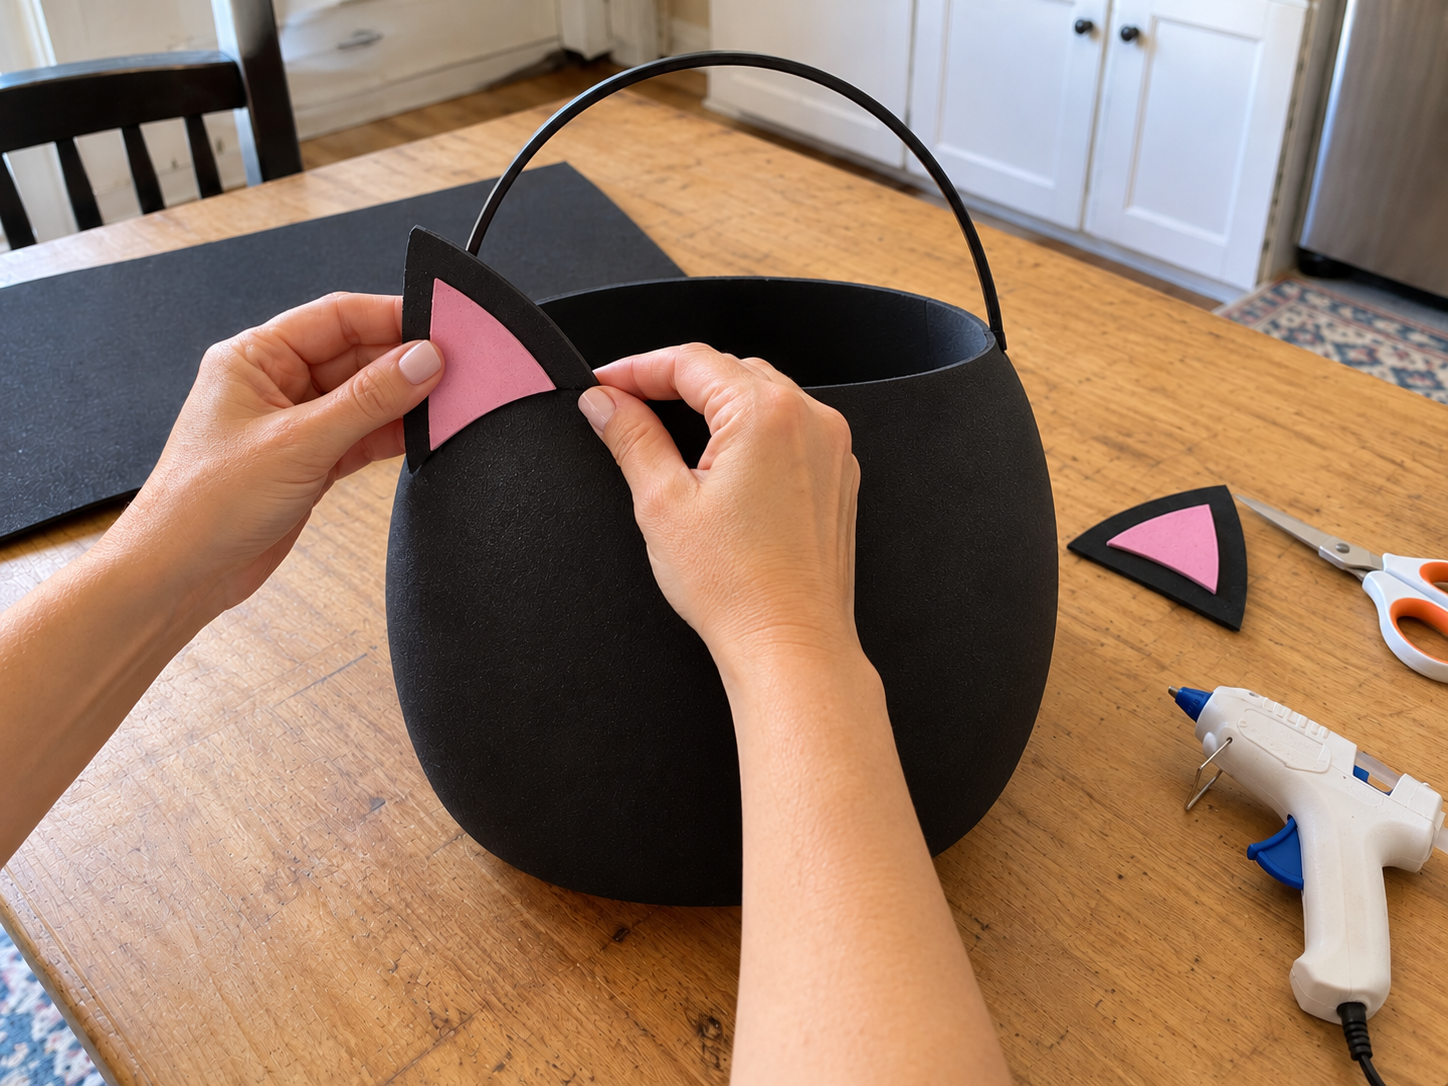
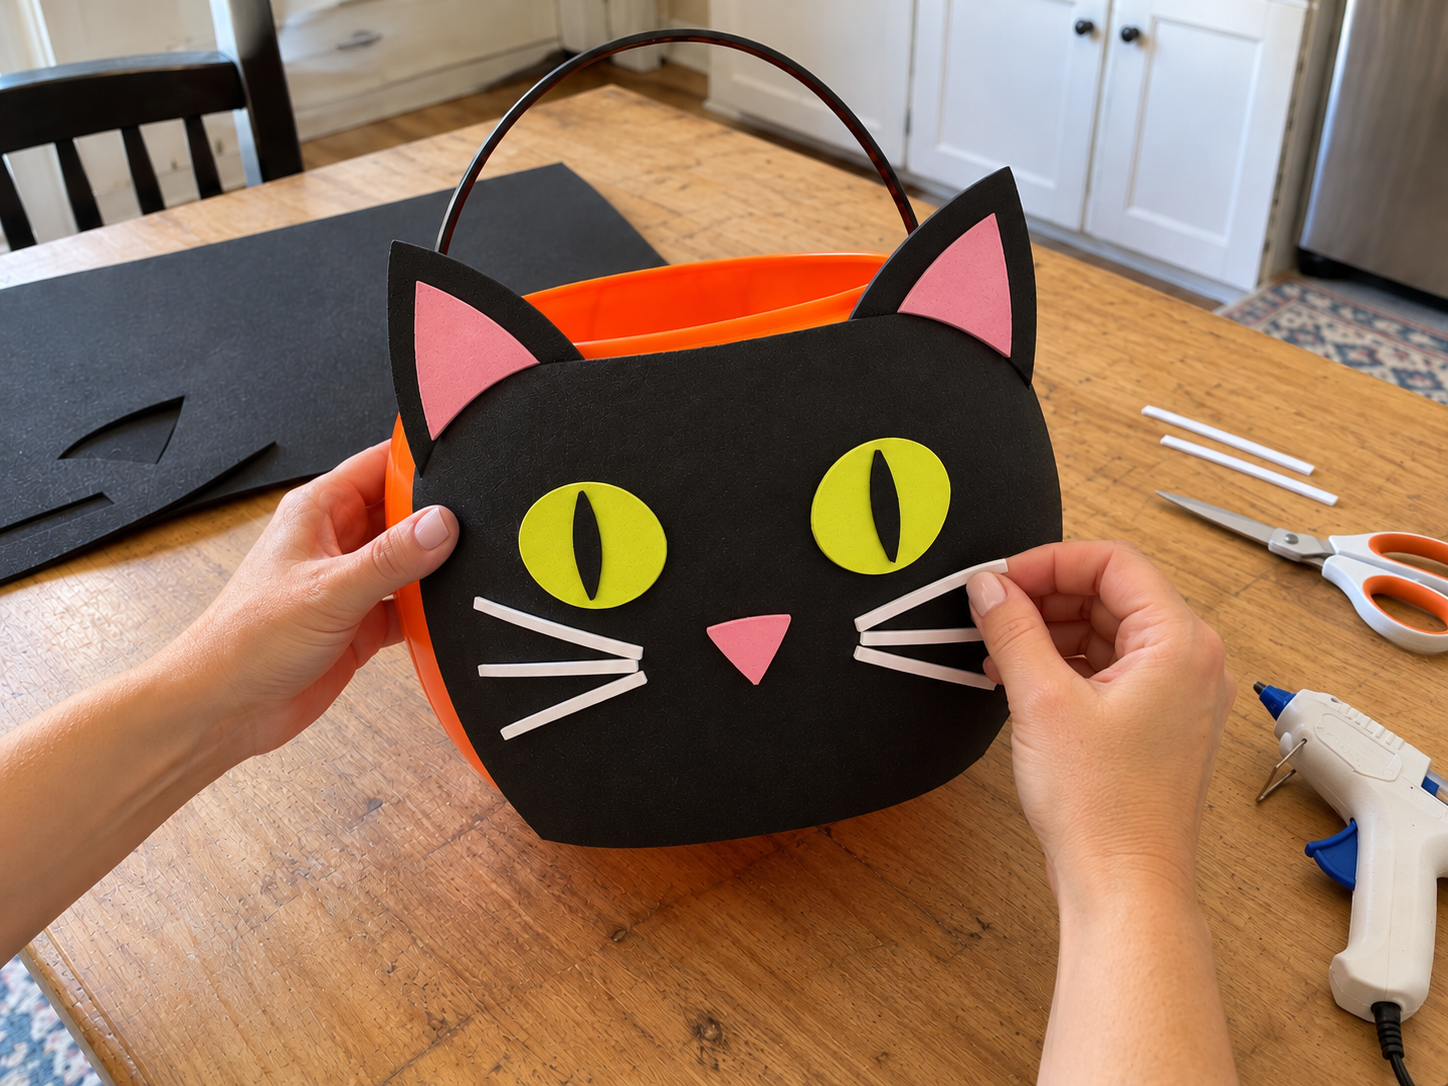
Draw two identical pointed ear shapes onto a black foam sheet and cut them out. For the inner ears, draw smaller, slightly narrower pointed shapes onto pink foam scraps and cut them out. Glue the pink inner ear pieces onto the center of the black ear shapes. Once assembled, use hot glue to attach the finished ears to the top rim of the black-covered pumpkin pail, positioning them slightly behind the handle and equidistant from the center.
Step 3: Add the Eyes
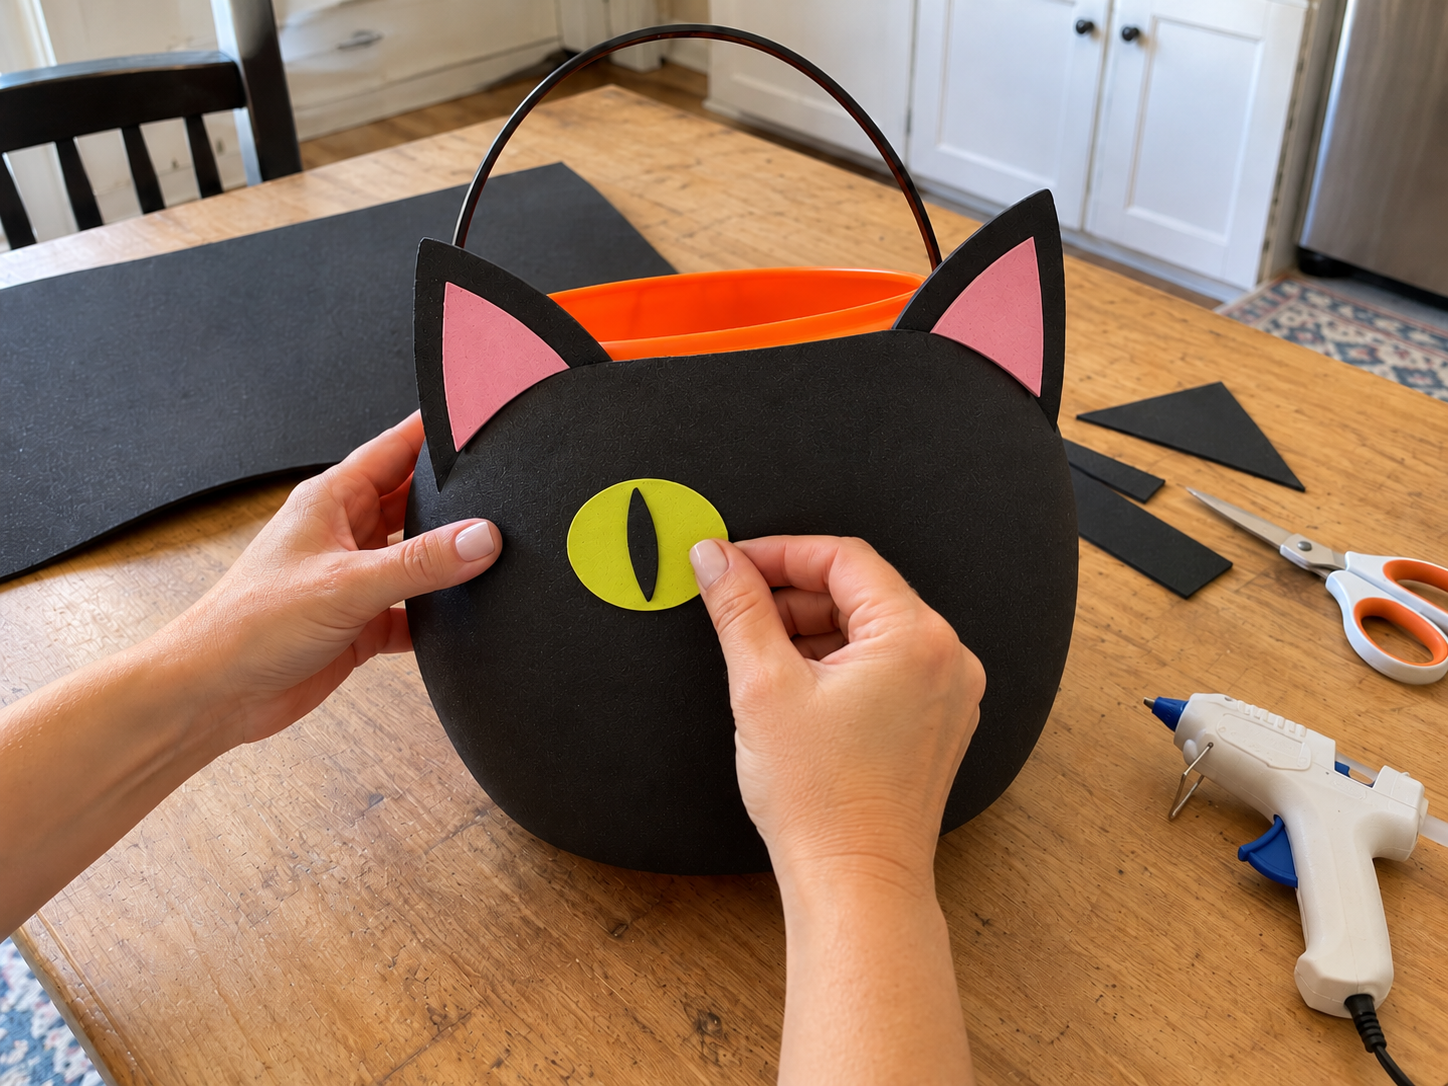
From yellow-green foam scraps, cut out two identical oval or slightly rounded-rectangle shapes for the cat's eyes. Then, cut two smaller, thin black foam ovals or slits for the pupils. Carefully glue the black pupils onto the center of the yellow-green eye shapes. Position and hot glue the finished eyes onto the front of the black-covered pail, ensuring they are centered and evenly spaced to give the cat a symmetrical face.


Step 4: Craft the Nose and Whiskers
Cut a small, neat pink triangle from pink foam scraps for the nose. For the whiskers, cut six thin strips of white foam, approximately 1.5-2 inches long. Carefully glue the pink triangle nose centered below the eyes. Then, arrange and hot glue three white whisker strips on each side of the nose, fanning them out slightly for a natural look.
Step 5: Add a Decorative Bow
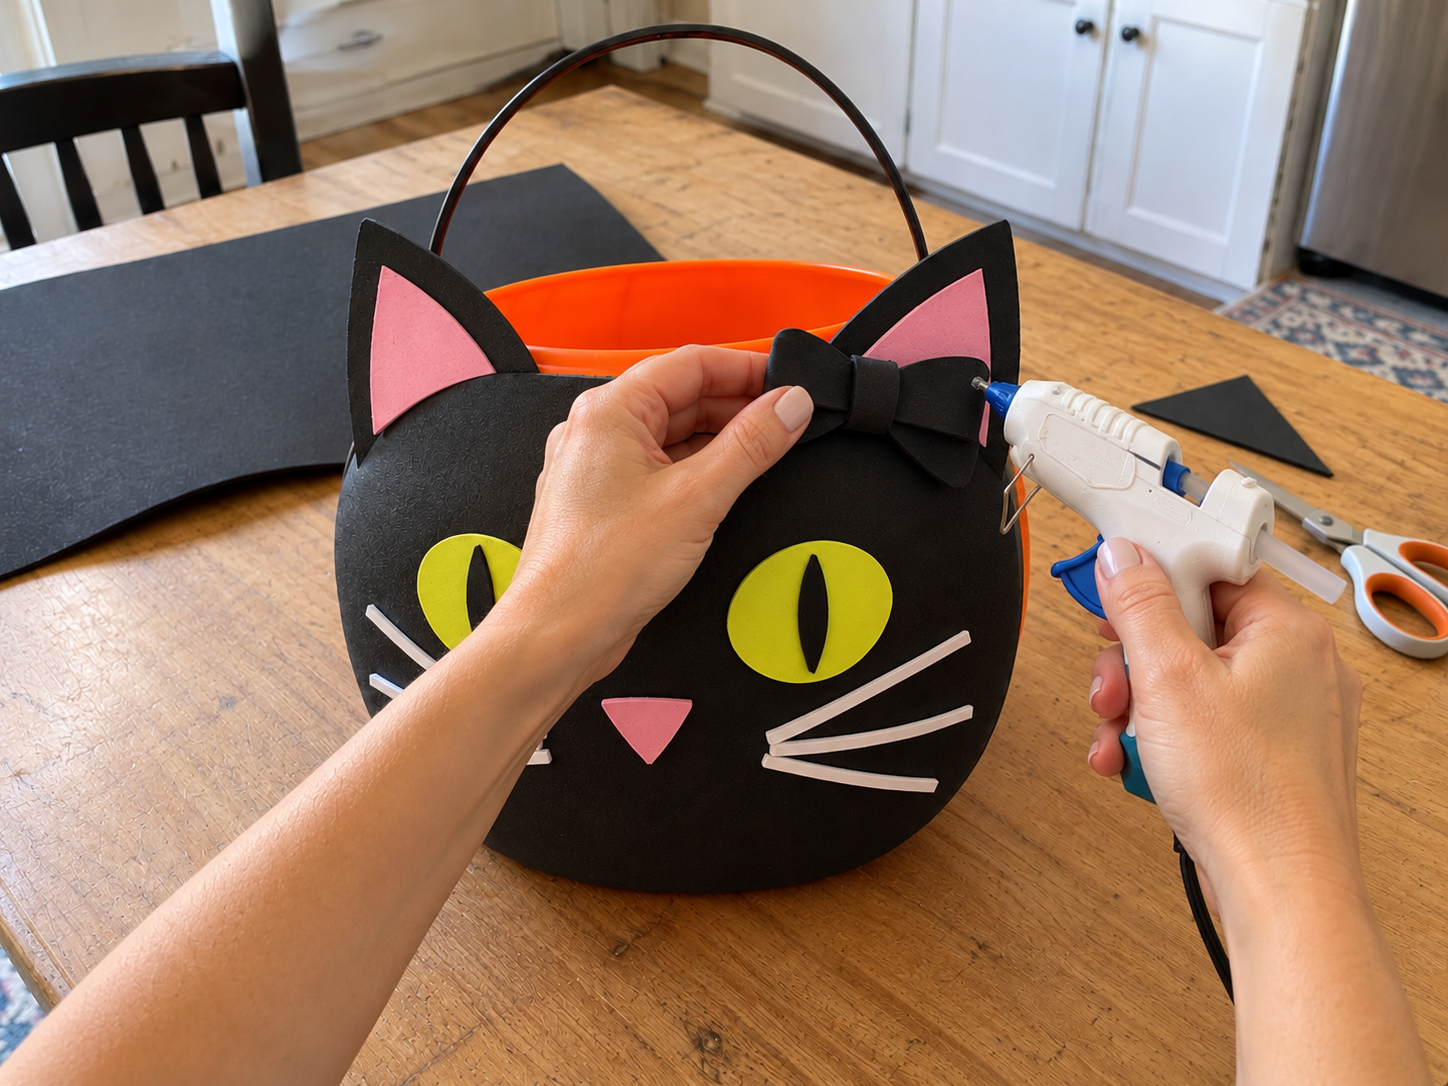
To create the bow, cut a rectangle of black foam, pinch it in the middle to form a bow shape, and secure it with a small strip of black foam wrapped around the center and glued in place. Alternatively, cut two loop shapes and a center strip, gluing them together to form a bow. Once the bow is complete, hot glue it to one of the cat's ears, giving it a playful, finished touch.
Enjoy Your Custom Black Cat Trick-or-Treat Bucket
With the final touches complete, your black cat trick-or-treat bucket is ready for Halloween night. This customized pail offers a charming way to collect candy or serve as a festive decoration. Enjoy the unique appeal of your handmade seasonal creation.
Related project collection: DIY Mummy Candy Bowl for Halloween Entryway or Party Decor
Practical Questions About This Project
What type of pail is used for this craft?
An orange plastic pumpkin pail is used as the base for this black cat trick-or-treat bucket.
Is this craft suitable for children?
Yes, this project is considered kid-friendly, especially with an adult handling the hot glue gun for safety.
What materials are used to create the cat's features?
Black craft foam sheets are used to cover the pail and form the main ears, while assorted craft foam scraps in yellow-green, pink, and white create the eyes, inner ears, nose, and whiskers.
Can this black cat bucket be used as a decoration?
Yes, in addition to being a trick-or-treat bucket, the finished black cat can also serve as a charming Halloween decoration for an entryway or other seasonal display.
What is the primary crafting method for this project?
The primary crafting method involves cutting various shapes from craft foam and assembling them onto the pumpkin pail using a hot glue gun.
Browse foam supplies at Dollar Tree.

Leave a Reply