
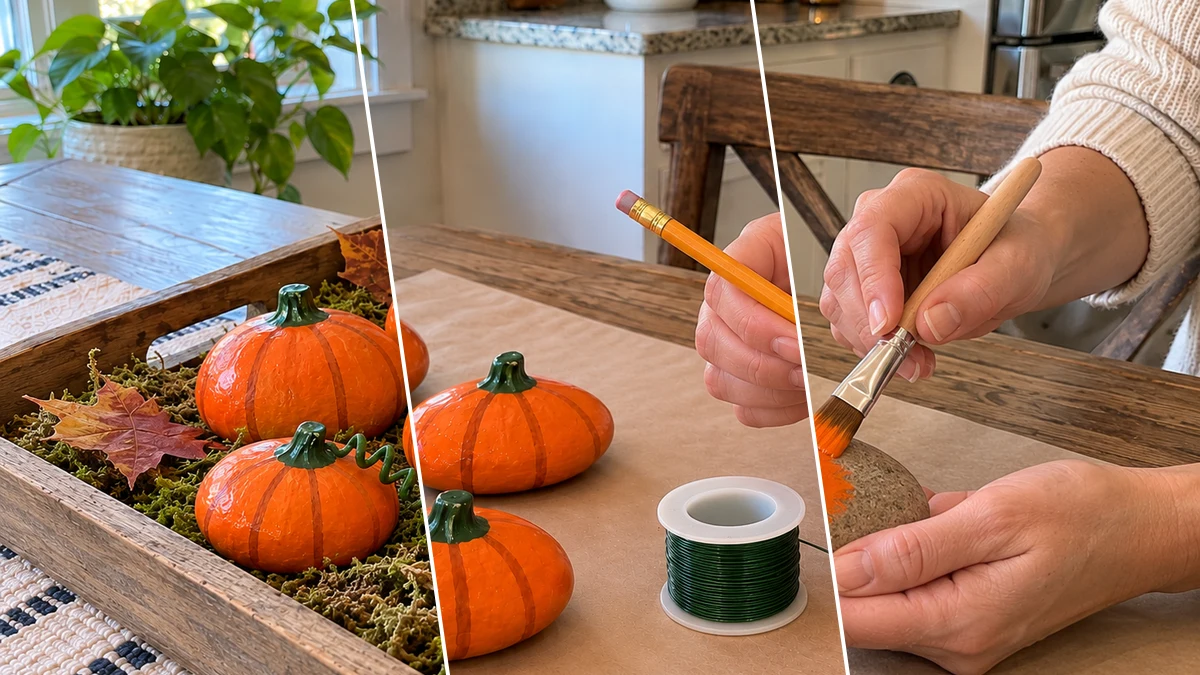
Discover how to create charming painted river rock pumpkins, ideal for adding a touch of rustic fall and Halloween decor to any tabletop. This project transforms ordinary smooth rocks into delightful seasonal accents with just a few craft supplies. The simple painting and assembly steps make it an accessible craft for many skill levels.
Project at a Glance
- Difficulty: Easy
- Estimated active time: 30 minutes to 45 minutes (drying and curing waits not included)
- Estimated component cost: $4 to $7 (reusable tools and general supplies excluded)
- Suggested placement: Tabletop
Why River Rock Pumpkins Are Perfect for Fall Decor
Painted river rock pumpkins offer a unique and charming way to celebrate the autumn season. These small, handcrafted decorations bring a rustic, natural element to your home, perfect for complementing farmhouse or cozy fall aesthetics. They can be displayed individually or grouped together on a tray, mantel, or shelf, creating a delightful focal point for your fall and Halloween arrangements.
The process involves transforming readily available smooth rocks into whimsical pumpkin shapes using acrylic paints and simple wire accents. This craft is suitable for beginner crafters and those looking for an easy, low-cost project to personalize their seasonal displays. The result is a collection of durable, reusable decorations that capture the spirit of fall.
Materials for DIY Painted River Rock Pumpkins for Rustic Fall Tabletop Decor
- Smooth River Rocks (assorted sizes)
- Orange Acrylic Paint
- Green Acrylic Paint
- Fine-Tip Paintbrushes
- Thin Green Craft Wire
- Wire Cutters
- Strong Craft Glue (or Hot Glue Gun with glue sticks)
Need another material? Browse current craft supplies and deals.
How to Make Painted River Rock Pumpkins
Follow these steps to transform smooth river rocks into delightful painted pumpkins. This guide details the process from preparing your rocks to adding the final charming wire vines. Each step is designed to be clear, helping you create a unique collection of fall and Halloween decor.
Step 1: Prepare and Clean River Rocks
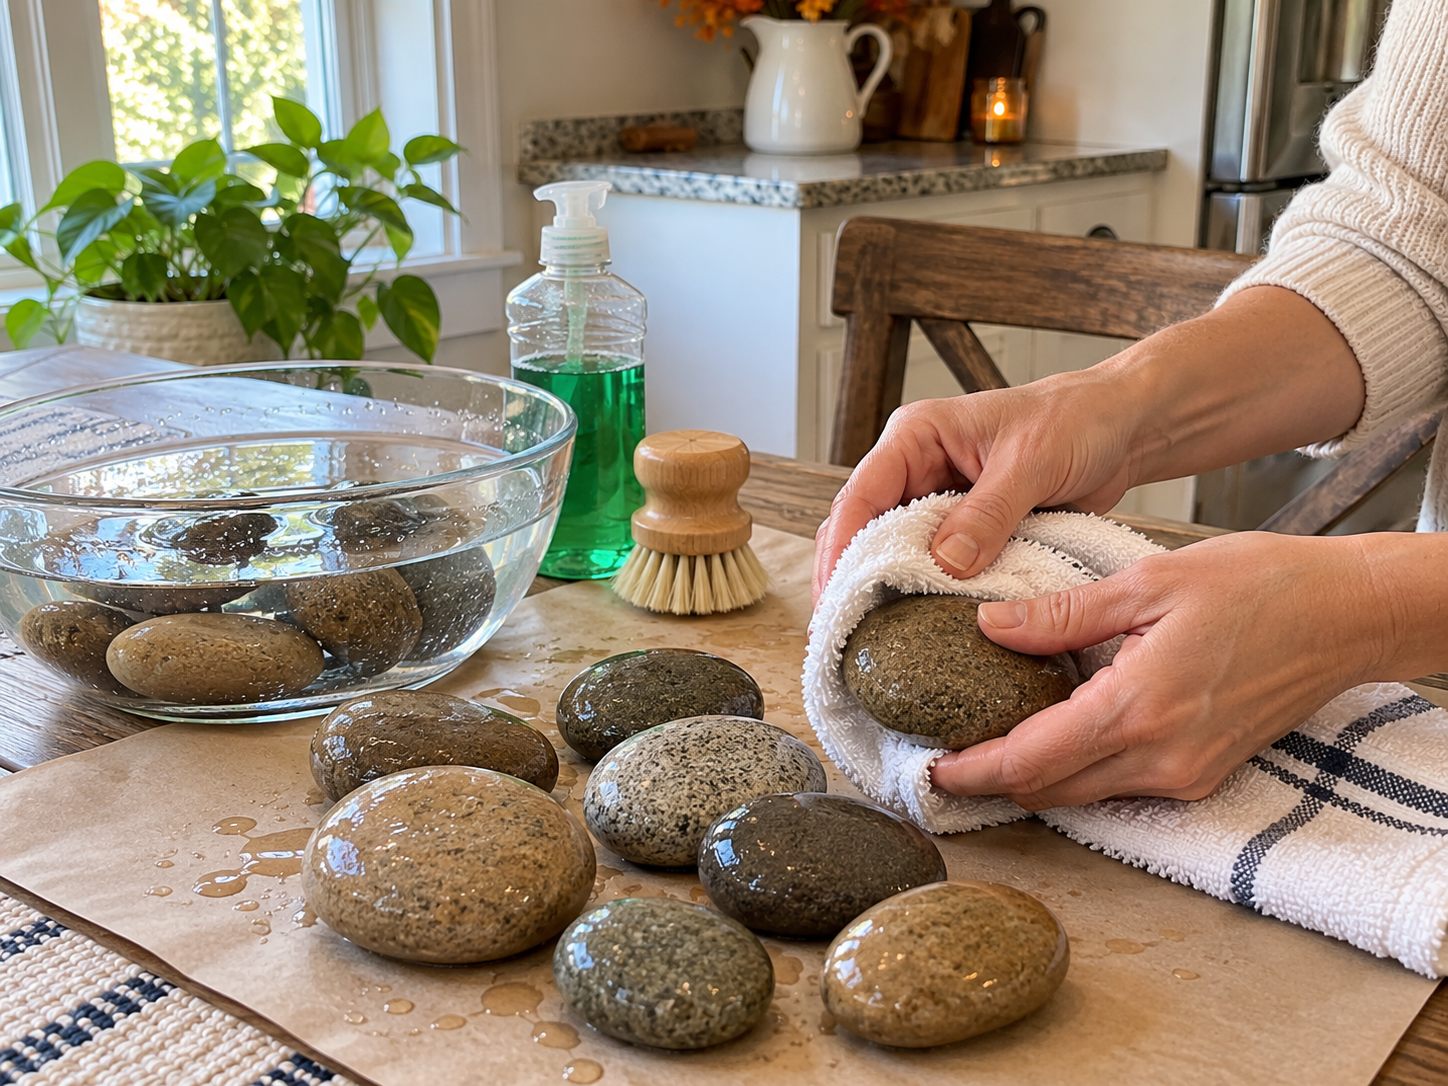
Select smooth river rocks of various sizes, ensuring they are free of sharp edges or deep crevices. Wash each rock thoroughly with soap and water to remove any dirt or oils. Rinse them well and allow them to air dry completely. A clean, dry surface is essential for proper paint adhesion.
Step 2: Apply Orange Base Coat
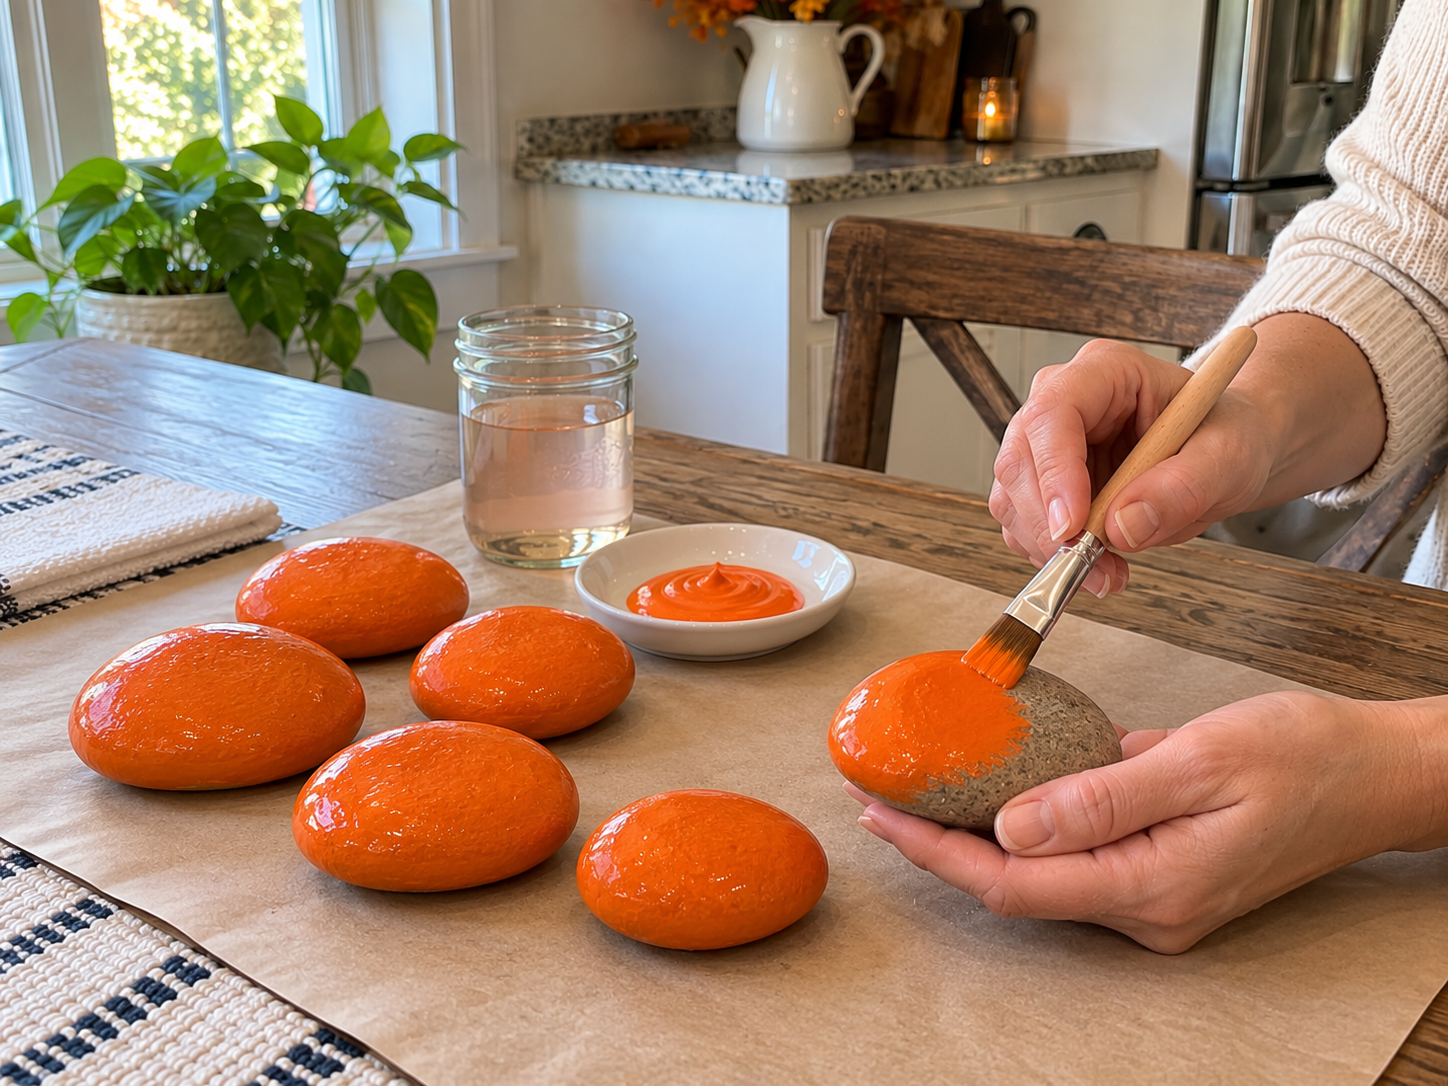
Using a flat or round paintbrush, apply an even coat of orange acrylic paint to each rock. Ensure full coverage, especially in any natural indentations. Allow the first coat to dry completely according to paint instructions (usually 15-30 minutes). Once dry, apply a second coat if needed for opaque, vibrant coverage.
Step 3: Detail Pumpkin Ridges
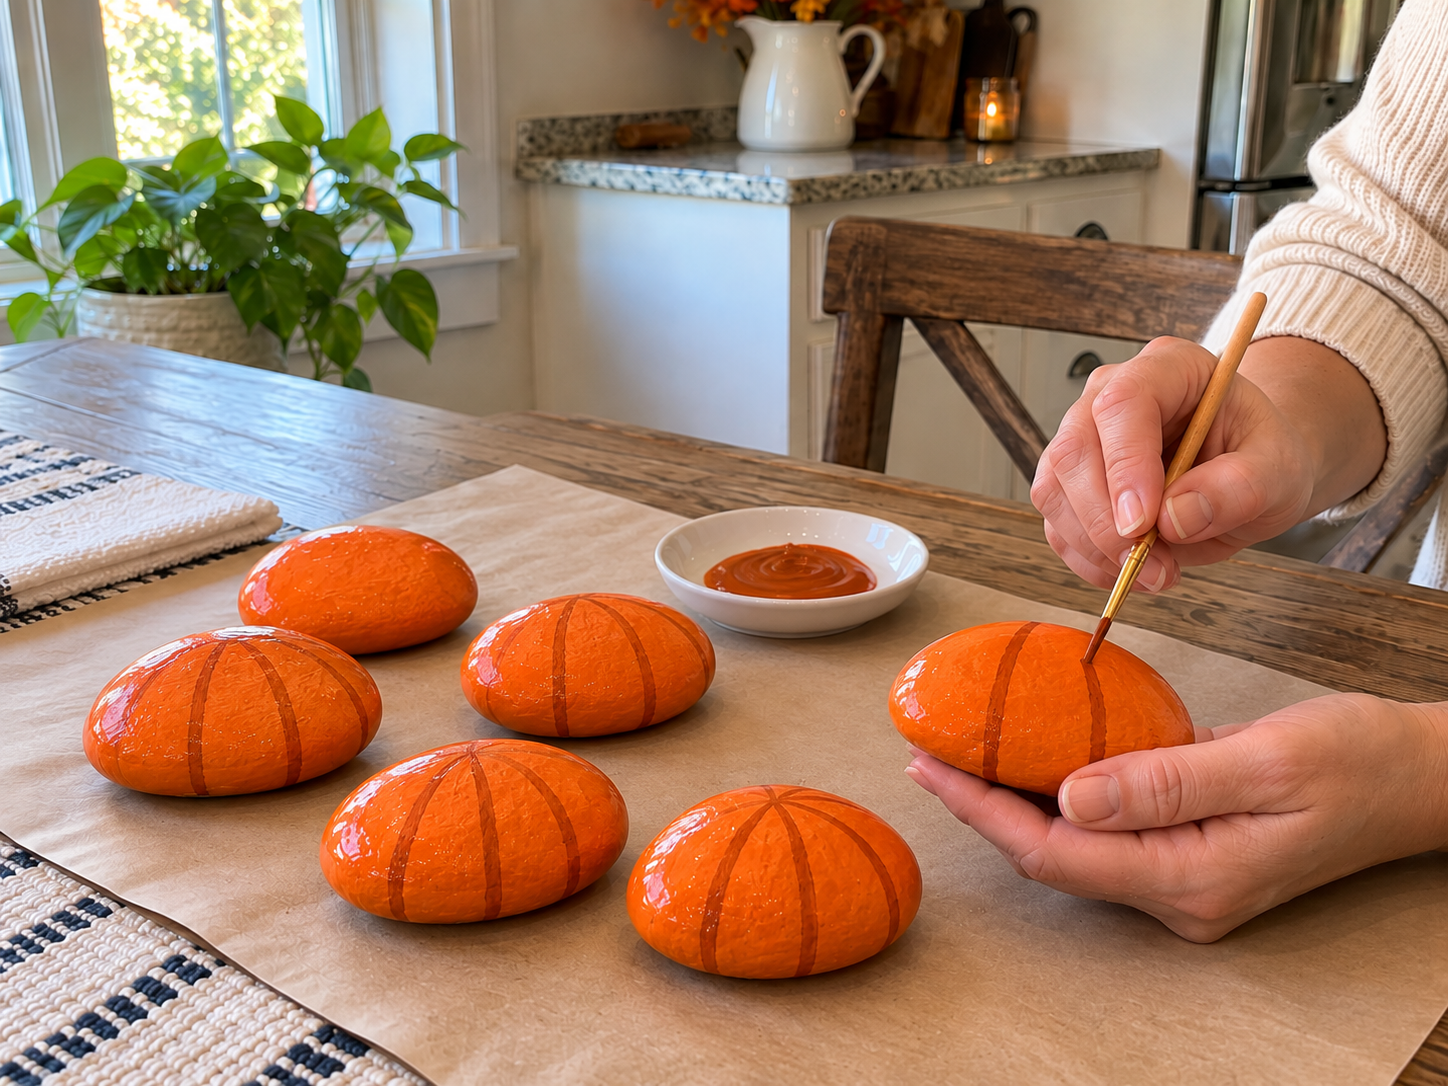
Once the orange paint is completely dry, use a fine-tip paintbrush and a slightly darker shade of orange, a light brown, or a diluted wash of orange paint to carefully draw thin, slightly curved vertical lines from the top to the bottom of each rock. These lines mimic the natural ridges of a pumpkin and add depth. Don't worry about perfection; natural variations enhance the handmade look.


Step 4: Paint Green Stems
Using a fine-tip paintbrush and green acrylic paint, carefully paint a small, rounded or slightly irregular stem shape at the top center of each pumpkin rock. You can build up the paint slightly to give the stem a little dimension. Ensure the green paint completely covers the top area where the stem would naturally be. Allow the green paint to dry completely.
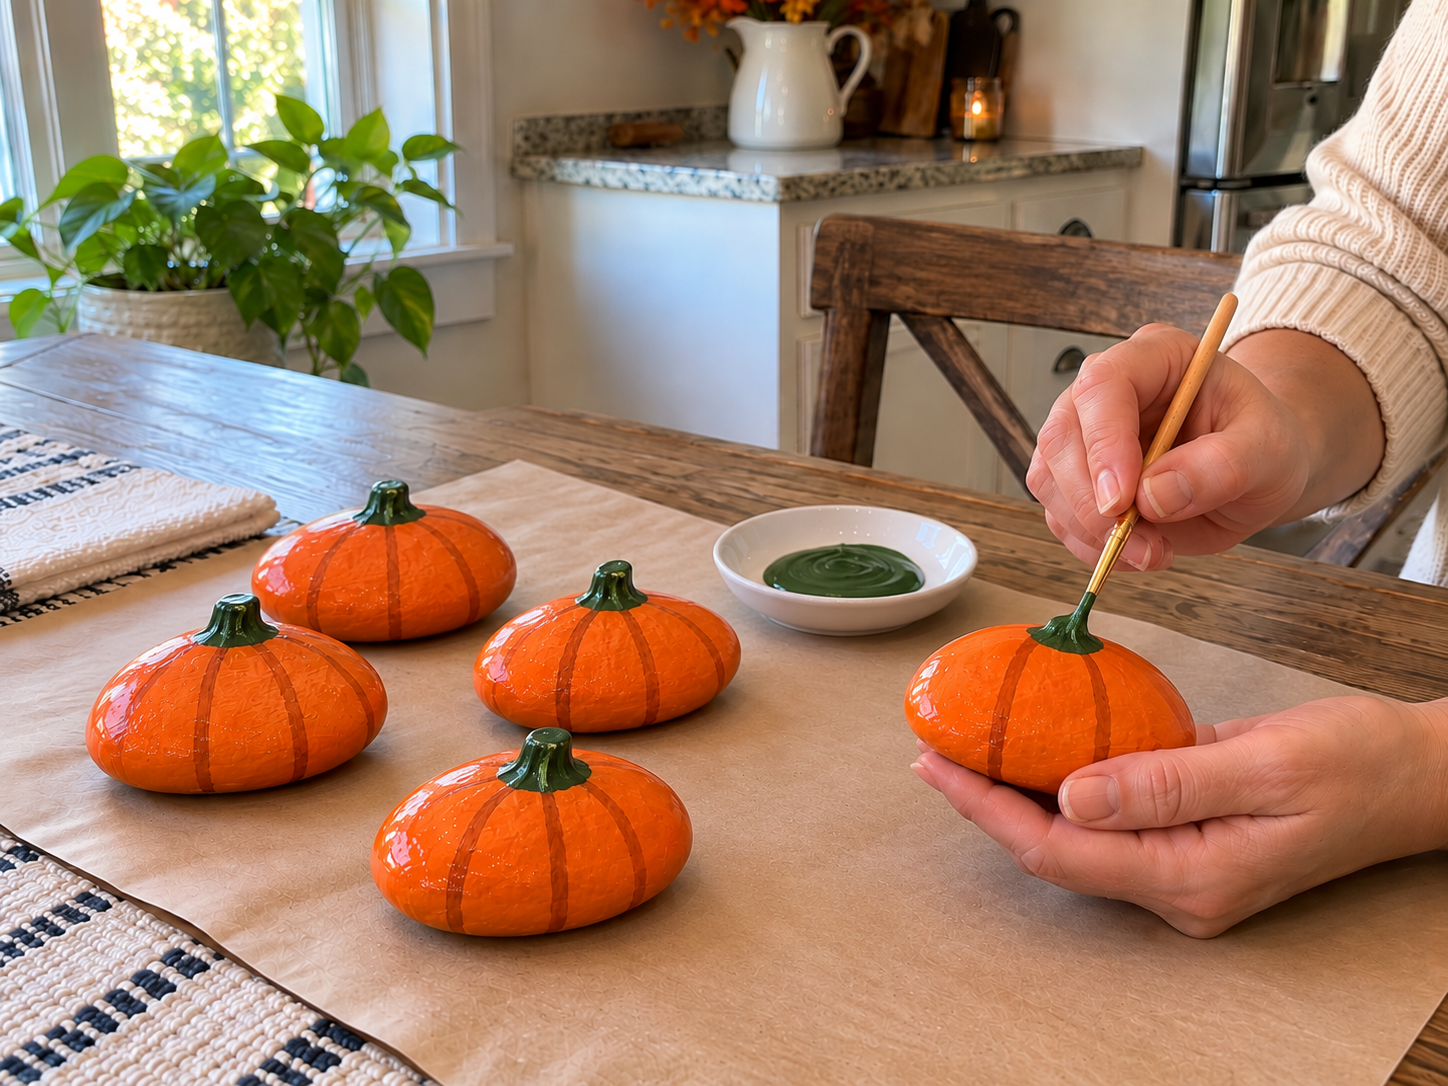
Step 5: Form Curly Wire Vines
For each pumpkin, cut a length of thin green craft wire, approximately 4-6 inches long (adjust based on desired vine size). Take one end of the wire and tightly wrap it around a pencil or a thin dowel to create a spiral curl. Carefully slide the wire off the pencil and gently stretch the curl to achieve your desired vine length and shape. Repeat this process for all your pumpkin rocks.
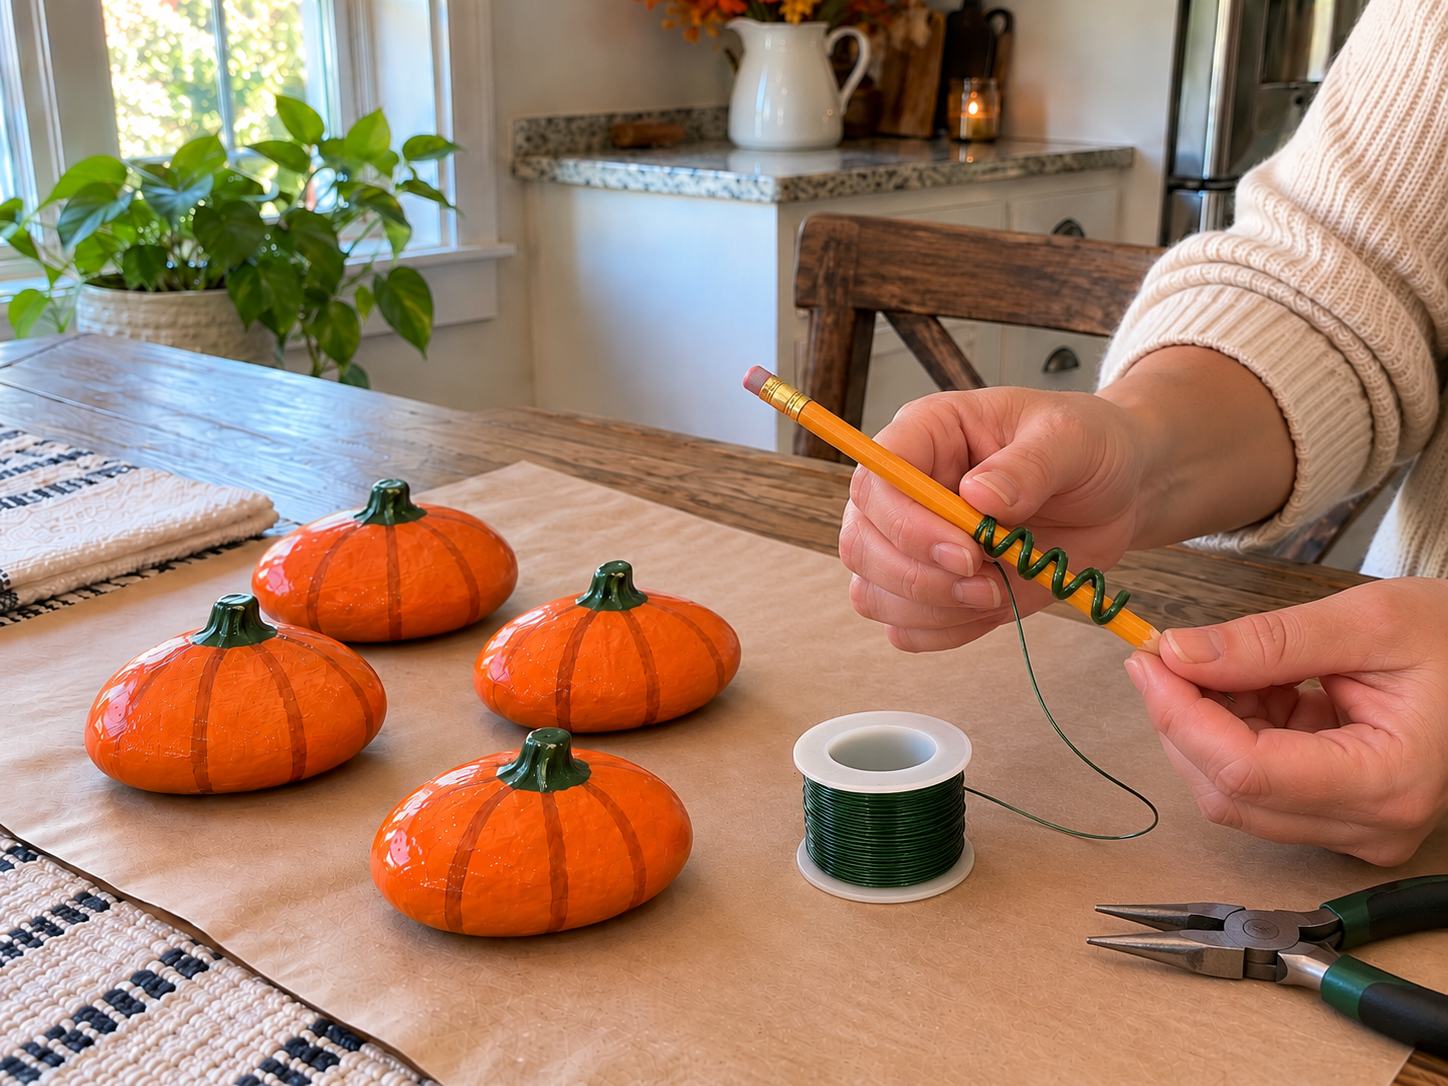
Step 6: Secure Wire Vines
Once all paint on the pumpkins is completely dry, apply a small dot of strong craft glue (or a small dab of hot glue for quicker adhesion) to the base of each green stem on your pumpkin rocks. Carefully press the straight, uncoiled end of a curly wire vine into the glue, holding it in place until secure. If using hot glue, it will set quickly; for craft glue, allow ample time for it to cure according to product instructions before handling.
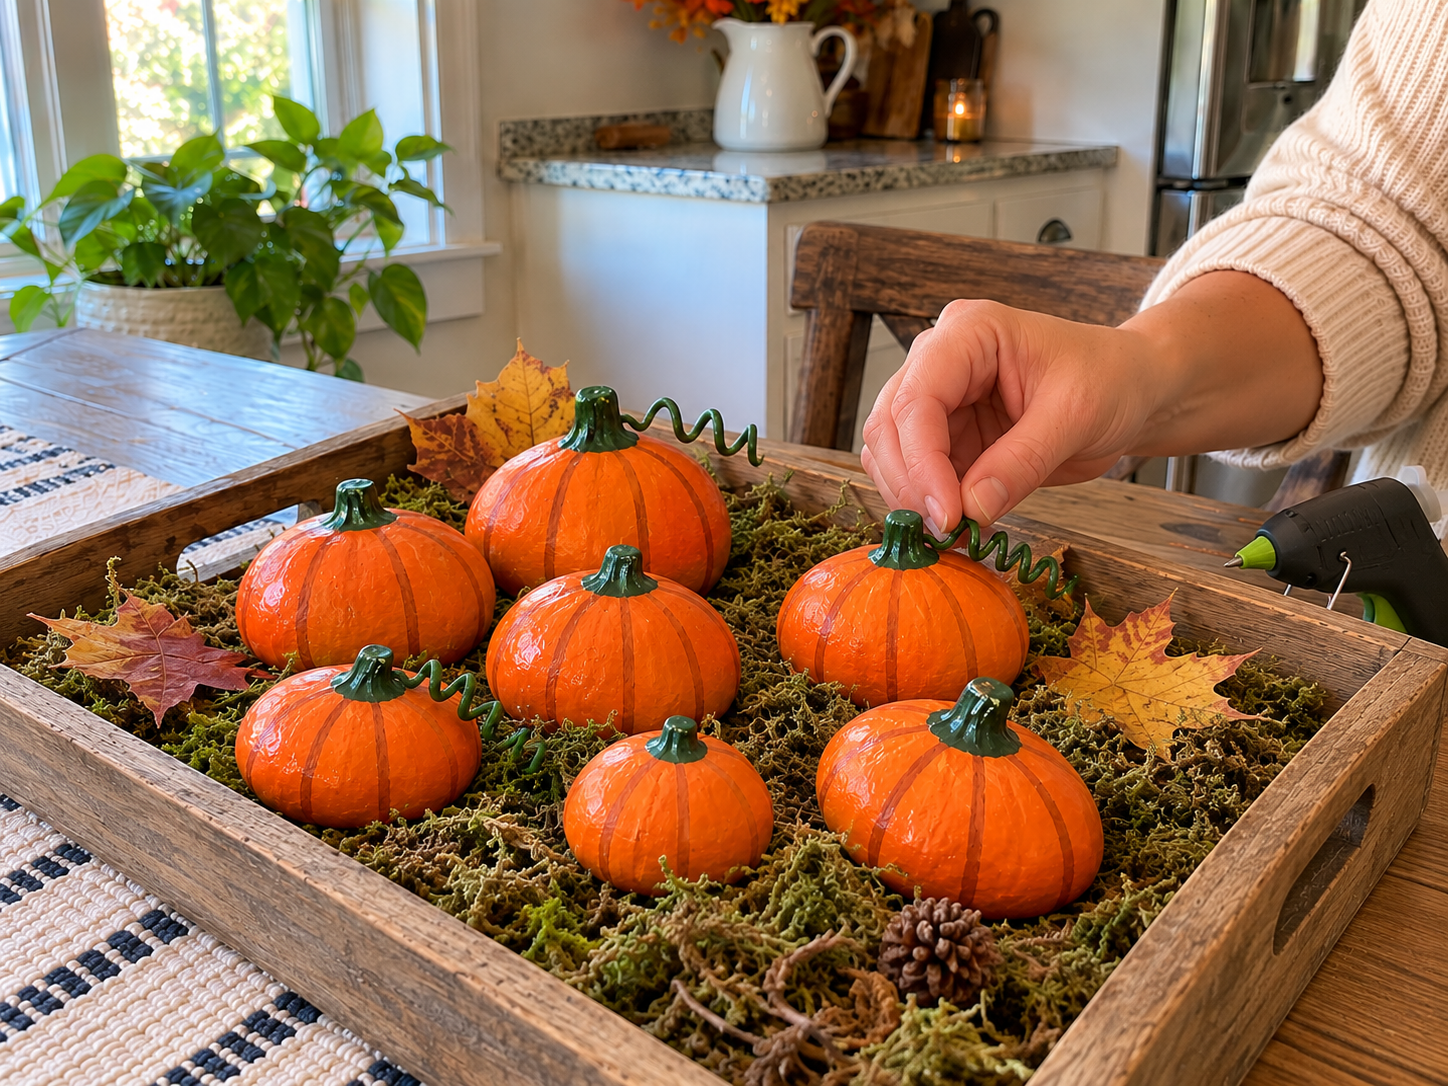
Enjoy Your Handcrafted River Rock Pumpkins
Once your painted river rock pumpkins are complete and fully dry, they are ready to enhance your seasonal displays. Arrange them on a rustic tray, alongside faux leaves, or within a centerpiece for a charming fall or Halloween vignette. These durable decorations can be reused year after year, bringing consistent autumn cheer to your home.
Related project collection: 25 Easy Dollar Tree Fall & Halloween Crafts to Cozy Up Your Home
Practical Questions About This Project
What kind of rocks are best for this project?
Smooth river rocks of various sizes work best, as their rounded shapes resemble small pumpkins and provide an easy surface for painting.
Can other colors be used for the pumpkins?
Yes, while orange is traditional, colors like white, light gray, or even muted blues can create a different aesthetic for your painted rock pumpkins.
How long does the paint take to dry?
Acrylic paint typically dries to the touch in 15-30 minutes, but it is important to allow each coat to fully cure before adding subsequent layers or handling extensively.
What type of glue is recommended for the wire vines?
Strong craft glue or hot glue can be used to secure the wire vines. Hot glue offers quicker adhesion, while craft glue provides a strong bond once fully cured.
Are these river rock pumpkins suitable for outdoor display?
The craft record does not specify outdoor suitability for these painted river rock pumpkins. They are described as perfect for fall and Halloween home decor displays, suggesting indoor placement.
Search Dollar Tree for figurine supplies.

Leave a Reply