
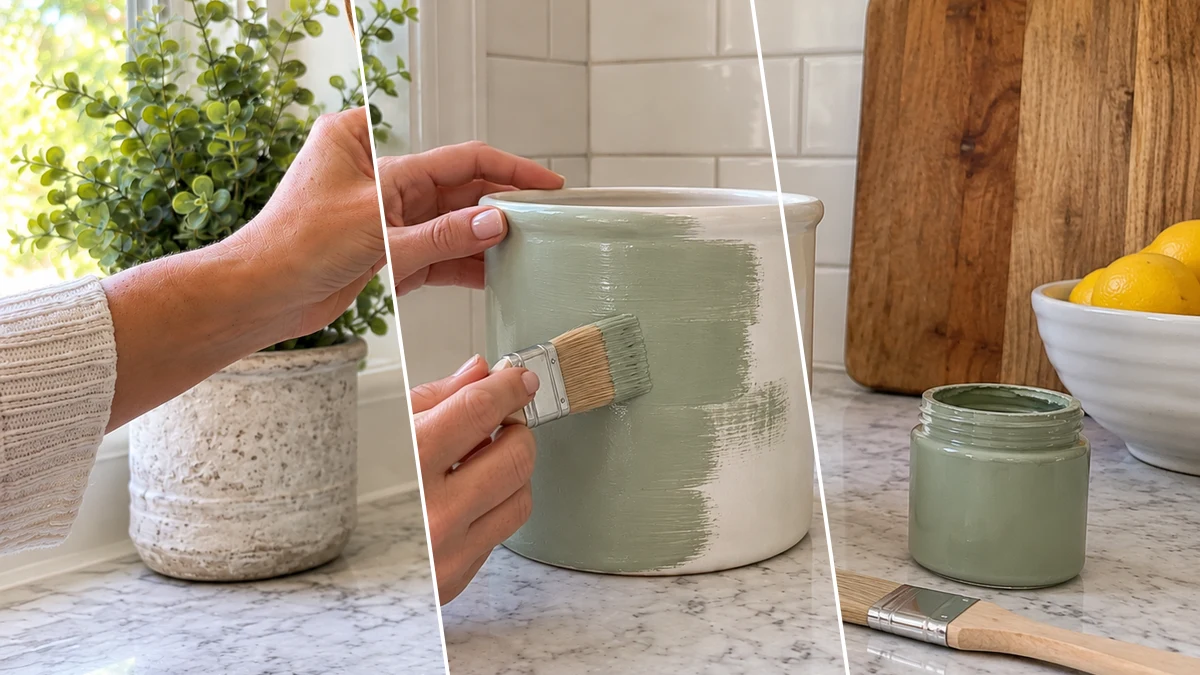
Bring a touch of farmhouse charm to your kitchen with a DIY sage green utensil crock. This project transforms a plain ceramic holder into a stylish and practical organizer. The matte sage green finish paired with natural jute twine creates a rustic accent, perfect for keeping your cooking tools tidy on the counter.
Project at a Glance
- Difficulty: Easy
- Estimated active time: 20 minutes to 45 minutes (drying and curing waits not included)
- Estimated component cost: $3 to $4 (reusable tools and general supplies excluded)
- Suggested placement: Kitchen Counter
The Charm of a DIY Farmhouse Utensil Crock
This easy craft offers a simple way to update your kitchen decor and improve organization. The combination of soft sage green and natural twine creates a warm, inviting aesthetic that complements various kitchen styles, especially farmhouse or rustic themes.
Beyond its visual appeal, this DIY utensil holder provides a dedicated spot for frequently used cooking tools. Keeping spatulas, whisks, and spoons within easy reach helps streamline your cooking process while reducing countertop clutter. This project is a practical addition for any home.
Materials for DIY Sage Green Utensil Crock with Twine Wrap for Farmhouse Kitchens
- Ceramic Utensil Crock
- Matte Sage Green Acrylic Craft Paint
- Natural Jute Twine
- Hot Glue Gun and Glue Sticks
- Rubbing Alcohol or Cleaning Wipes
- Paint Brushes (flat or foam)
Need another material? Browse current craft supplies and deals.
How to Create Your Sage Green Utensil Crock
This DIY project is designed for ease, making it suitable for beginner crafters. Follow these simple steps to transform a basic ceramic crock into a functional and stylish kitchen accessory. The process involves cleaning, painting, and wrapping to achieve the desired farmhouse look.
Step 1: Clean and Prepare the Crock
Begin by thoroughly cleaning the entire surface of your ceramic utensil crock. Use a cleaning wipe or a cloth dampened with rubbing alcohol to remove any dust, fingerprints, or manufacturing residues. This ensures proper paint adhesion. Allow the crock to air dry completely before proceeding.

Step 2: Apply First Coat of Paint
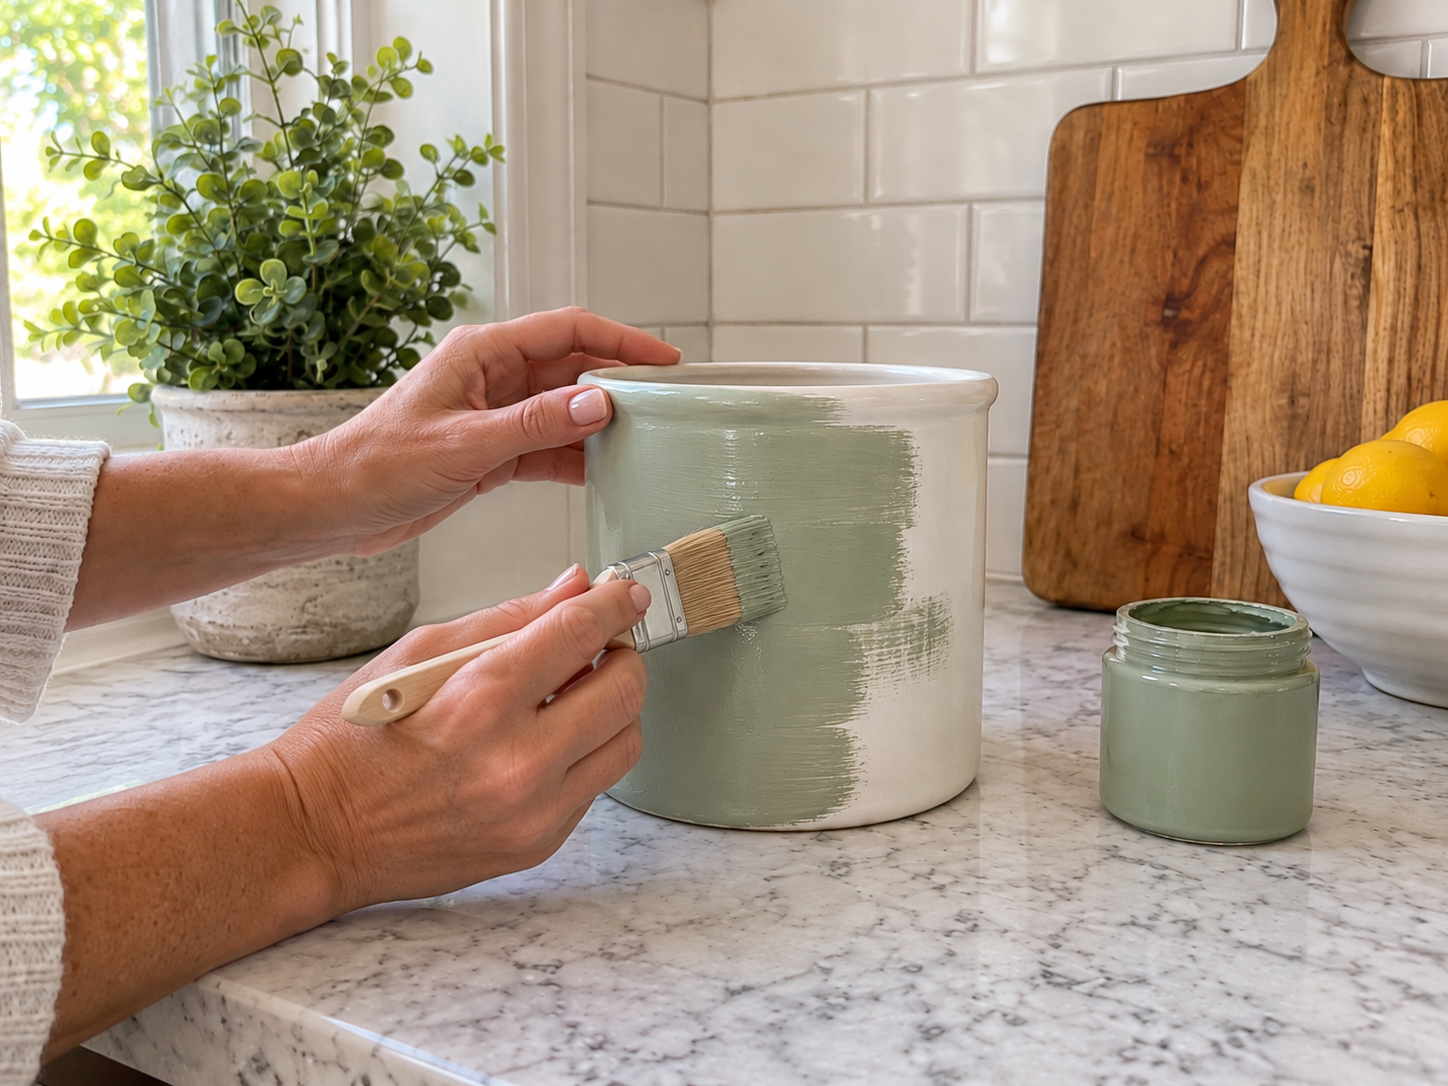
Using a flat or foam paintbrush, apply an even, thin first coat of the matte sage green acrylic craft paint to the exterior of the ceramic crock. Work in smooth, consistent strokes to cover the surface. Don't worry if it looks slightly streaky; this coat is primarily for adhesion and base color. Let the paint dry completely according to the product's instructions, typically 15-30 minutes.
Step 3: Add the Second Paint Coat
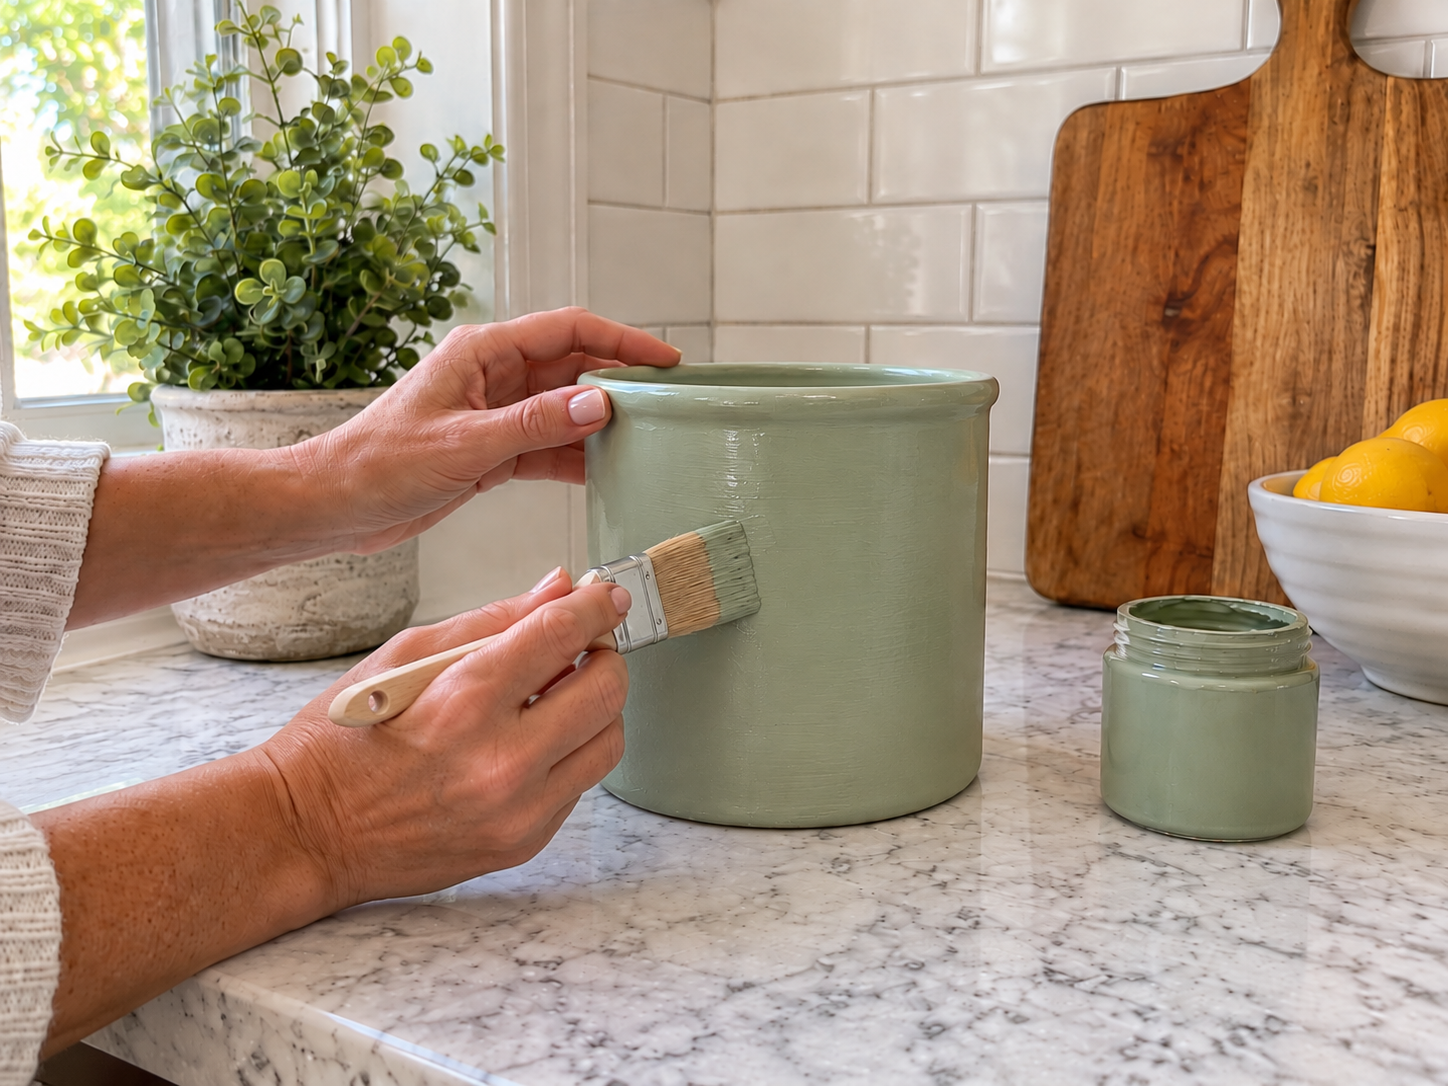
Once the first coat is fully dry to the touch, apply a second, slightly thicker coat of the sage green paint. Ensure even coverage to achieve an opaque, smooth finish. Pay attention to any missed spots or areas where the ceramic still shows through. Allow this second coat to dry completely, following the paint manufacturer's recommendations. This may take longer than the first coat.


Step 4: Wrap and Secure Twine
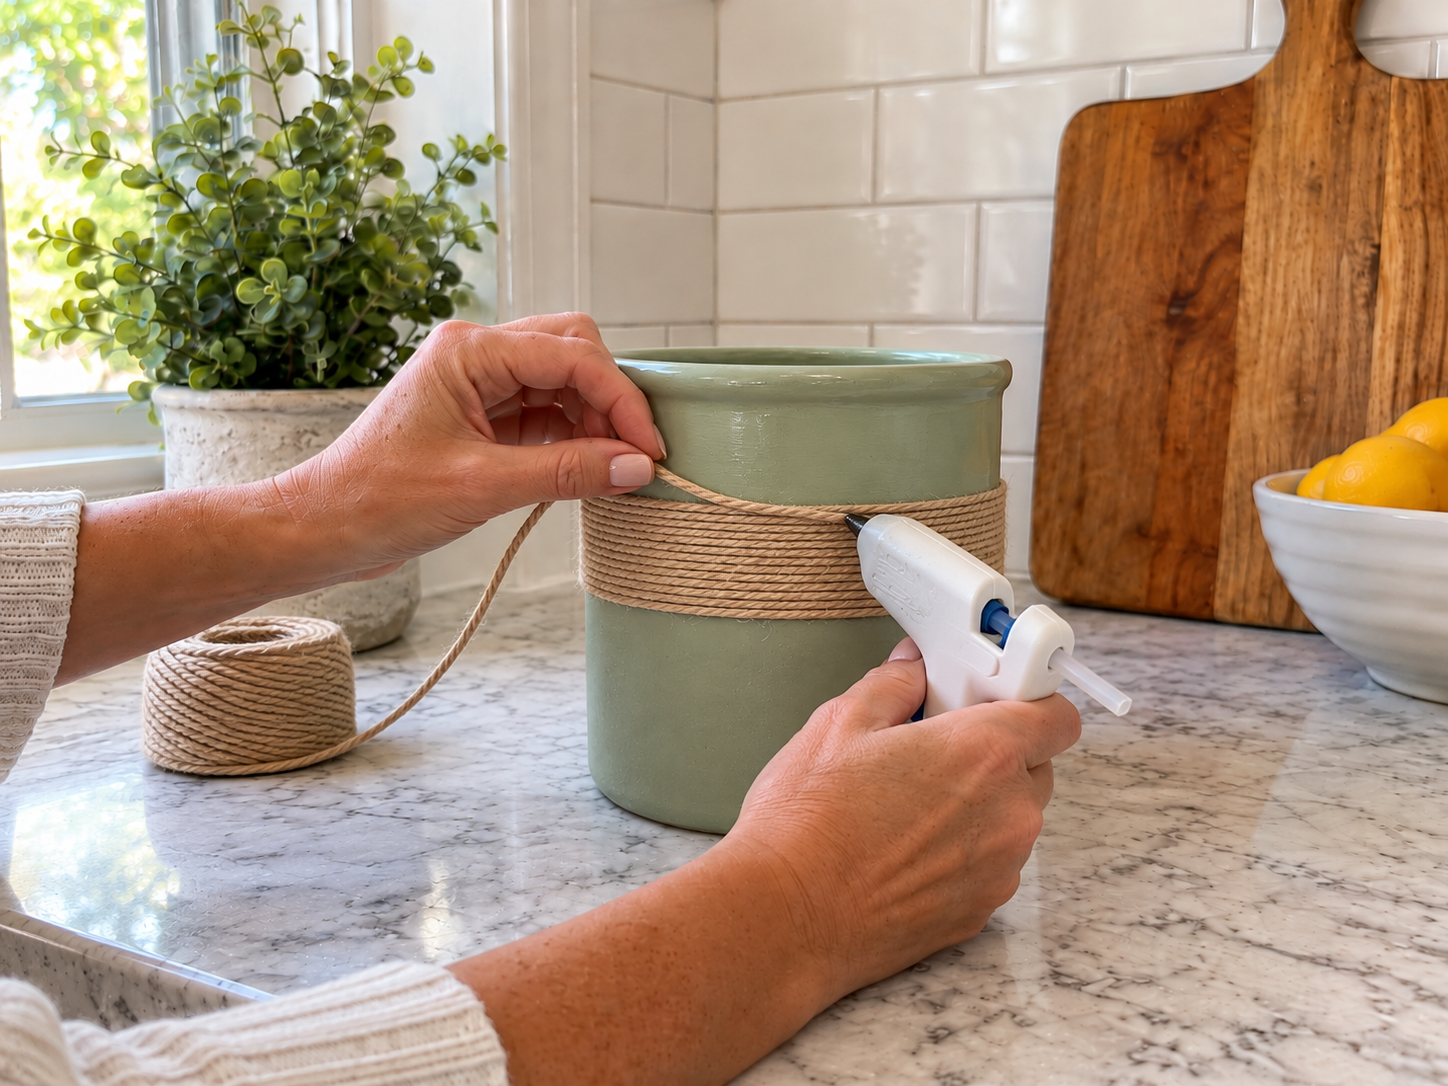
Measure and cut a length of natural jute twine that will wrap around the middle of your crock several times. Apply a small dot of hot glue to an inconspicuous spot (like the back of the crock) to secure the beginning of the twine. Carefully and tightly wrap the twine around the crock, ensuring each new layer sits snugly against the previous one. Once you've achieved your desired band thickness, trim the twine and secure the end with another small dot of hot glue, pressing it firmly until set.
Step 5: Style with Kitchen Utensils
Once the hot glue has completely cooled and set, your DIY utensil crock is ready for use. Place it on your kitchen counter or island. Fill it with your favorite wooden spoons, spatulas, whisks, and other cooking tools. The combination of the soft sage green, natural twine, and warm wooden utensils creates a charming and organized display.
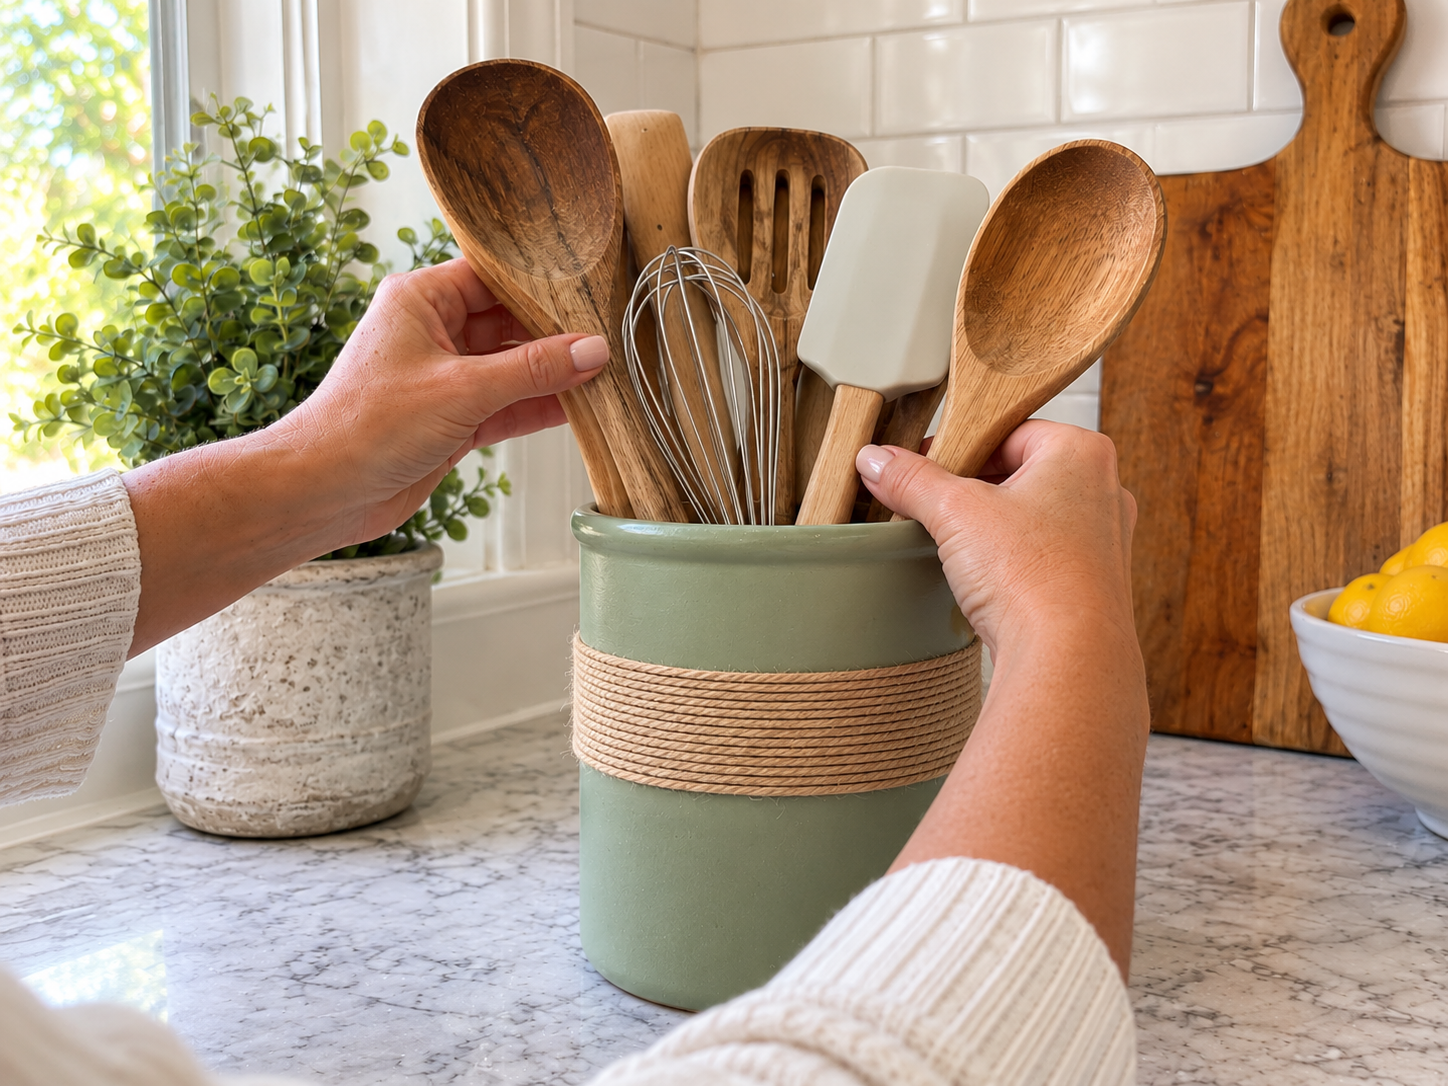
Displaying Your Finished Farmhouse Utensil Crock
With the final touches complete, your new sage green utensil crock is ready to enhance your kitchen. Place it prominently on your counter, filled with your essential cooking tools, to enjoy both its practical utility and its charming aesthetic. This handmade organizer adds a personalized touch to your home decor.
Related project collection: Rustic Farmhouse Kitchen Organizer Caddy (Dollar Tree DIY)
Practical Questions About This Project
What is the estimated active time to create this utensil crock?
The estimated active time for this project is 20 to 45 minutes, excluding any unattended drying and curing periods.
What material is used for the decorative wrap?
Natural jute twine is wrapped around the middle of the crock to add a rustic detail.
Is this craft suitable for beginner crafters?
Yes, this project is classified as easy, making it accessible for those new to crafting.
Explore jar craft supplies at Dollar Tree.

Leave a Reply