
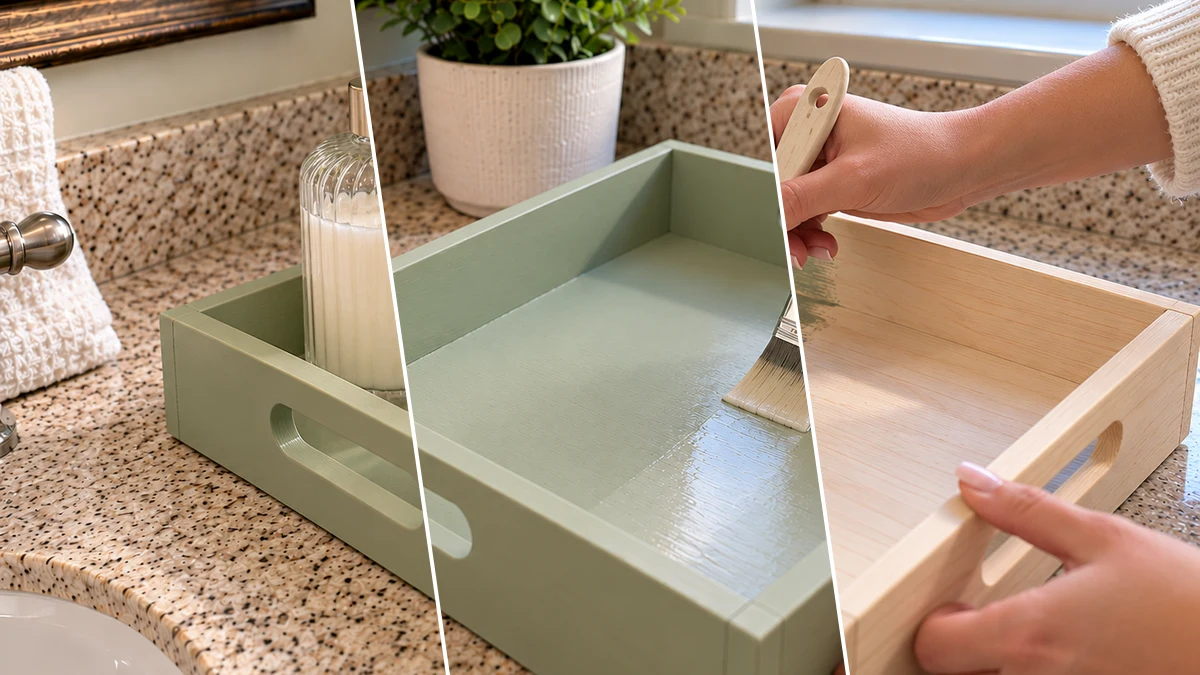
Tired of cluttered bathroom counters? A DIY sage green wooden tray offers a simple, elegant solution. This project transforms a basic wooden tray into a stylish organizer, perfect for toiletries, small plants, and rolled towels. Add a serene, spa-like touch to your bathroom vanity with this easy craft.
Project at a Glance
- Difficulty: Easy
- Estimated active time: 30 minutes to 60 minutes (drying and curing waits not included)
- Estimated component cost: $5 to $15 (reusable tools and general supplies excluded)
- Main material: Wood
Create a Spa-Like Bathroom Vanity Display
A well-organized bathroom vanity can transform an everyday space into a calm retreat. This sage green wooden tray provides a designated spot for your daily essentials, keeping your counter tidy and visually appealing. The soft sage color introduces a touch of natural serenity, complementing various bathroom decor styles from modern to farmhouse.
This project is ideal for those seeking to add functional elegance without extensive effort. It offers a custom look for a fraction of the cost of store-bought alternatives, making it a practical choice for refreshing your bathroom's aesthetic.
Materials for DIY Sage Green Wooden Tray Organizer for a Bathroom Vanity
- Wooden Tray (with handles)
- Sage Green Acrylic Craft Paint
- Assorted Paint Brushes
- Water-based Clear Sealer (e.g., polycrylic)
- Fine-grit Sandpaper (220-320 grit)
- Cleaning Wipes or Rubbing Alcohol
Need another material? Browse current craft supplies and deals.
Crafting Your Sage Green Bathroom Vanity Tray
This tutorial guides you through transforming a plain wooden tray into a beautiful bathroom organizer. Follow these steps carefully to achieve a smooth, durable finish suitable for daily use. Gather your materials and prepare for an enjoyable and rewarding craft project.
Step 1: Prepare the Wooden Tray
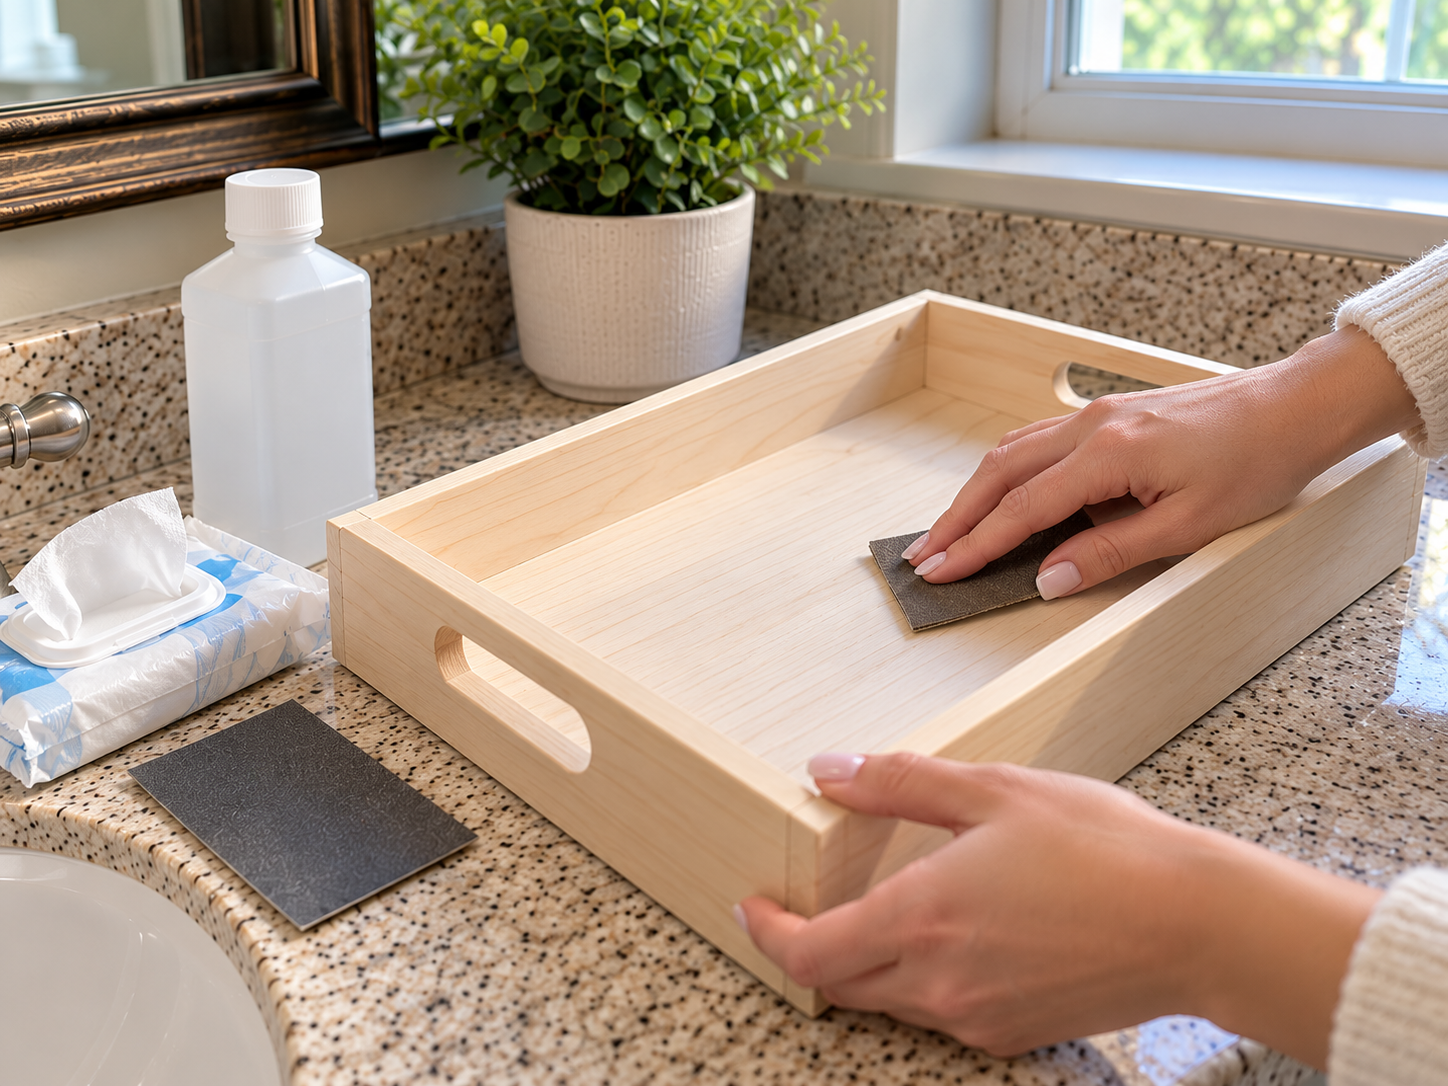
Thoroughly clean the wooden tray with a damp cloth or rubbing alcohol to remove any dust, dirt, or oils. If the tray has a rough surface or existing paint, lightly sand it with fine-grit sandpaper (220-320) to create a smooth surface for paint adhesion. Wipe away any sanding dust with a clean, dry cloth.
Step 2: Apply the First Paint Coat
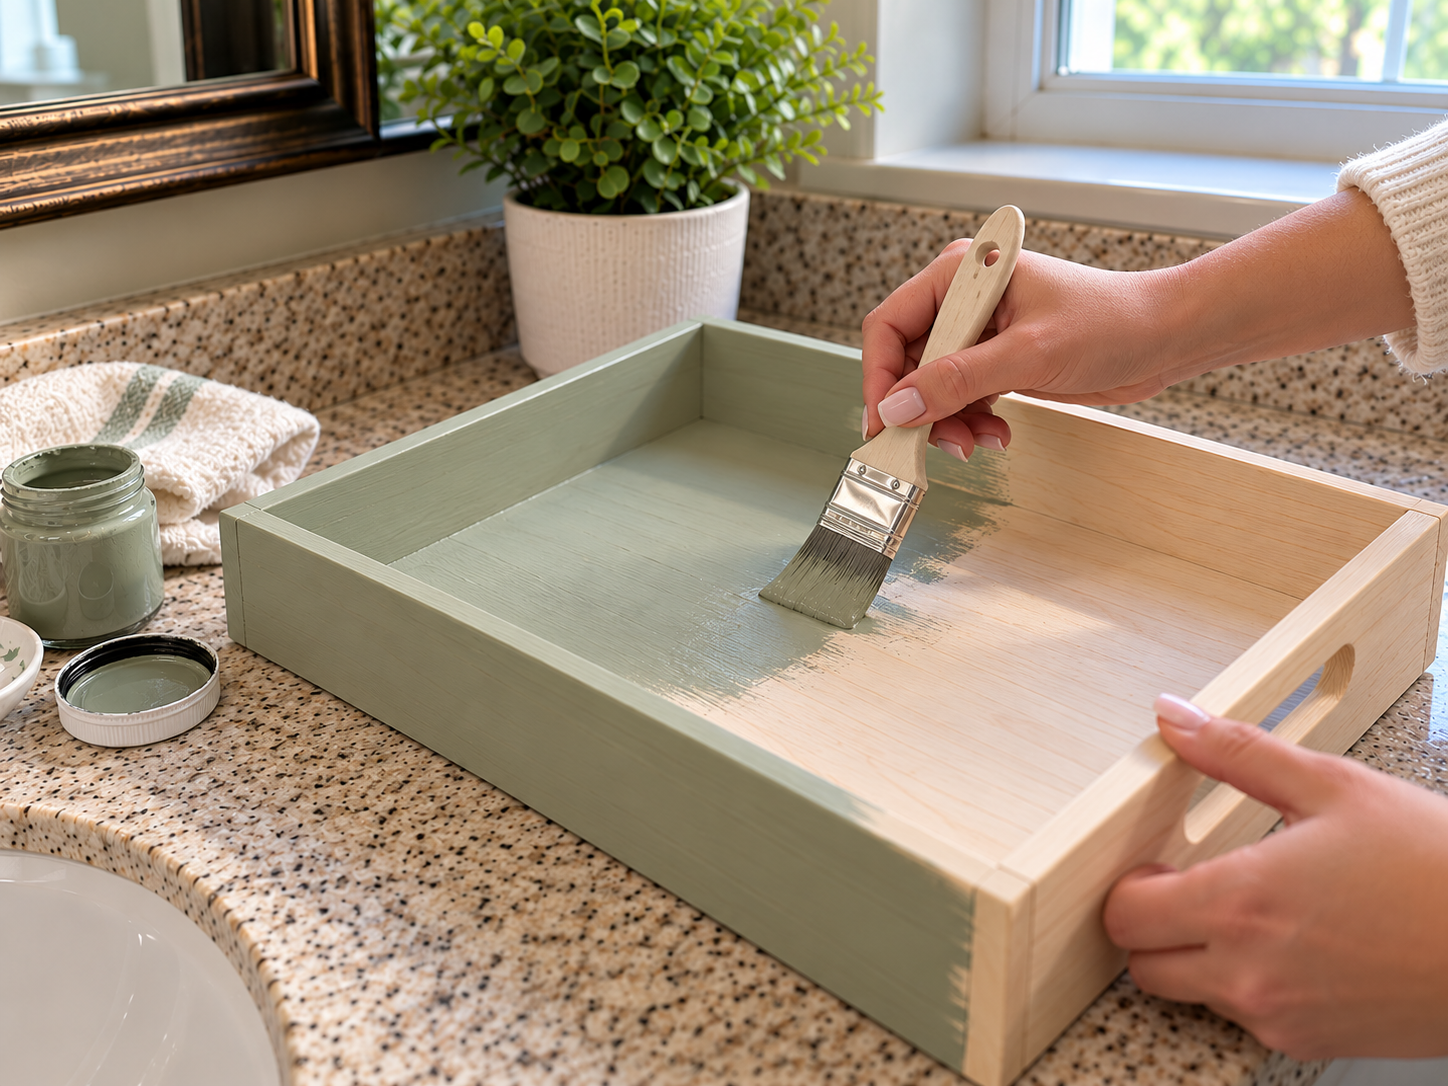
Using a clean synthetic brush, apply a thin, even first coat of sage green acrylic paint to all surfaces of the tray, including the inside, outside, and handle cut-outs. Avoid thick application to prevent drips and ensure a smooth finish. Allow the paint to dry completely according to manufacturer instructions (typically 20-30 minutes).
Step 3: Add Subsequent Paint Layers
Once the first coat is dry, apply a second coat of sage green paint. If needed, lightly sand any rough spots with fine-grit sandpaper (320) before applying the next coat, wiping away dust. Continue applying thin, even coats until you achieve full, opaque coverage and the desired depth of color. Allow each coat to dry thoroughly.


Step 4: Protect with Clear Sealer
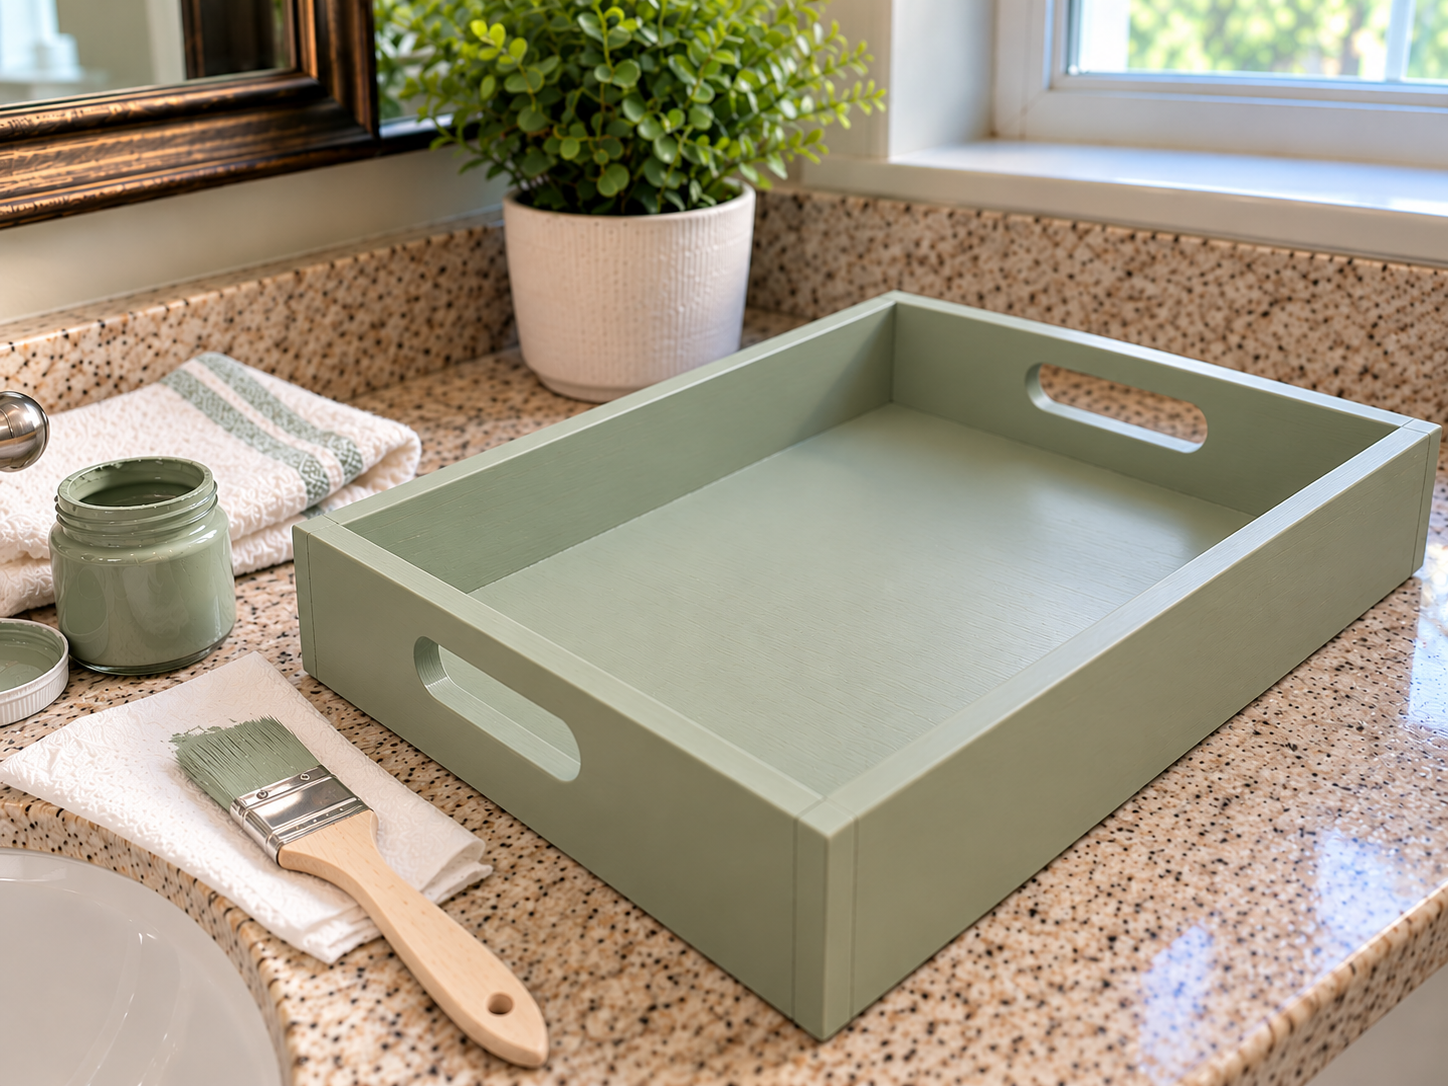
To protect the painted finish and make the tray durable for bathroom use, apply 2-3 thin, even coats of a water-based clear sealer (like polycrylic). Use a clean brush and follow the product's instructions for drying times between coats. Ensure complete coverage for maximum protection. Allow the sealer to cure fully before placing items on the tray.
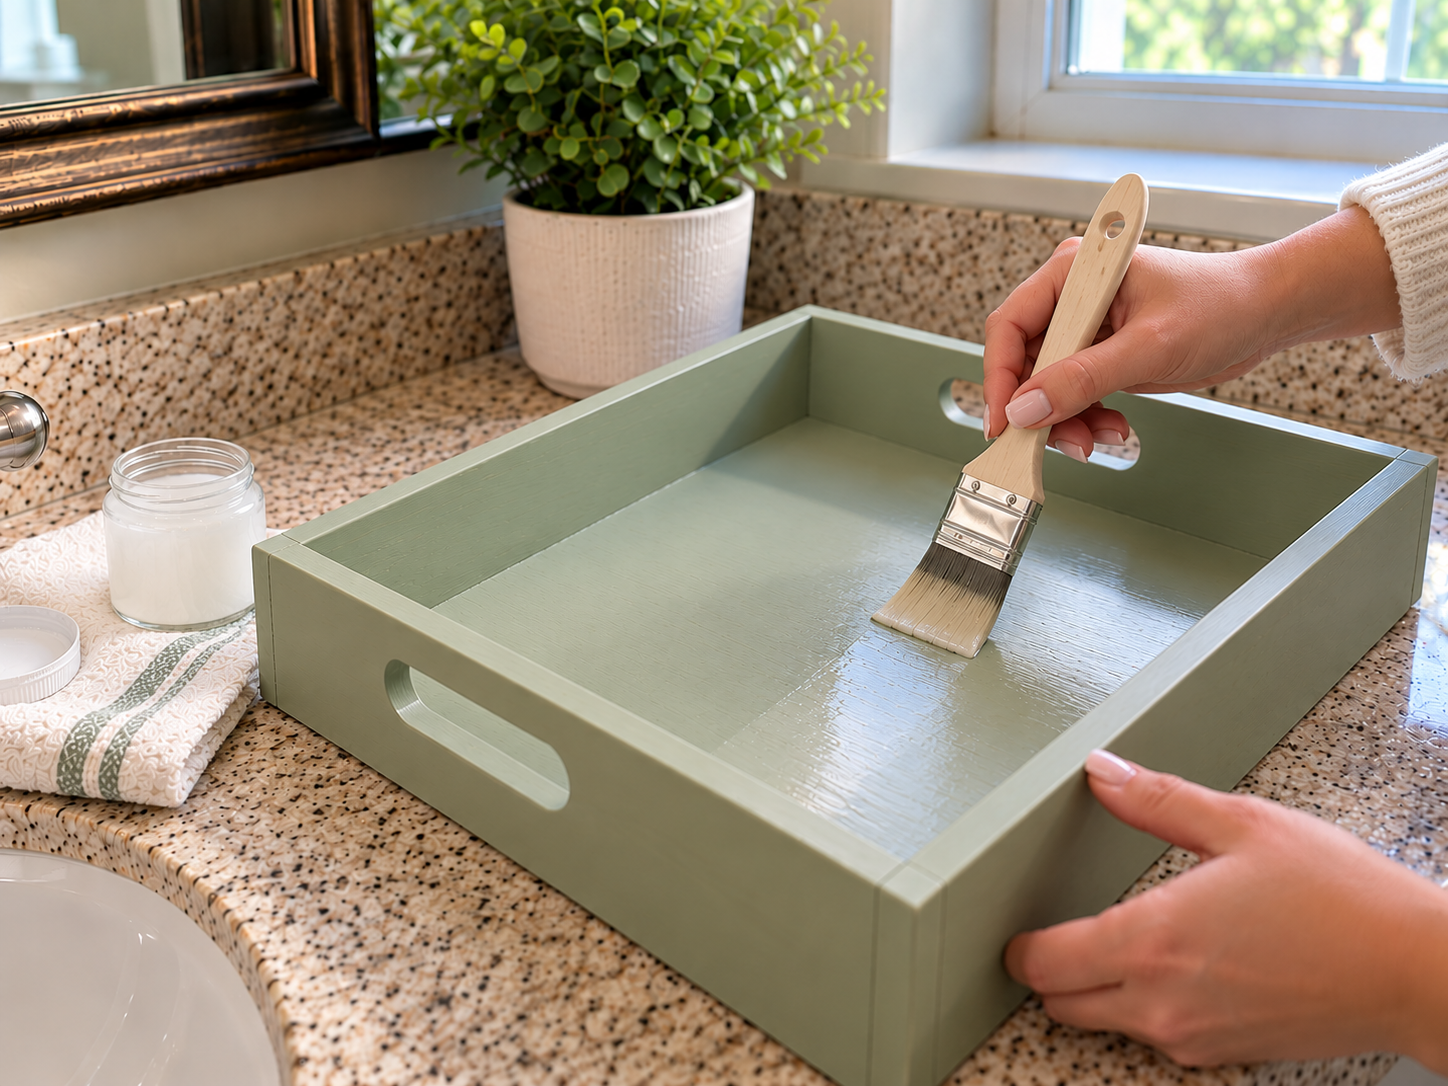
Step 5: Style Your Bathroom Organizer
Once the sealer has fully cured, your custom tray is ready for use. Arrange your chosen bathroom essentials such as a soap dispenser, a small potted plant, neatly rolled washcloths (perhaps tied with twine and a decorative sprig), and glass jars filled with cotton balls or swabs. Position the tray on your bathroom vanity for an organized and spa-like touch.
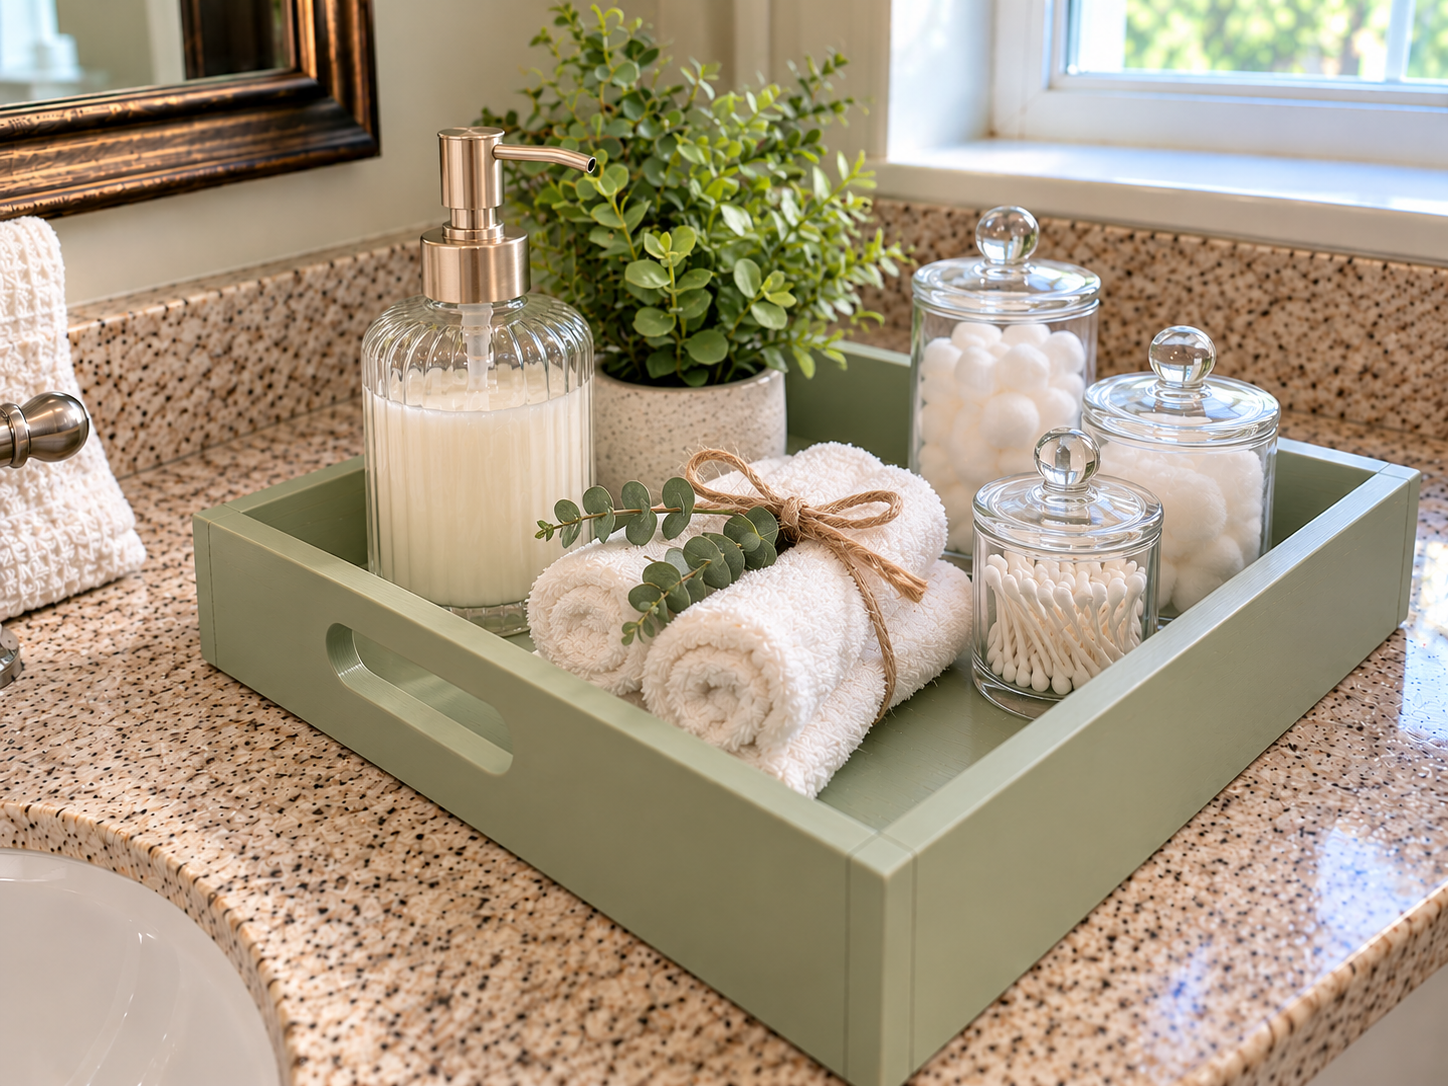
Enjoy Your Stylish Bathroom Organizer
With your new DIY sage green wooden tray, your bathroom vanity can maintain a neat and inviting appearance. This simple project adds both functionality and a calming aesthetic to your space. Enjoy the refreshed look and organized convenience this handmade tray brings to your daily routine.
Related project collection: DIY Sage Green Utensil Crock with Twine Wrap for Farmhouse Kitchens
Practical Questions About This Project
Why is it important to sand the wooden tray before painting?
Sanding the wooden tray before painting helps create a smooth surface, which allows the paint to adhere better and results in a more professional finish.
What type of paint is recommended for this project?
This project uses sage green acrylic craft paint to achieve the desired serene aesthetic.
Why is a clear sealer necessary for the finished tray?
A water-based clear sealer protects the painted finish, making the tray more durable and suitable for use in a bathroom environment.
How many coats of paint are generally needed?
Multiple thin, even coats of paint are applied until full, opaque coverage and the desired depth of color are achieved.
What items can be displayed on this bathroom vanity tray?
The tray is ideal for organizing a soap dispenser, a small potted plant, neatly rolled washcloths, and glass jars with cotton items.
Search Dollar Tree for wood supplies.

Leave a Reply