
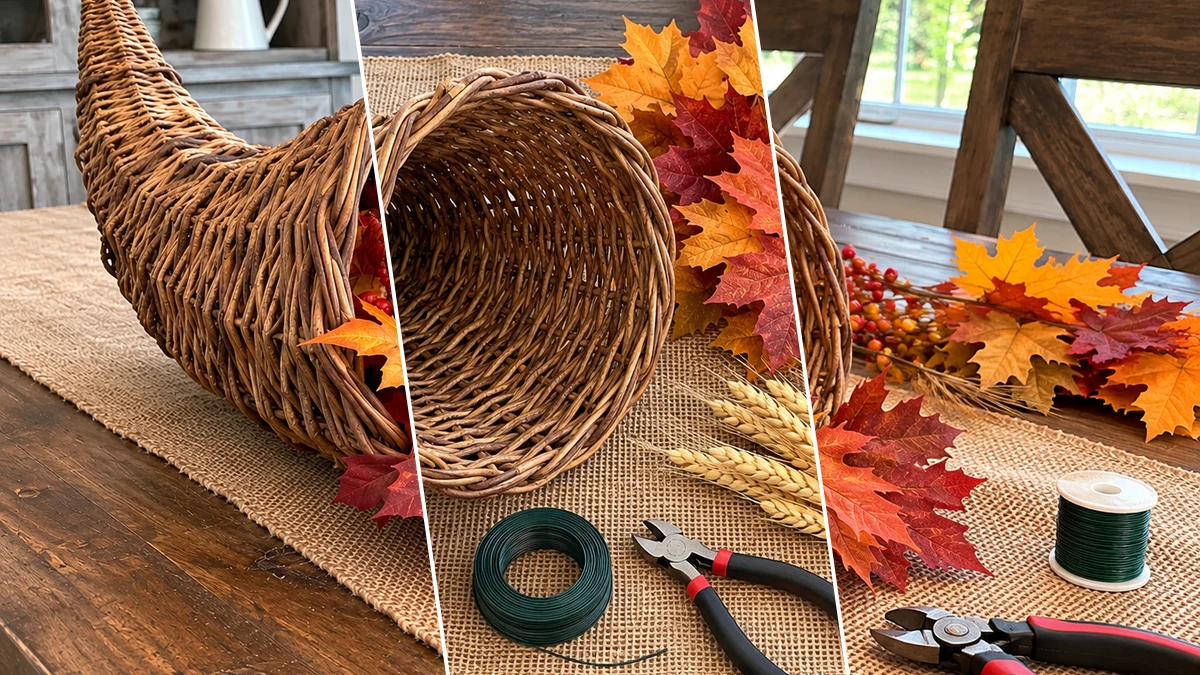
Create a beautiful Thanksgiving cornucopia centerpiece to celebrate the autumn harvest. This project transforms a simple wicker basket into a bountiful display, perfect for your dinner table or buffet. Filling it with faux fall leaves, mini pumpkins, and berries offers a festive and welcoming touch for the season.
Project at a Glance
- Difficulty: Easy
- Estimated active time: 20 minutes to 30 minutes (drying and curing waits not included)
- Estimated component cost: $25 to $50 (reusable tools and general supplies excluded)
- Main material: Faux Florals
About This DIY Thanksgiving Cornucopia
The cornucopia, or horn of plenty, is a classic symbol of abundance and gratitude, making it an ideal centerpiece for Thanksgiving gatherings. This DIY project offers a straightforward way to capture that spirit, even for those new to crafting. It uses readily available faux fall elements to create a rich, autumnal display without fresh produce.
Designed to be both visually appealing and easy to assemble, this centerpiece is suitable for various Thanksgiving settings. Whether placed on a formal dining table, a casual buffet, or an entryway console, its rustic charm enhances any fall decor. The use of durable faux materials ensures it can be enjoyed throughout the autumn season.
Materials for DIY Wicker Cornucopia Thanksgiving Centerpiece for a Table or Buffet
- Wicker Cornucopia Basket
- Assorted Faux Fall Foliage (leaves, berry picks, wheat stems)
- Mini Faux Pumpkins
- Floral Wire OR Hot Glue Gun with Glue Sticks
- Wire Cutters (if using floral wire)
- Burlap Table Runner
Need another material? Browse current craft supplies and deals.
How to Assemble Your Cornucopia Centerpiece
Transform a simple wicker basket into a festive cornucopia using these step-by-step instructions. This guide outlines how to arrange faux fall foliage, pumpkins, and berries to create a full and abundant display. Gather your materials and prepare your workspace to begin.
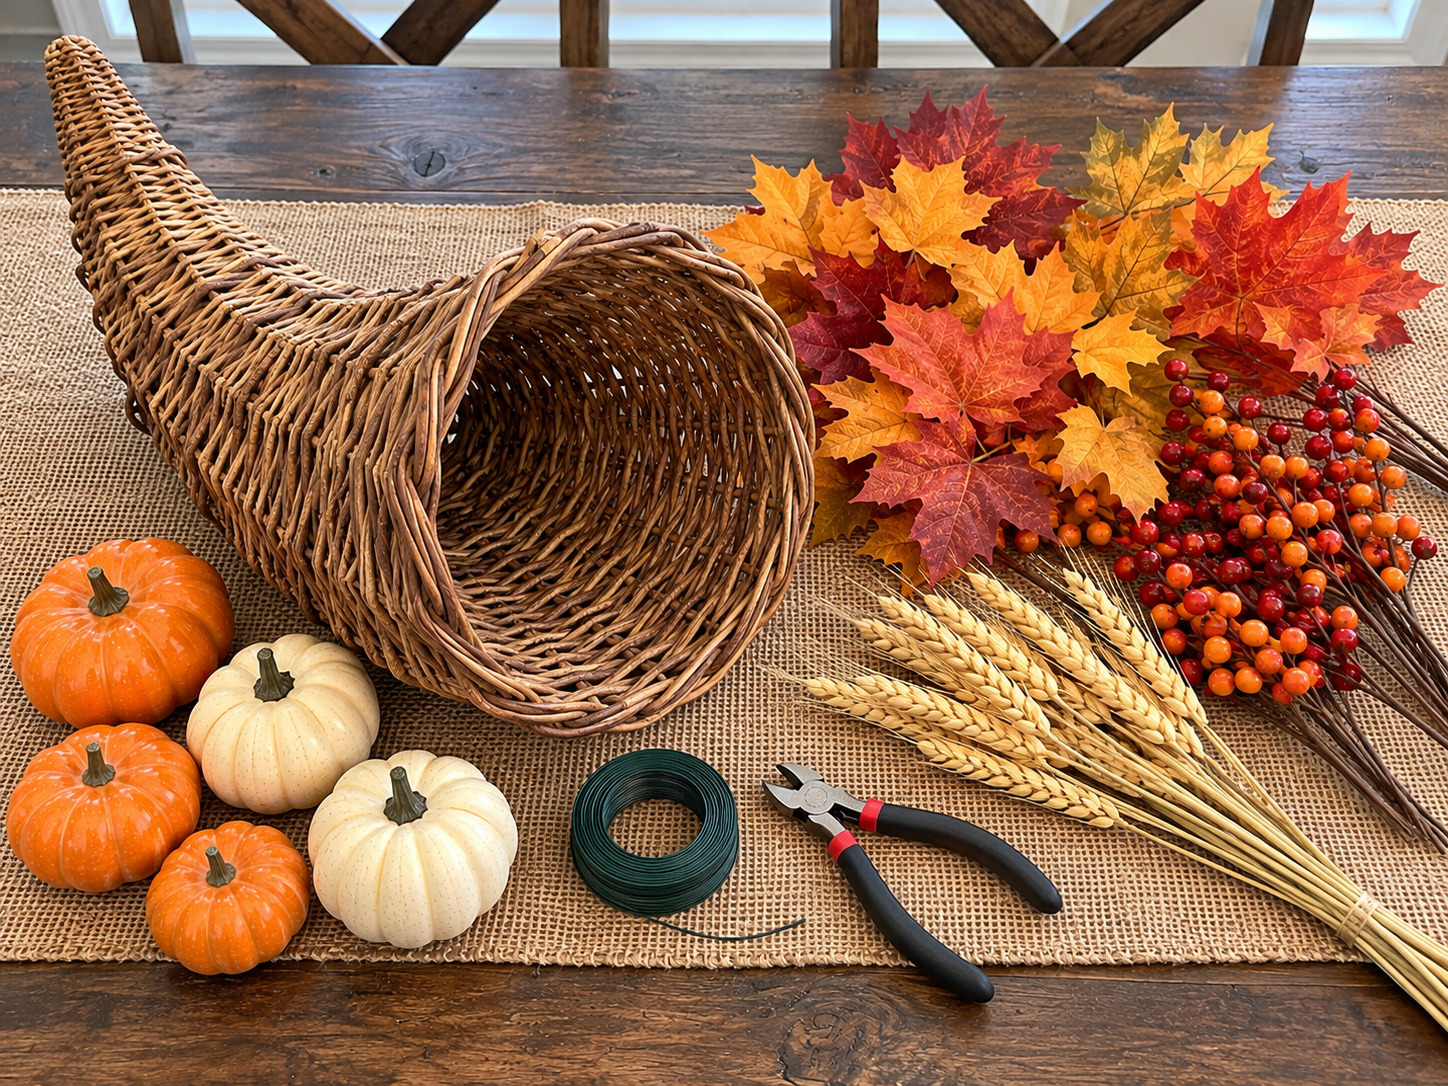
Step 1: Gather Your Supplies
Lay out all your materials on a clean, flat workspace. This helps you visualize your components and ensures everything you need is within reach. Inspect your faux foliage for any detached pieces or adjustments needed before assembly.
Step 2: Create a Leafy Base
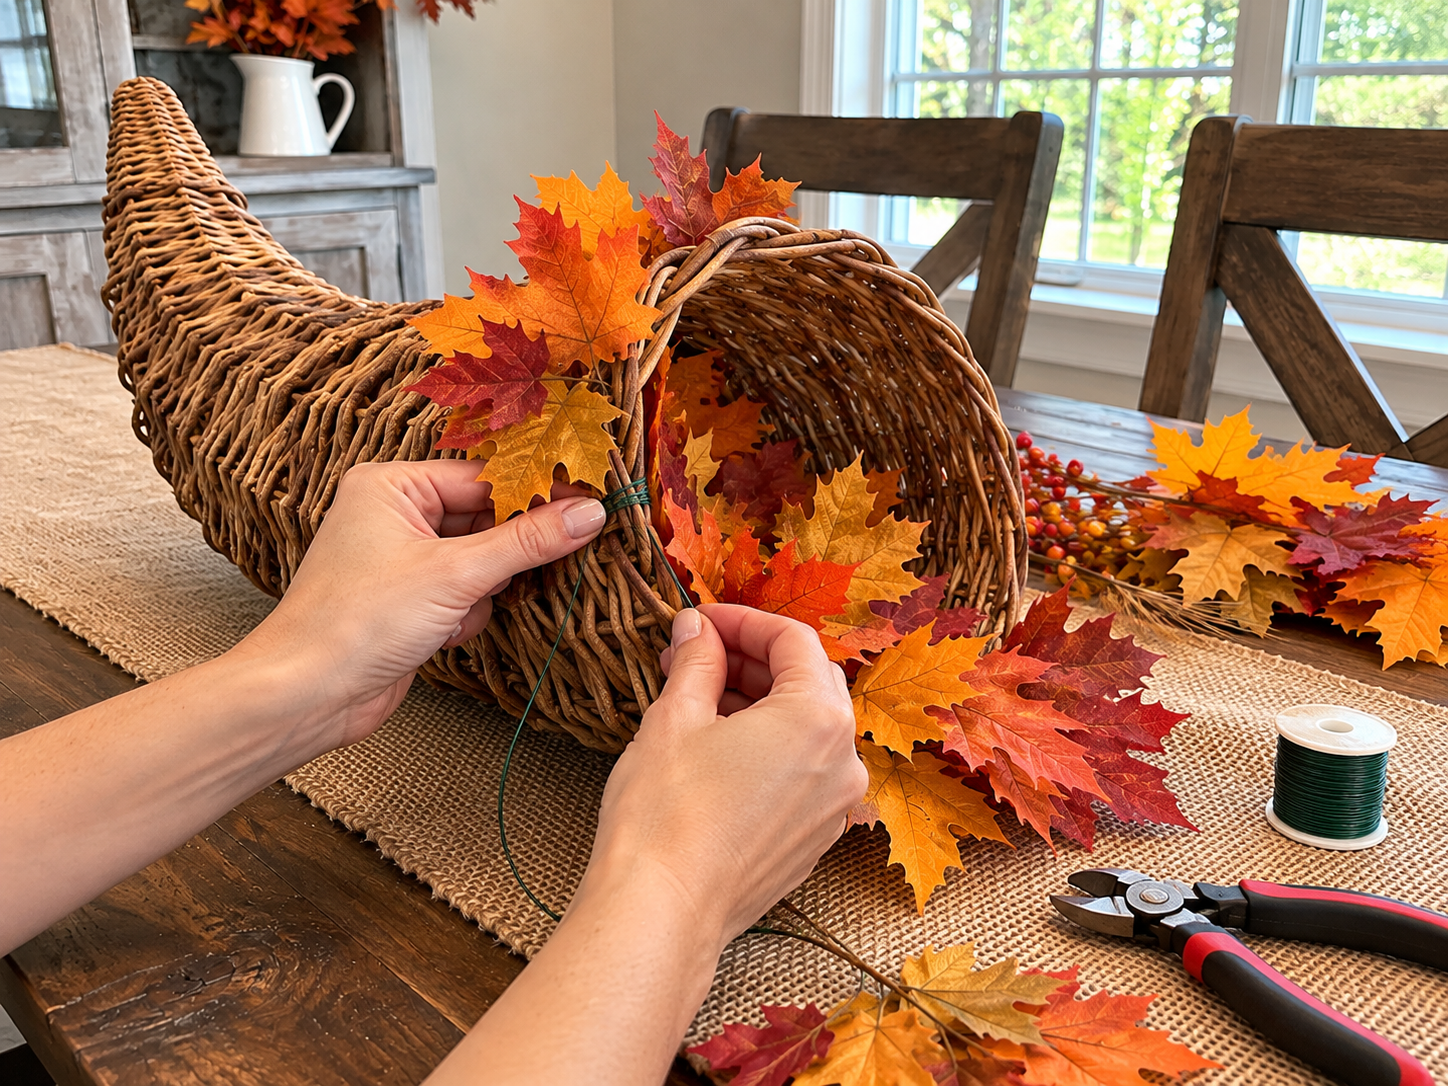
Begin by securing the largest faux fall leaves around the opening and just inside the basket's mouth. Use floral wire to discreetly attach them to the wicker, or use small dabs of hot glue for a quicker hold. Overlap the leaves slightly to create a continuous, lush backdrop, ensuring some leaves extend outwards to give a natural overflow.
Step 3: Position Main Pumpkins
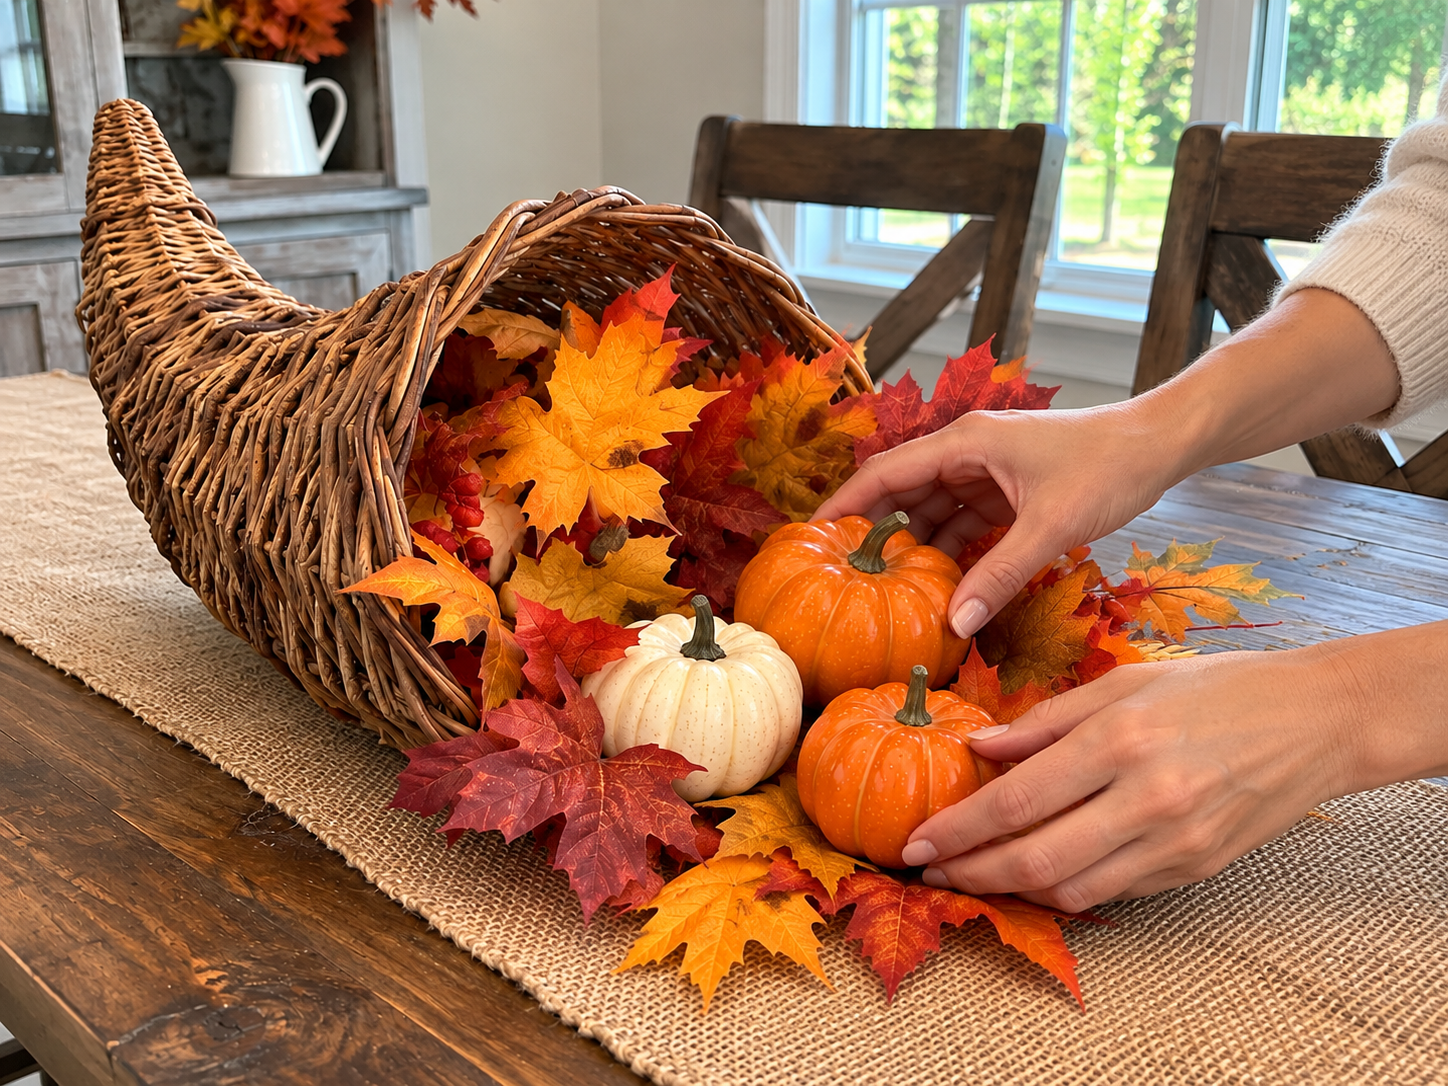
Carefully place the mini faux pumpkins, starting with the largest ones, at the base of the cornucopia's opening. Arrange them to be prominent, nesting them slightly into the leafy base you just created. Ensure they are stable and create focal points for the centerpiece.


Step 4: Add Berries and Wheat
Fill the remaining spaces between the pumpkins and leaves with faux berry picks and wheat stems. Bend and tuck the stems, allowing the elements to cascade naturally out of the cornucopia. Vary their depth and angle to add organic movement and avoid a 'stuffed' appearance, ensuring a full and abundant look.
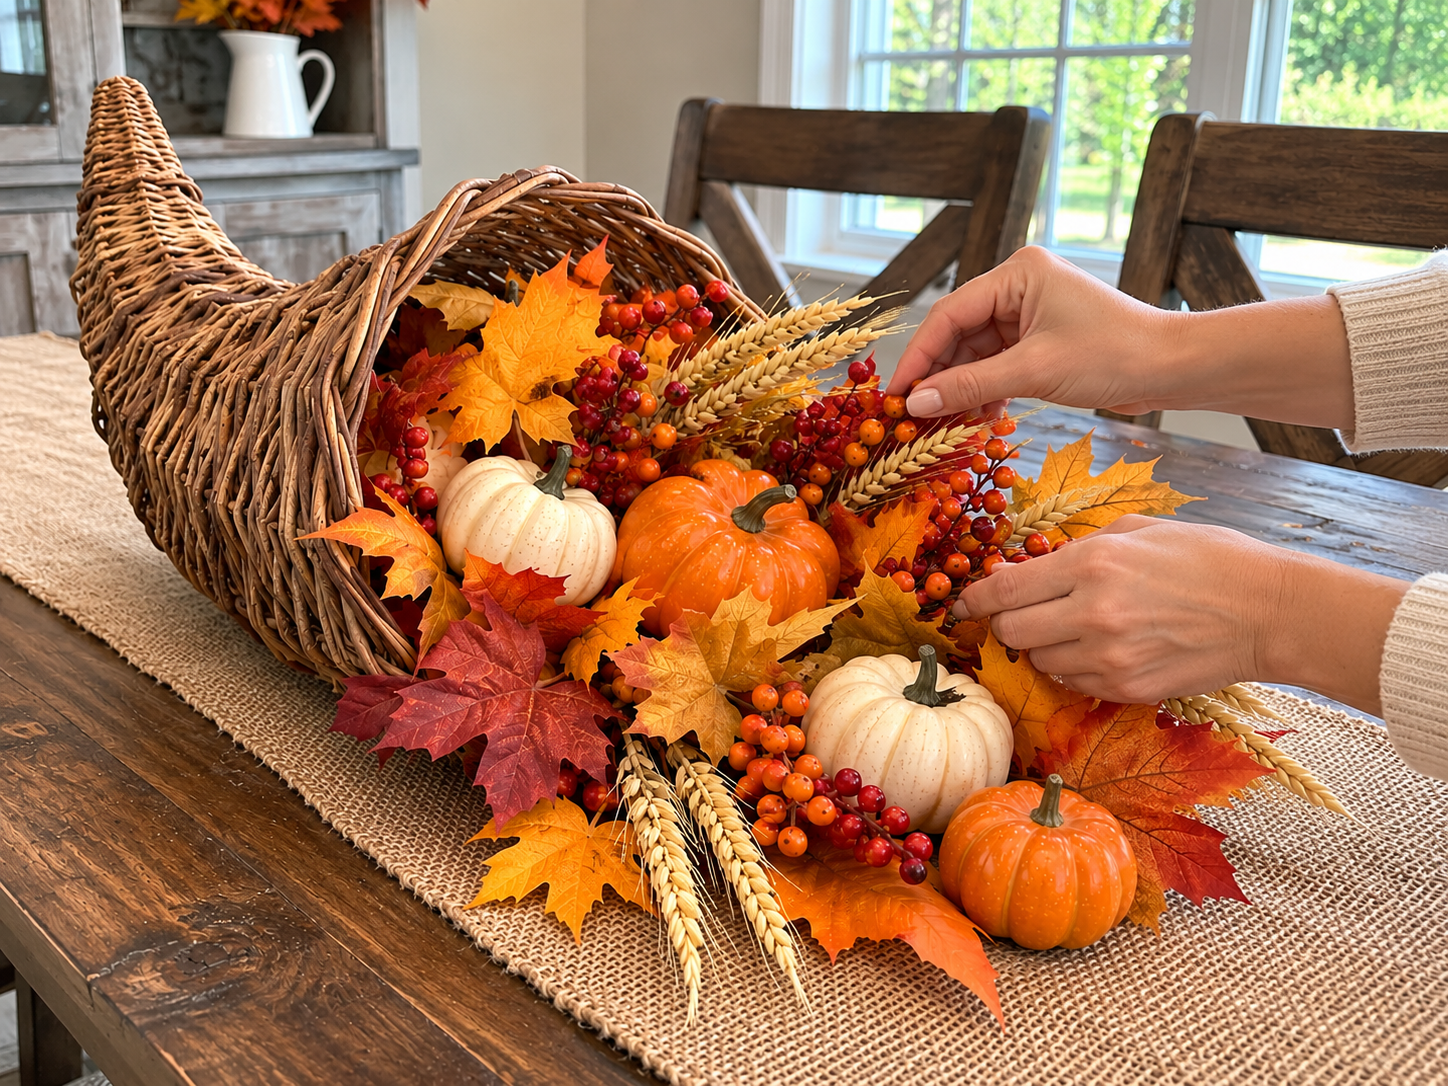
Step 5: Final Placement and Styling
Once all elements are securely in place and you're satisfied with the arrangement, gently lift and position your finished cornucopia centerpiece on your burlap table runner. Adjust any leaves or berries to spill gracefully onto the runner, creating a cohesive and bountiful display for your Thanksgiving table or buffet.
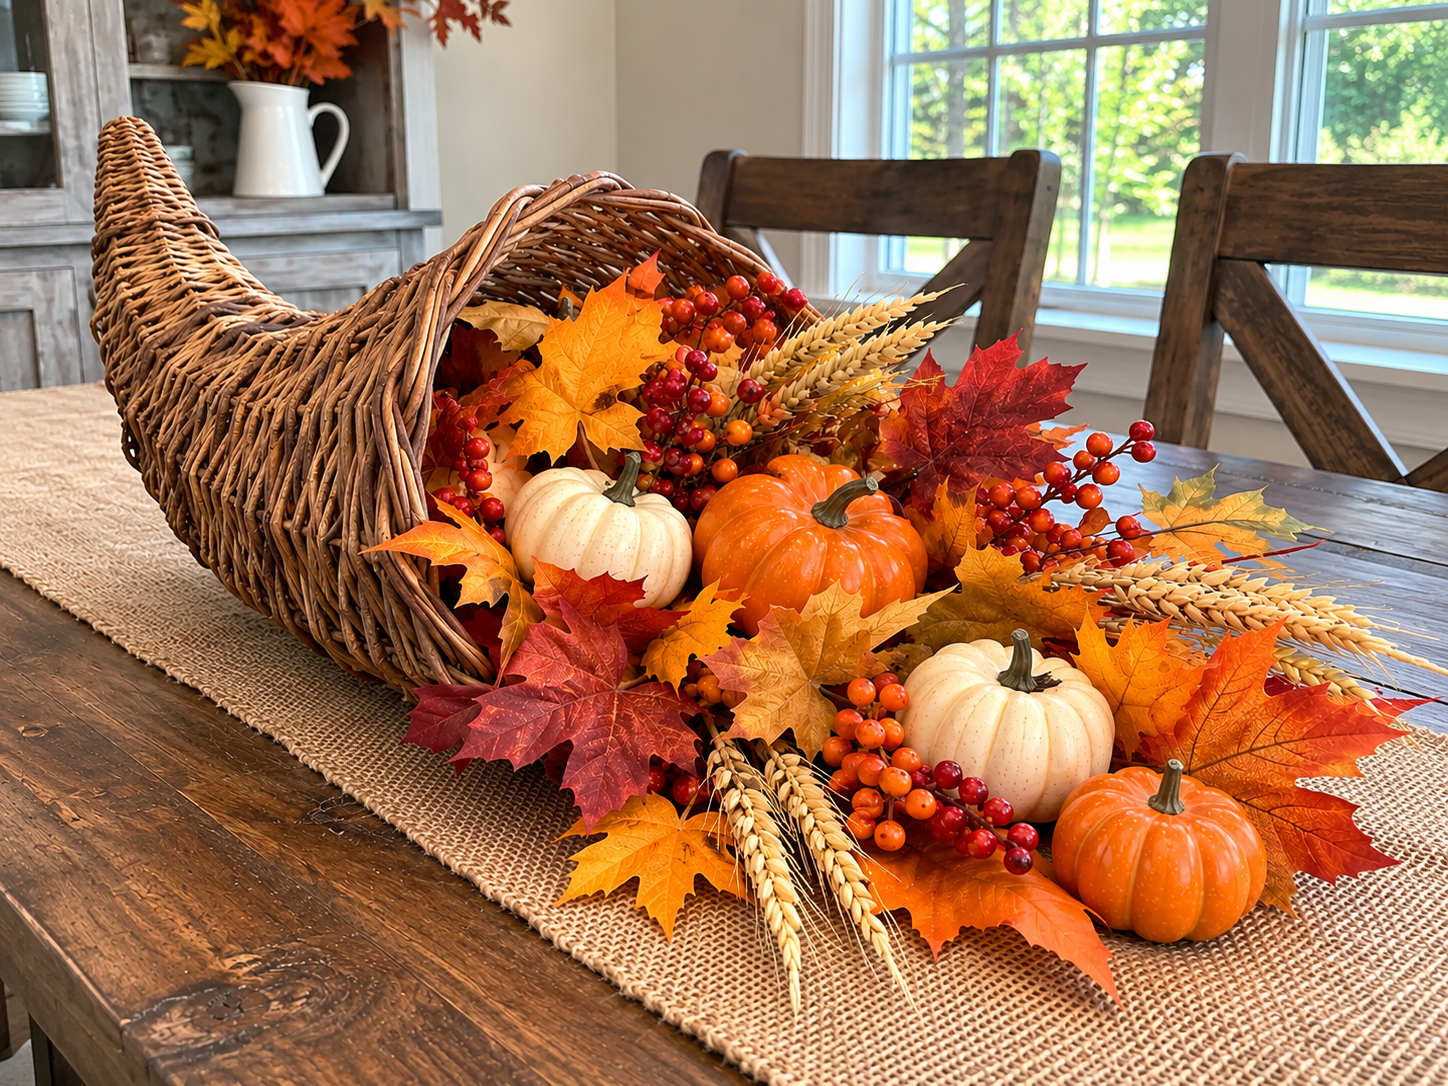
Displaying Your Finished Thanksgiving Cornucopia
With your Thanksgiving cornucopia centerpiece complete, it is ready to become a focal point of your seasonal decor. Place it prominently on your holiday table or buffet to welcome guests with a symbol of harvest abundance. This festive arrangement adds a warm, inviting touch to any autumn celebration.
Related project collection: DIY Distressed Wooden Tray Fall Centerpiece for a Thanksgiving Table
Practical Questions About This Project
What materials are needed for this cornucopia centerpiece?
The project requires a wicker cornucopia basket, assorted faux fall foliage (leaves, berry picks, wheat stems), mini faux pumpkins, floral wire or a hot glue gun, and a burlap table runner for display.
How long does it take to create this Thanksgiving cornucopia?
The estimated active time for this project is between 20 to 30 minutes, excluding any unattended drying or curing time.
Can this cornucopia be used for occasions other than Thanksgiving?
Yes, this cornucopia centerpiece features general fall harvest elements, making it suitable for display throughout the entire autumn season, not just Thanksgiving.
What is the estimated cost for the components of this project?
The estimated project component cost is between $25 and $50, which excludes reusable tools and general supplies.
What kind of basket works best for this cornucopia?
A wicker cornucopia basket or a plain wicker basket shaped like a horn is ideal for this project, as it forms the base of the "horn of plenty" design.
Search Dollar Tree for faux florals supplies.

Leave a Reply