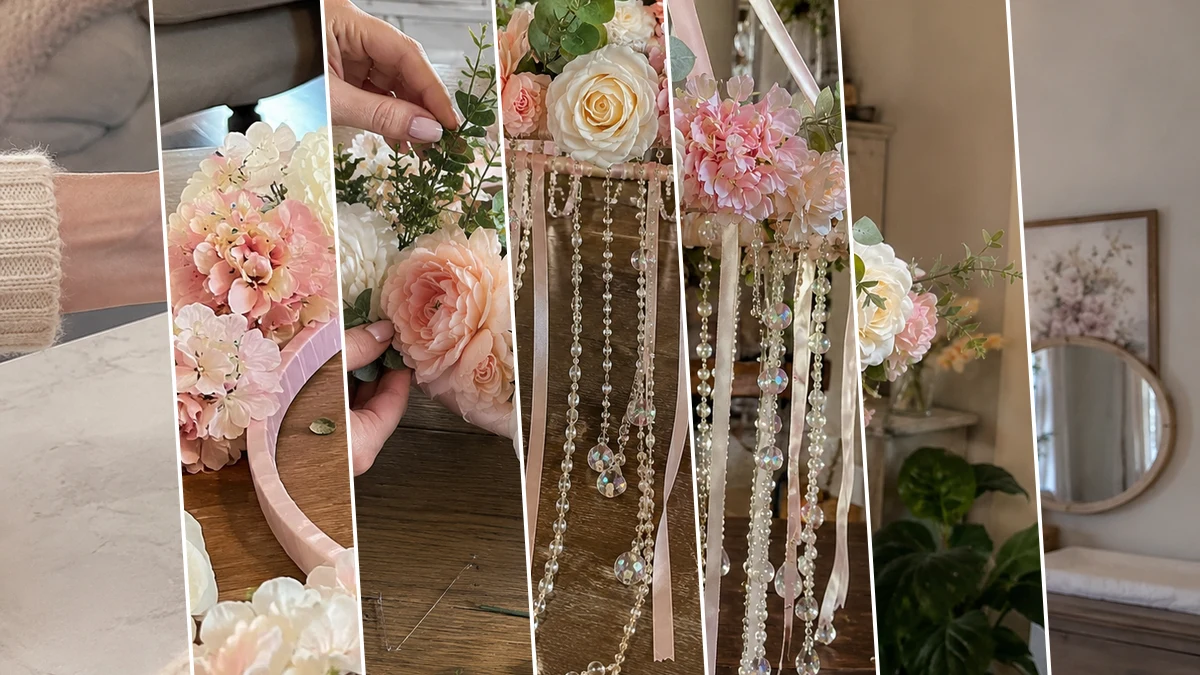
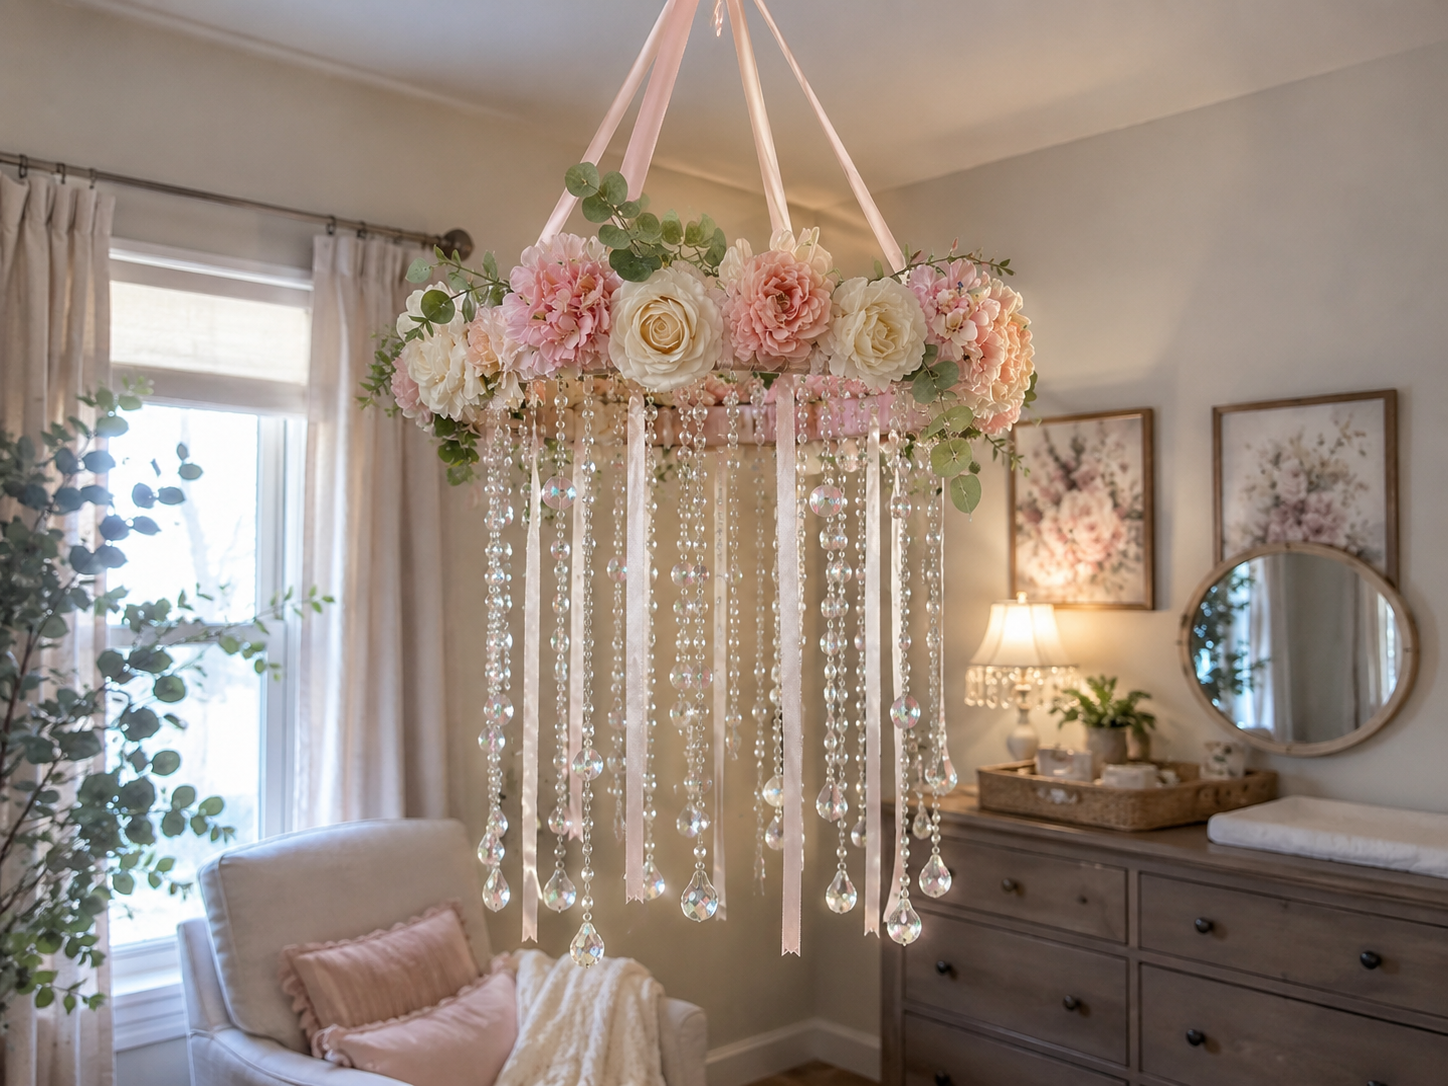
My sister just told me she’s having a baby, and I wanted something super special for the nursery that wouldn’t break the bank. That’s how I dreamed up this Dreamy Dollar Tree Floral Chandelier: An Elegant DIY Hanging Decor. It turned out even cuter than I imagined, and honestly, you won’t believe it’s from Dollar Tree!
See also: Diy Dollar Tree Tiered Floral Porch Arrangement
Theme: Baby & Nursery
Materials Needed
- Hoop or Wire Wreath Form
- Faux Flowers & Greenery (roses, hydrangeas, peonies, eucalyptus)
- Decorative Strands & Drops (pearl garlands, acrylic bead strands, faux crystal drops)
- Satin Ribbon (pink & white)
- Hot Glue Gun & Glue Sticks
- Scissors & Floral Wire
- Metal Hanging Ring or Hook
📋 Love staying organized while crafting? Check out our printable planners & craft designs at CraftersDT on Etsy and use code CRAFT20 for 20% off your entire order!
Why This Craft Works
This little chandelier is just perfect for so many spots. I made mine with a sweet baby girl’s room in mind, thinking how cute it would look hanging above a changing table or crib, adding a soft, gentle touch to the Baby & Nursery decor. But really, you could pop it in a play area, a little girl’s bedroom, or even a cozy reading nook. It brings such a happy, light feeling wherever it goes.
📱 Free to Download
Join 50,000+ crafters already using Craftino
Browse 77+ Baby & Nursery ideas and thousands more in the app
✓ Save crafts & browse fully offline
✓ Download printable PDF guides for every project
✓ Step-by-step photo tutorials, nothing left out
✓ 1,000+ craft projects with new ones added every week

Okay, let’s talk money, honey! The best part about this Dreamy Dollar Tree Floral Chandelier: An Elegant DIY Hanging Decor is how much you save. Almost everything for this project came from Dollar Tree, which means we’re talking about an estimated total cost of around $5 to $7, depending on how many flowers you grab. Seriously, for a piece of Home Decor this pretty, that’s a steal!
You ready for this? This craft is super easy, I’d say a solid ‘Easy’ difficulty level. It took me about 30 to 45 minutes from start to finish, and that included picking out all my flowers! It’s perfect for beginners, busy moms who need a quick win, or even older kids who want to help make something special for a new baby. No fancy skills needed, just a little bit of glue and a whole lot of love!
Step-by-Step Instructions for Dreamy Dollar Tree Floral Chandelier: An Elegant DIY Hanging Decor
Alright, crafters, are you ready to make some magic? This Dreamy Dollar Tree Floral Chandelier project is so much fun and goes together quicker than you can say ‘Dollar Tree haul!’ You’re going to love watching it come together, and honestly, it’s such a satisfying way to add some beautiful Home Decor to any room, especially a Baby & Nursery. Even if you’re new to DIY, you’ll be a pro in no time. Let’s grab our supplies and get started!
Step 1: Prepare & Wrap the Base Ring
Begin by selecting your main hanging frame – either a wire wreath form or a round plastic embroidery hoop. Ensure it’s clean and sturdy. Take your soft pink or white satin ribbon and begin wrapping it tightly around the entire ring, overlapping slightly with each pass. Continue until the entire hoop is covered, making sure no part of the original frame shows through. This step provides a beautiful, uniform base and a clean surface for gluing.
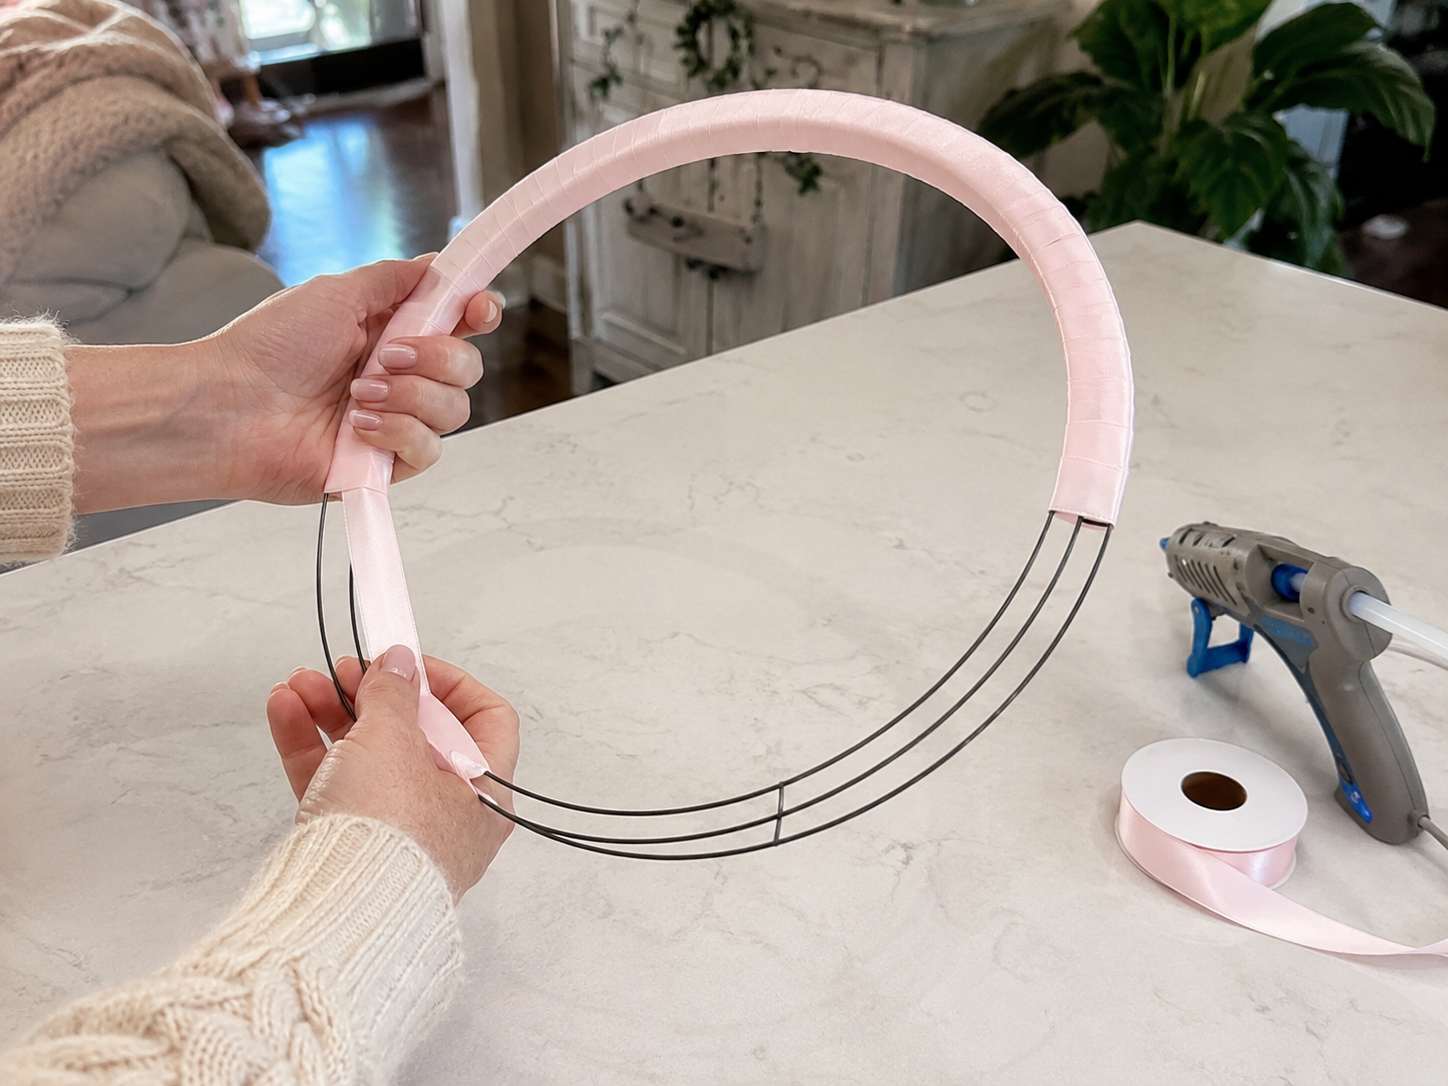
💡 Pro Tip: To secure your ribbon, apply a small dot of hot glue at the starting and ending points on the underside of the hoop. Wrap smoothly and consistently to avoid bumps and ensure full coverage. If using an embroidery hoop, you can disassemble it and wrap only the inner ring for a cleaner finish, then reassemble if needed.
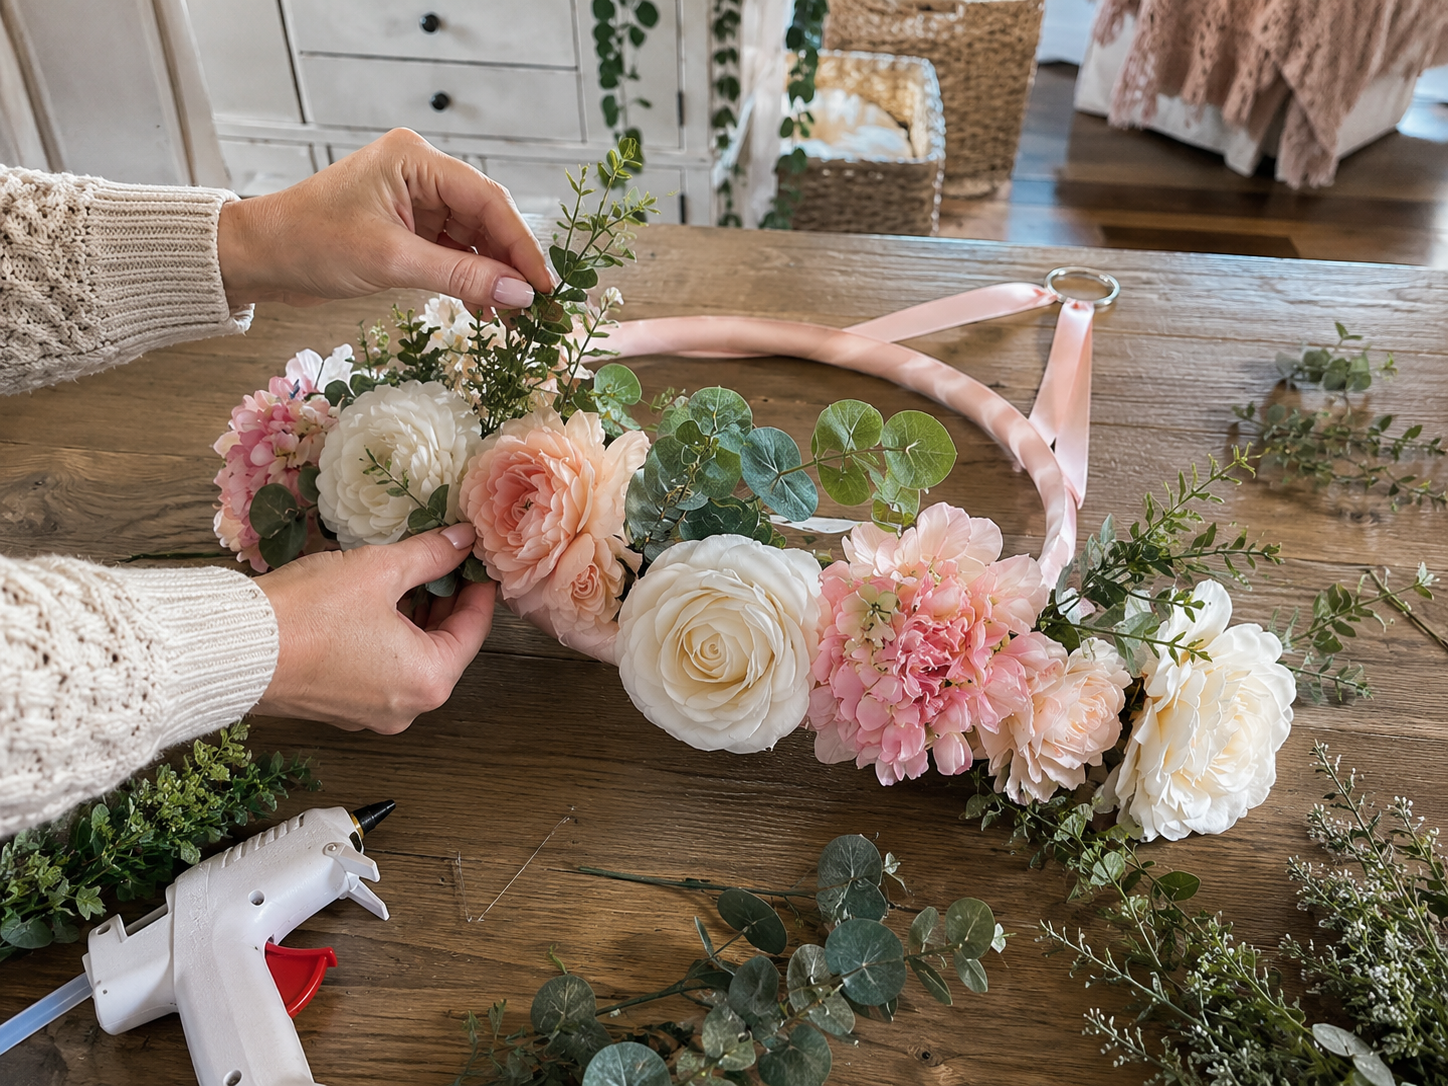
Step 2: Create the Floral Crown Base
Carefully snip the faux flower heads (roses, hydrangeas, peonies) from their stems using scissors, leaving a small stub at the base if possible for better gripping. Arrange them around the top and outer edge of your ribbon-wrapped ring. Start by gluing your largest flowers first, spacing them evenly, then fill in with smaller flowers. Use hot glue to securely attach each flower head, pressing firmly for a few seconds until the glue sets. Aim for a full, lush, and balanced floral crown.

💡 Pro Tip: Before gluing, lay out your flower heads dry on a flat surface in the approximate arrangement you desire. This allows you to visualize the balance of colors (blush pink, cream, white) and sizes before making permanent attachments. Apply glue to the base of the flower head, not directly to the ribbon, to avoid scorching the ribbon.
🗓️ Keep all your craft projects on track! Explore our printable planners & templates at CraftersDT on Etsy and use code CRAFT20 for 20% off!
Step 3: Integrate Greenery Accents
Once your main floral base is complete, begin to tuck in smaller eucalyptus stems and greenery picks between and behind the flower heads. These add crucial texture, depth, and a touch of natural elegance to your chandelier. Use small dots of hot glue to secure them in place, ensuring they flow naturally with the curves of the flowers and the hoop. Distribute the greenery evenly around the circle for a balanced look from all angles.
💡 Pro Tip: Bend and shape your greenery stems to create movement and dimension before gluing. Overlap them slightly with the flowers to create a seamless, natural transition. For a truly high-end look, opt for varied shades of green and different leaf shapes within your eucalyptus and greenery picks.
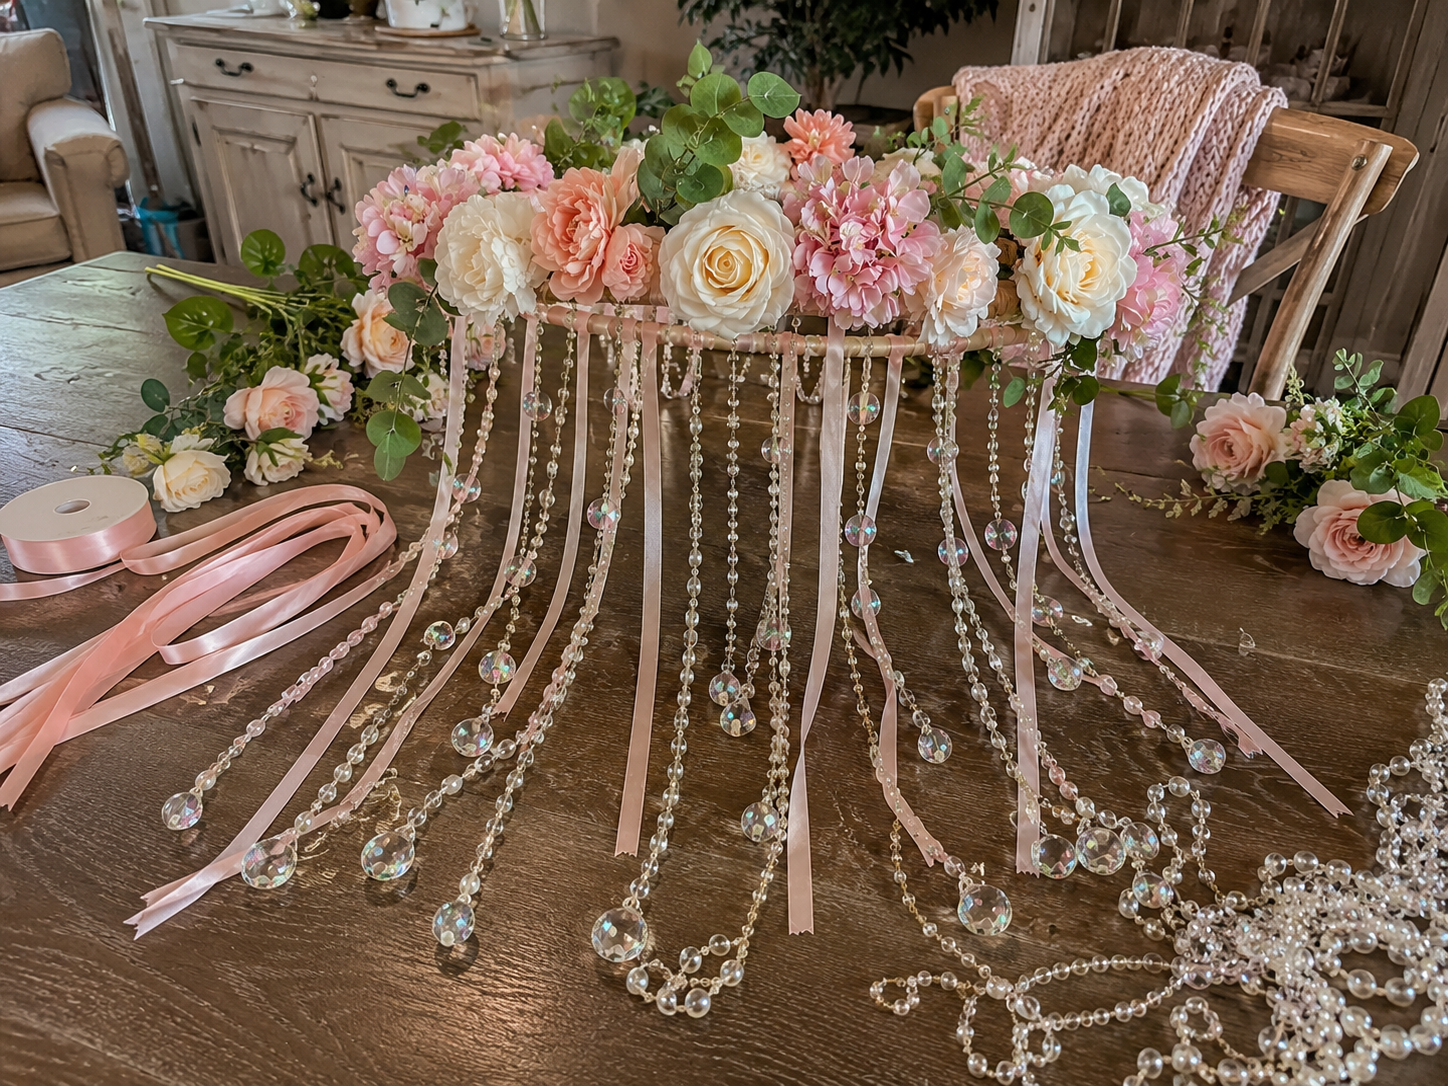
Step 4: Attach Draping Strands & Ribbons
Now for the enchanting ‘chandelier’ effect! Cut several lengths of pearl garlands, clear acrylic bead strands, and soft pink or white ribbon strips. Vary the lengths to create a dynamic, soft, sparkling curtain effect – some shorter, some longer. Use hot glue or floral wire to securely attach these strands to the lower or inner edge of the wrapped ring. Distribute them evenly around the entire circumference of the hoop, ensuring a beautiful drape.
💡 Pro Tip: Before gluing, hold up a few strands to test different lengths and arrangements. You can mark points on the hoop where you want to attach them to ensure even spacing. For a stronger hold, use a small piece of floral wire to wrap around the bead strand or ribbon end and then twist it securely onto the hoop before adding a dab of hot glue.
Step 5: Add Faux Crystal Drops
To give your chandelier a true high-end, boutique feel, select a few larger faux crystal drops. Using a small dab of hot glue, attach one crystal drop to the very end of some of your bead strands. Distribute these larger drops sparingly among the various dangling strands, focusing on strands that are at different lengths to maximize their visual impact and sparkle.

💡 Pro Tip: Less is often more with larger crystal drops; they act as focal points. Before gluing, hold them up to see where they would catch the light best. Ensure the glue is fully dry before handling to prevent the drops from falling. You can also use a small jump ring to attach them if your bead strands have loops.
Step 6: Construct Hanging Straps
To hang your beautiful chandelier, cut three or four equal lengths of your soft pink satin ribbon. The length will depend on how low you want it to hang, but typically 24-36 inches each is a good starting point. Attach one end of each ribbon to the main hoop, spacing them equally around the circumference (e.g., at 12, 4, and 8 o’clock positions for three ribbons, or 12, 3, 6, 9 o’clock for four). Secure them firmly with strong knots or hot glue. Gather the loose ends of these ribbons at the top and tie them together onto a metal hanging ring or hook, ensuring the knot is very secure and the chandelier hangs evenly.

💡 Pro Tip: Use a measuring tape to ensure your ribbon lengths are precisely equal, which is crucial for even hanging. For extra security, after tying the ribbons to the hoop and then to the metal ring, you can add a small dab of hot glue over the knots to prevent them from slipping or unraveling over time.
📱 Free to Download
Join 50,000+ crafters already using Craftino
Browse 82+ Baby & Nursery ideas and thousands more in the app
✓ Save crafts & browse fully offline
✓ Download printable PDF guides for every project
✓ Step-by-step photo tutorials, nothing left out
✓ 1,000+ craft projects with new ones added every week
Step 7: Style & Display Your Chandelier
Your dreamy Dollar Tree Floral Chandelier is complete! Find the perfect spot in your home for display. It looks exquisite hanging over a bed in a bedroom, in a baby’s nursery, as charming decor for a baby or bridal shower, or simply to add a touch of romantic elegance to any living space. Adjust any flowers or dangling strands as needed to ensure perfect balance and visual appeal. Enjoy your budget-friendly, high-impact decor!
💡 Pro Tip: Hang your chandelier in a location where natural light can catch the crystal strands, creating beautiful prisms and reflections. For event decor, consider hanging it over a dessert table or guest book station. Periodically dust your chandelier gently with a soft brush or compressed air to maintain its sparkling appearance.
Your Dreamy Dollar Tree Chandelier Shines!
Woohoo! Look at that beautiful Dreamy Dollar Tree Floral Chandelier: An Elegant DIY Hanging Decor! Isn’t it just darling? Hang it up in the Baby & Nursery and watch it catch the light, or wrap it up for the sweetest baby shower gift ever. I’d love to see how yours turned out, so don’t forget to share your pictures with me!
📱 Free to Download
Join 50,000+ crafters already using Craftino
Browse 58+ Baby & Nursery ideas and thousands more in the app
✓ Save crafts & browse fully offline
✓ Download printable PDF guides for every project
✓ Step-by-step photo tutorials, nothing left out
✓ 1,000+ craft projects with new ones added every week
Frequently Asked Questions
How many Dollar Tree floral bunches do I need for this Dreamy Floral Chandelier?
For a standard-sized Dreamy Dollar Tree Floral Chandelier, I used about 4-6 small floral bunches from Dollar Tree. This gives it a nice full look without being too heavy.
What’s the best type of glue for a Dollar Tree DIY hanging decor like this?
A good hot glue gun with strong, all-purpose glue sticks works perfectly for this DIY hanging decor. It sets fast and holds the florals securely to the embroidery hoop.
Can I customize the colors for a Baby & Nursery floral chandelier?
Absolutely! Dollar Tree has a great selection of artificial flowers, so you can easily pick colors to match any Baby & Nursery theme, like soft blues, yellows, or even a mix of pastels. I recommend sticking to 2-3 main colors for a cohesive look.
How long does it take to make this Elegant DIY Floral Chandelier?
This Elegant DIY Floral Chandelier is a quick craft! You can usually complete it in about 30-45 minutes, even if you’re a beginner. It’s perfect for a last-minute gift or decor update.
How much does a Dreamy Dollar Tree Floral Chandelier cost to make?
You’ll be thrilled to hear this Dreamy Dollar Tree Floral Chandelier costs very little! The total estimated cost is typically between $5 and $7, as most supplies, like the embroidery hoop and flowers, come from Dollar Tree.
Is this Dollar Tree floral chandelier durable enough for a baby’s room?
Yes, once assembled with hot glue, this Dollar Tree floral chandelier is quite sturdy. Just ensure all pieces are securely attached. It’s designed for hanging decor, not for handling, so place it out of a child’s reach for safety, about 3 feet above a crib or changing table.
Get inspired with daily seasonal ideas on the Dollar Tree Craft Blog.
Leave a Reply