
An embroidery project can fit inside one hoop, yet its information ends up everywhere. The pattern is on a tablet, floss labels are missing, a half-used skein is mixed with full ones, and the note about fabric count or strand choice disappears before the next stitching session. When several hoops are active, even finding the right needle and colors can become a project of its own.
This guide shows how to organize embroidery projects, floss, fabric and works in progress with a system that stays useful beside the hoop. You can build it in a notebook or spreadsheet. If you want reusable pages already arranged, our Embroidery Project Journal on Etsy includes printable, fillable and hyperlinked GoodNotes versions. It is a digital download; no physical item is shipped.
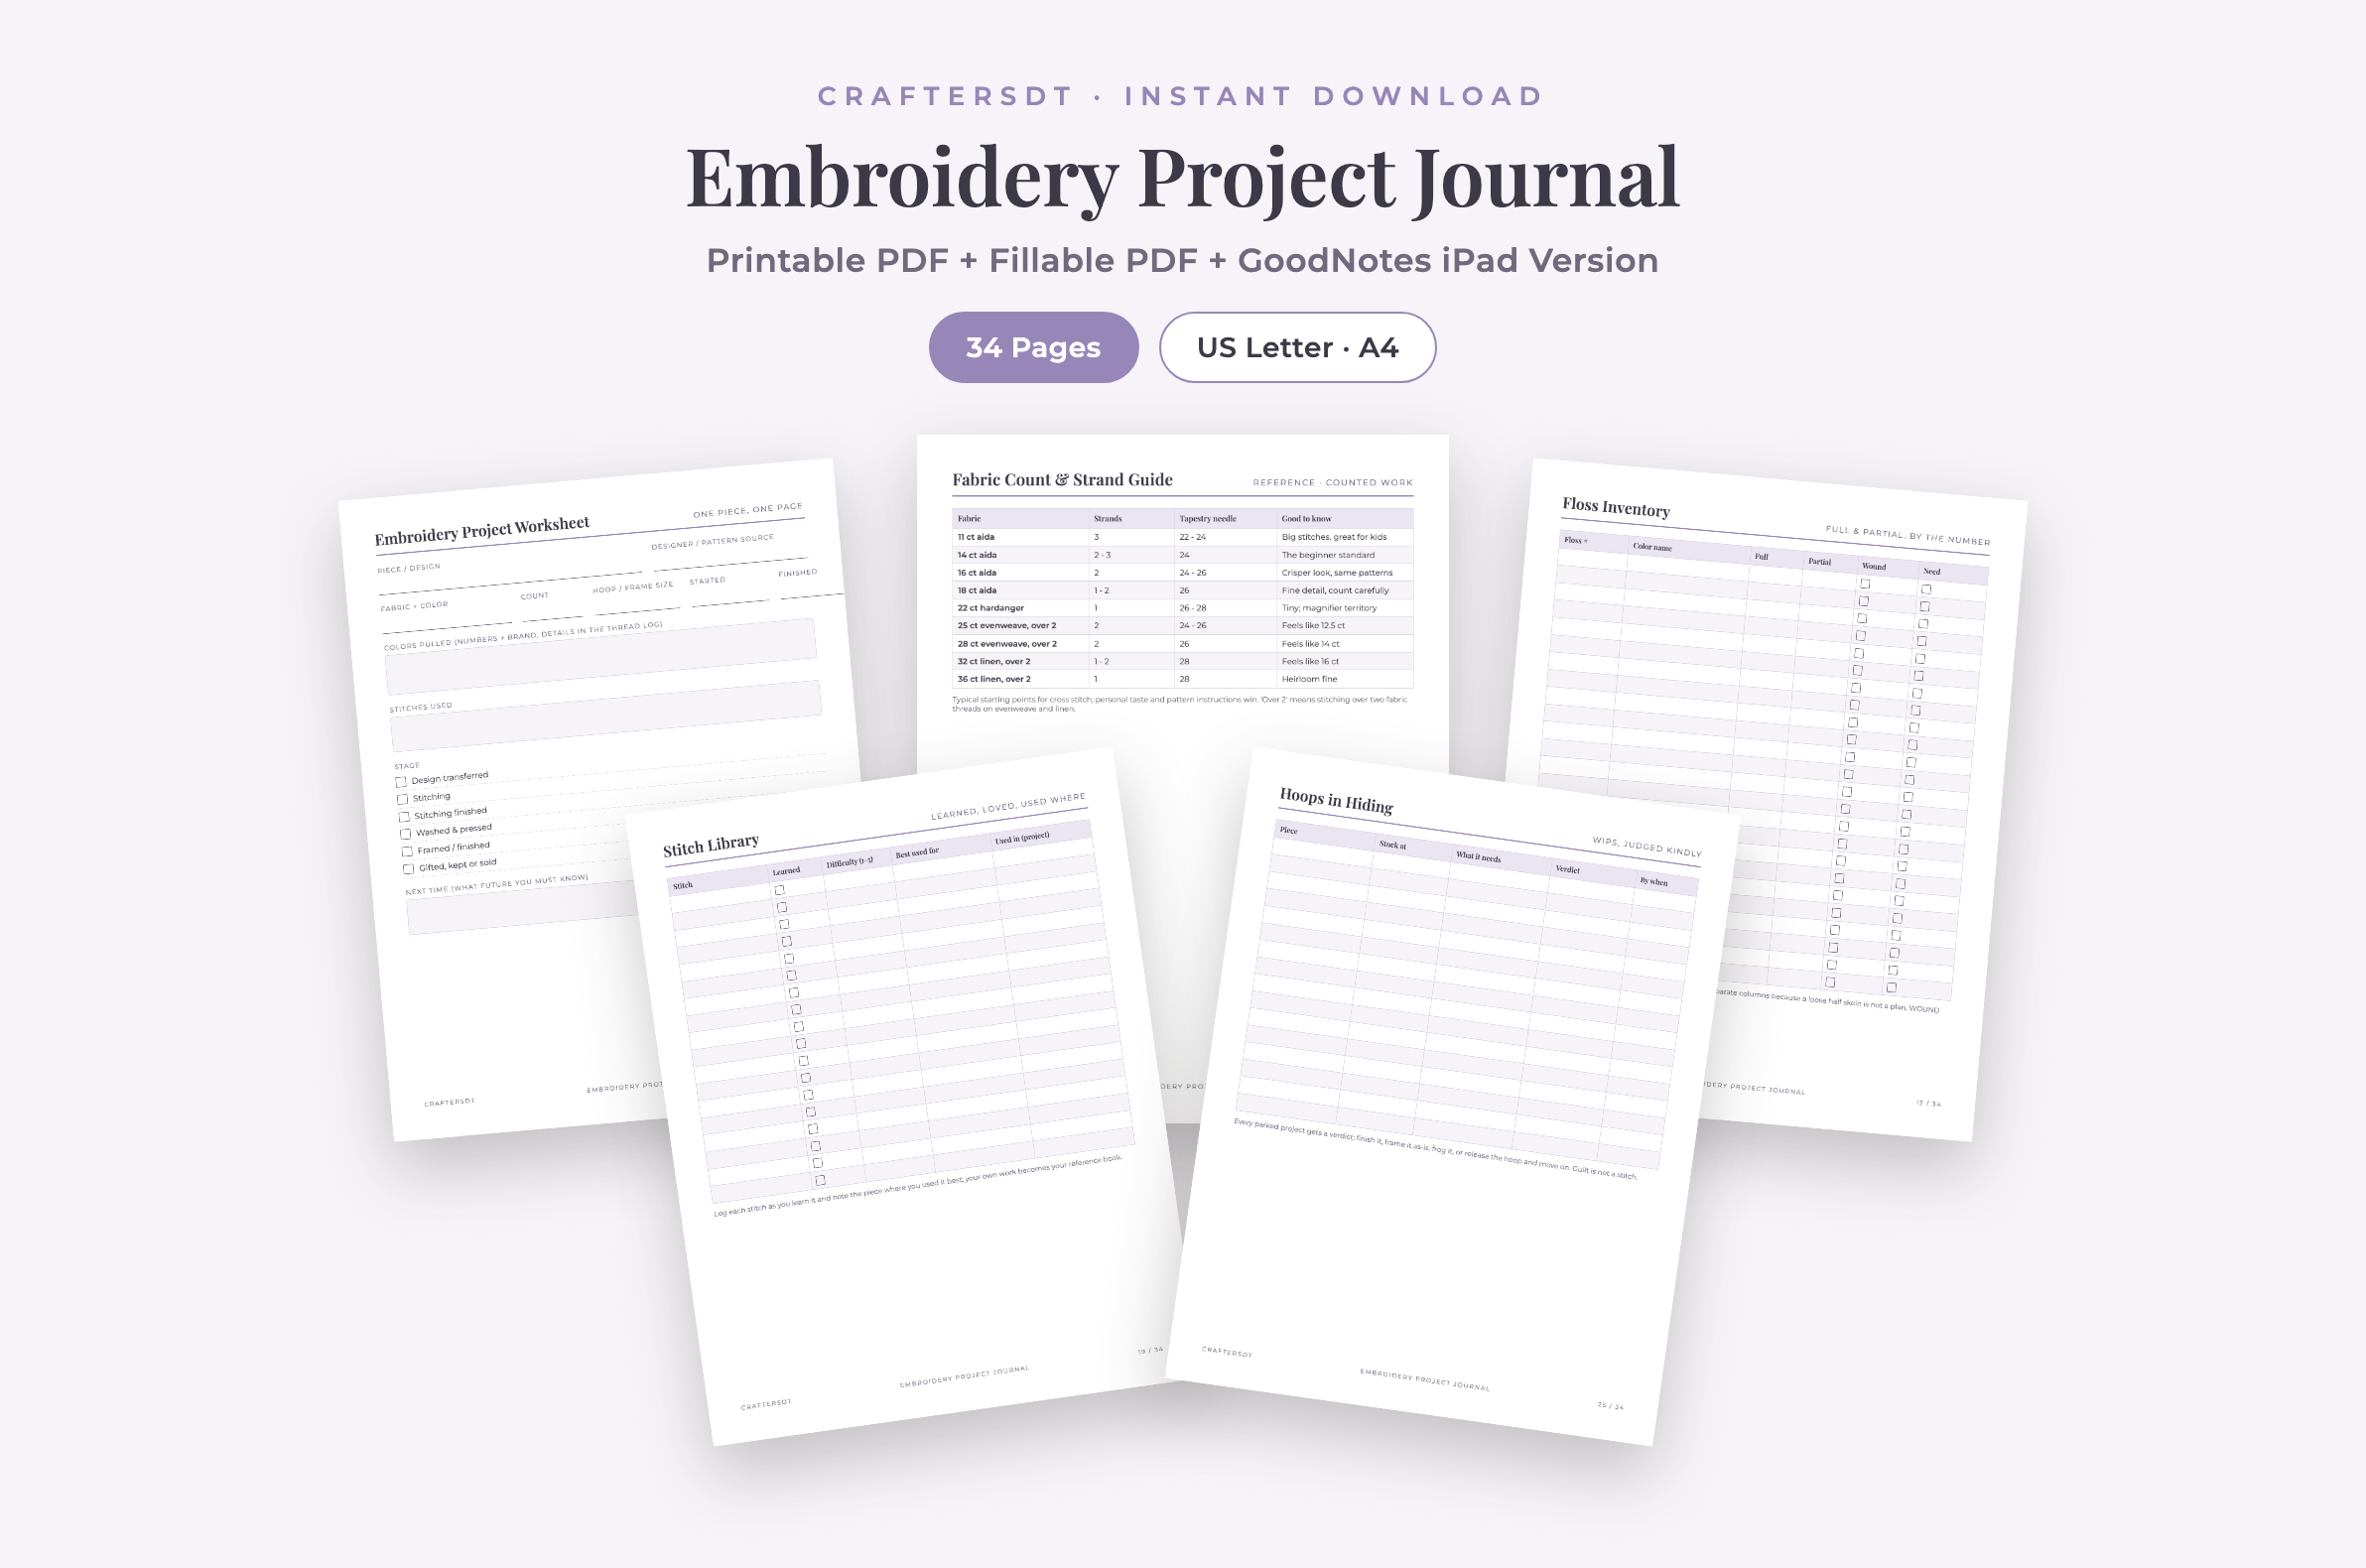
Give Every Hoop One Master Project Record
Start the project record when you choose the design, not after the first problem. Write the piece name, designer or pattern source, fabric type and color, fabric count when relevant, hoop or frame size, start date and the person or purpose it is intended for. Add the colors pulled and the stitches you expect to use.
A short stage checklist makes a parked project easier to understand:
- Design prepared or transferred
- Fabric mounted and stitching started
- Stitching completed and loose ends checked
- Piece cleaned and pressed when appropriate for its materials
- Framed or finished into its final form
- Gifted, kept or sold and added to the finished log
Before putting the hoop away, record one specific next action such as “finish the lower leaf in color 327” or “test the transfer line on a scrap.” That sentence removes the need to reconstruct the project when you return.
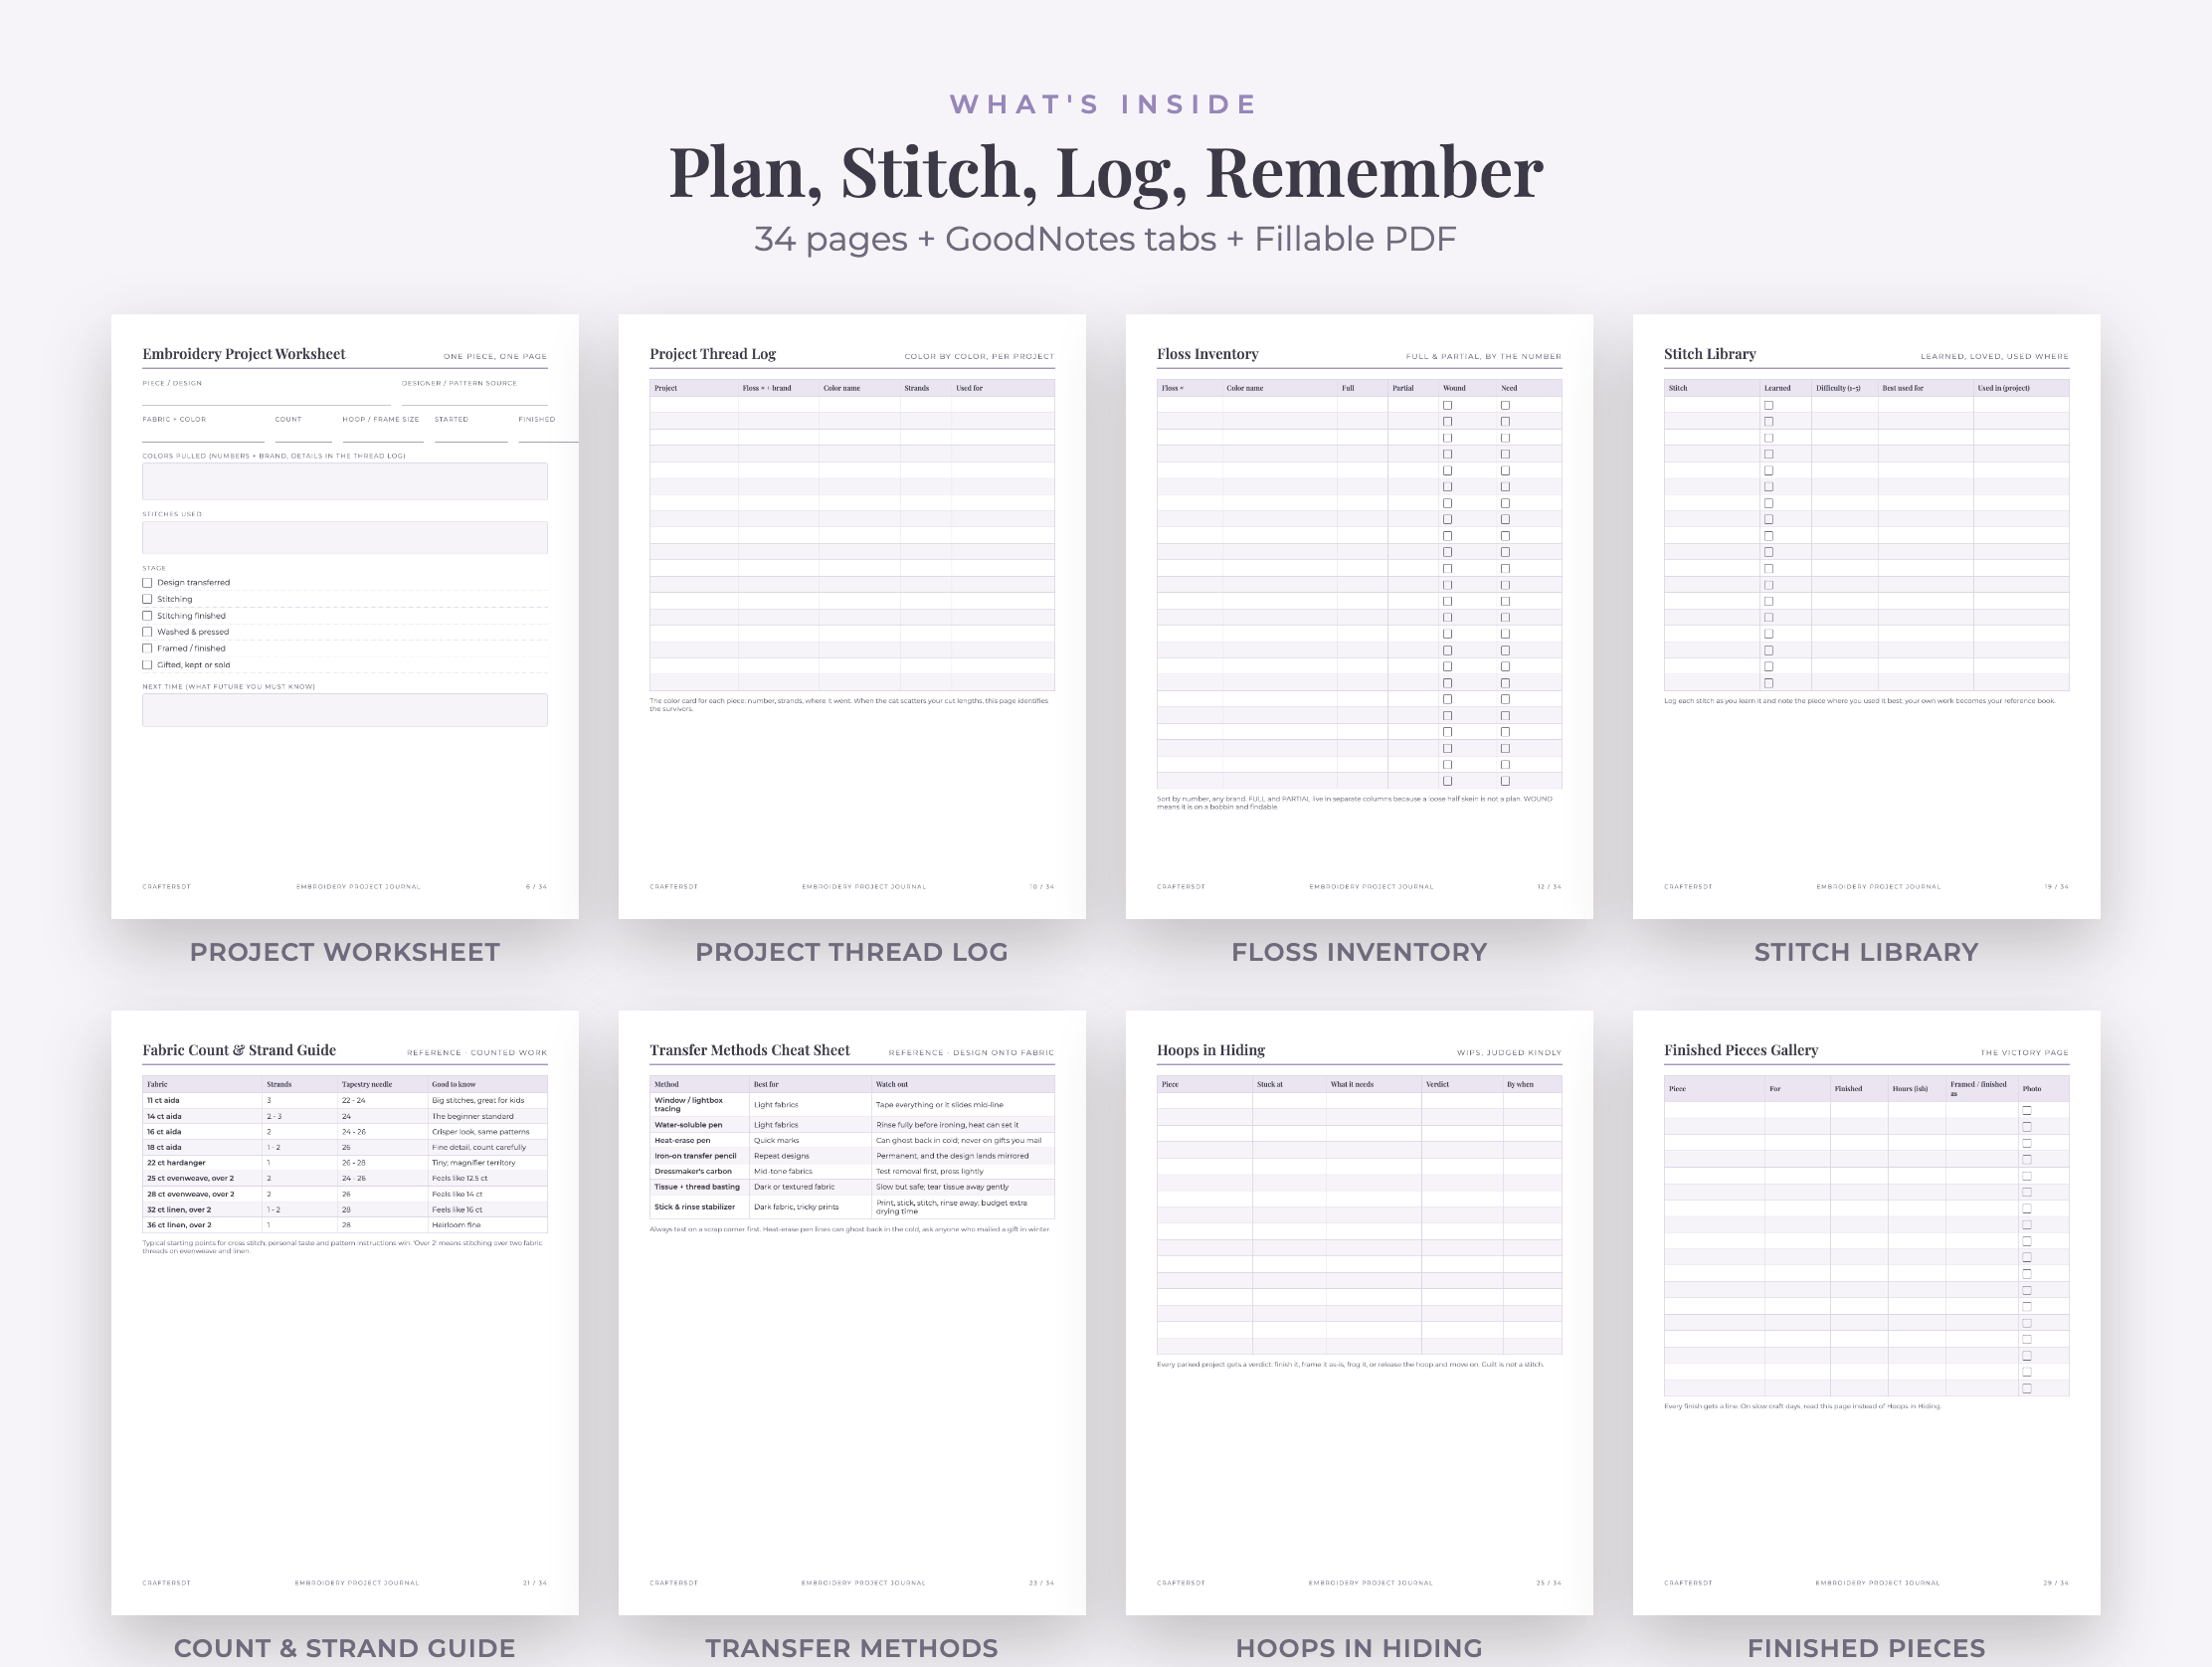
Separate the Project Thread Log from the Master Floss Inventory
These two records answer different questions. A project thread log explains which colors belong to one piece: brand, color number, color name, number of strands and where each color is used. A master inventory tells you what is available across the entire stash.
Keep the project log with the working hoop or project pouch. If cut lengths become separated from their labels, the log helps identify where they belong. When the project ends, return usable floss to storage and update the master inventory.
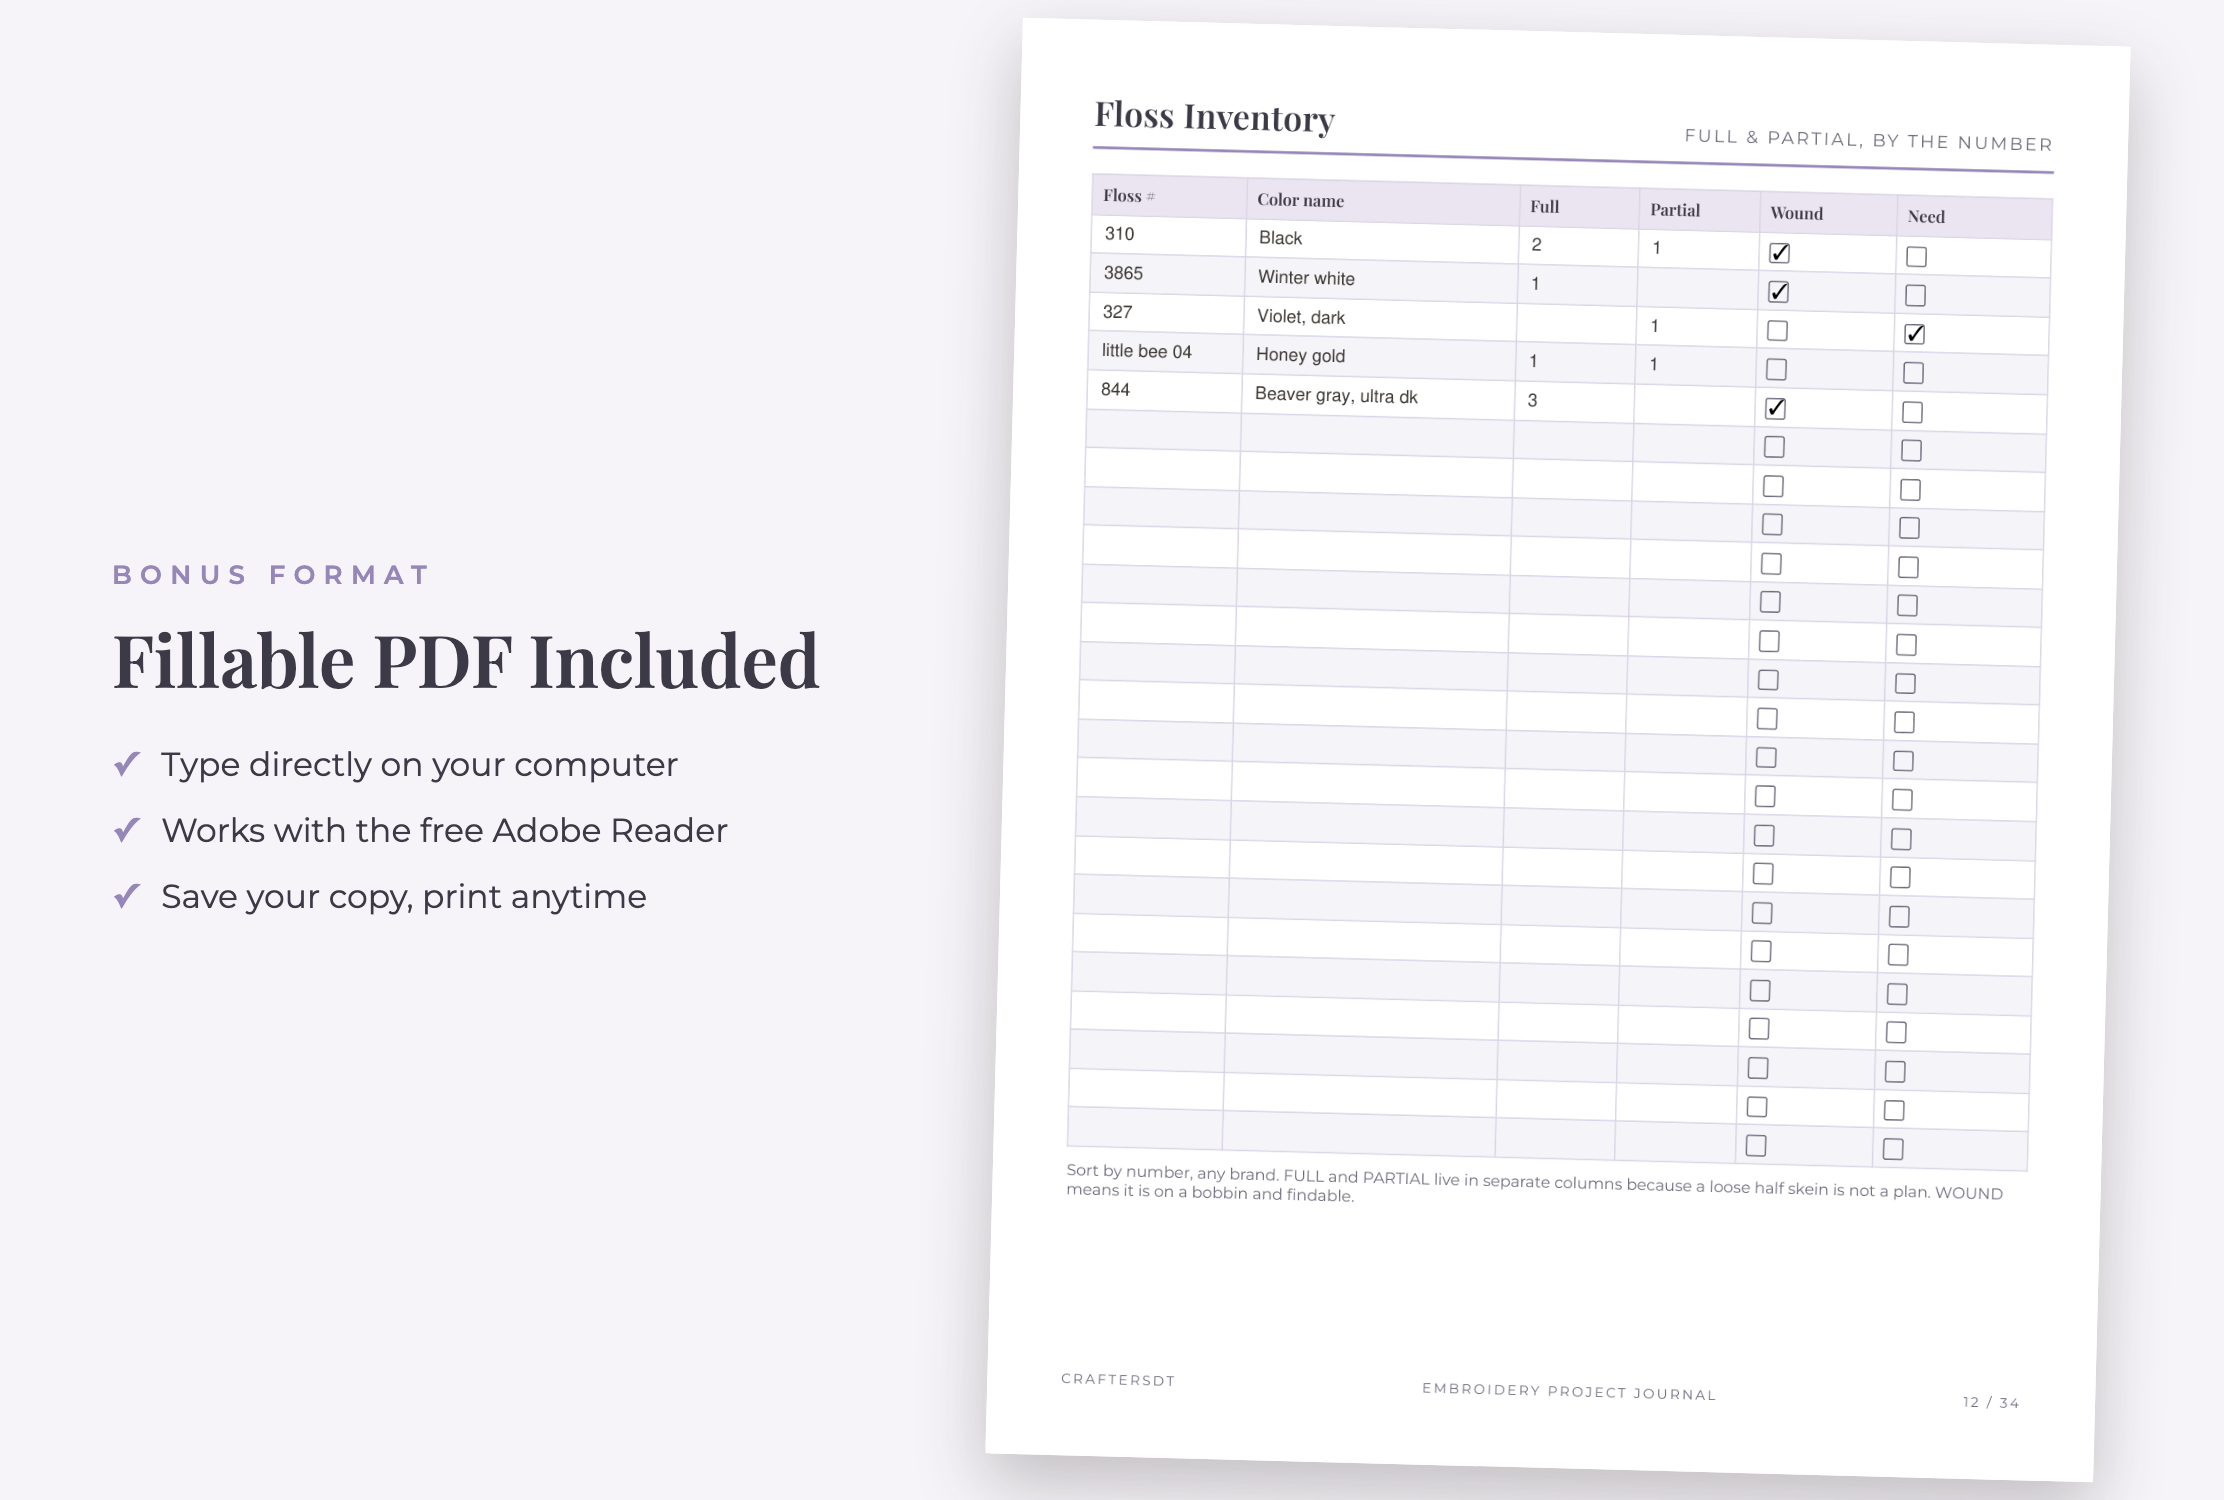
Build a Floss Inventory You Can Trust at the Store
Choose one stable sorting key—usually brand and number—and use the same order in both physical storage and the inventory. Record the color name as a helpful second check, but do not rely on a name such as “dark violet” when the printed number is available.
Count full and partial skeins separately. Two loose remnants do not necessarily equal one project-ready skein, and combining them into a single total creates false confidence. Add a wound marker if you store floss on bobbins and a “need” marker for the next shopping trip.
- Label bobbins or bags before removing the original band.
- Keep brands distinct when their numbers are not interchangeable.
- Update quantities when colors move into or out of a project kit.
- Check the inventory before turning a pattern’s thread list into a shopping list.
Match the Digital Record to Physical Storage
A journal cannot find an item unless the storage location means something. Give floss boxes, drawers, project bags and fabric bins short labels, then use those exact labels in the record. Store each active project as a kit with its pattern, fabric, pulled floss, needle, hoop and project sheet.
Track fabric by type, count, color, usable size and location. Mark a piece as spoken for when it belongs to a planned project. For kits and patterns, record the designer, format and precise location—“PDF, tablet, Embroidery/Florals” is more useful than “digital.”
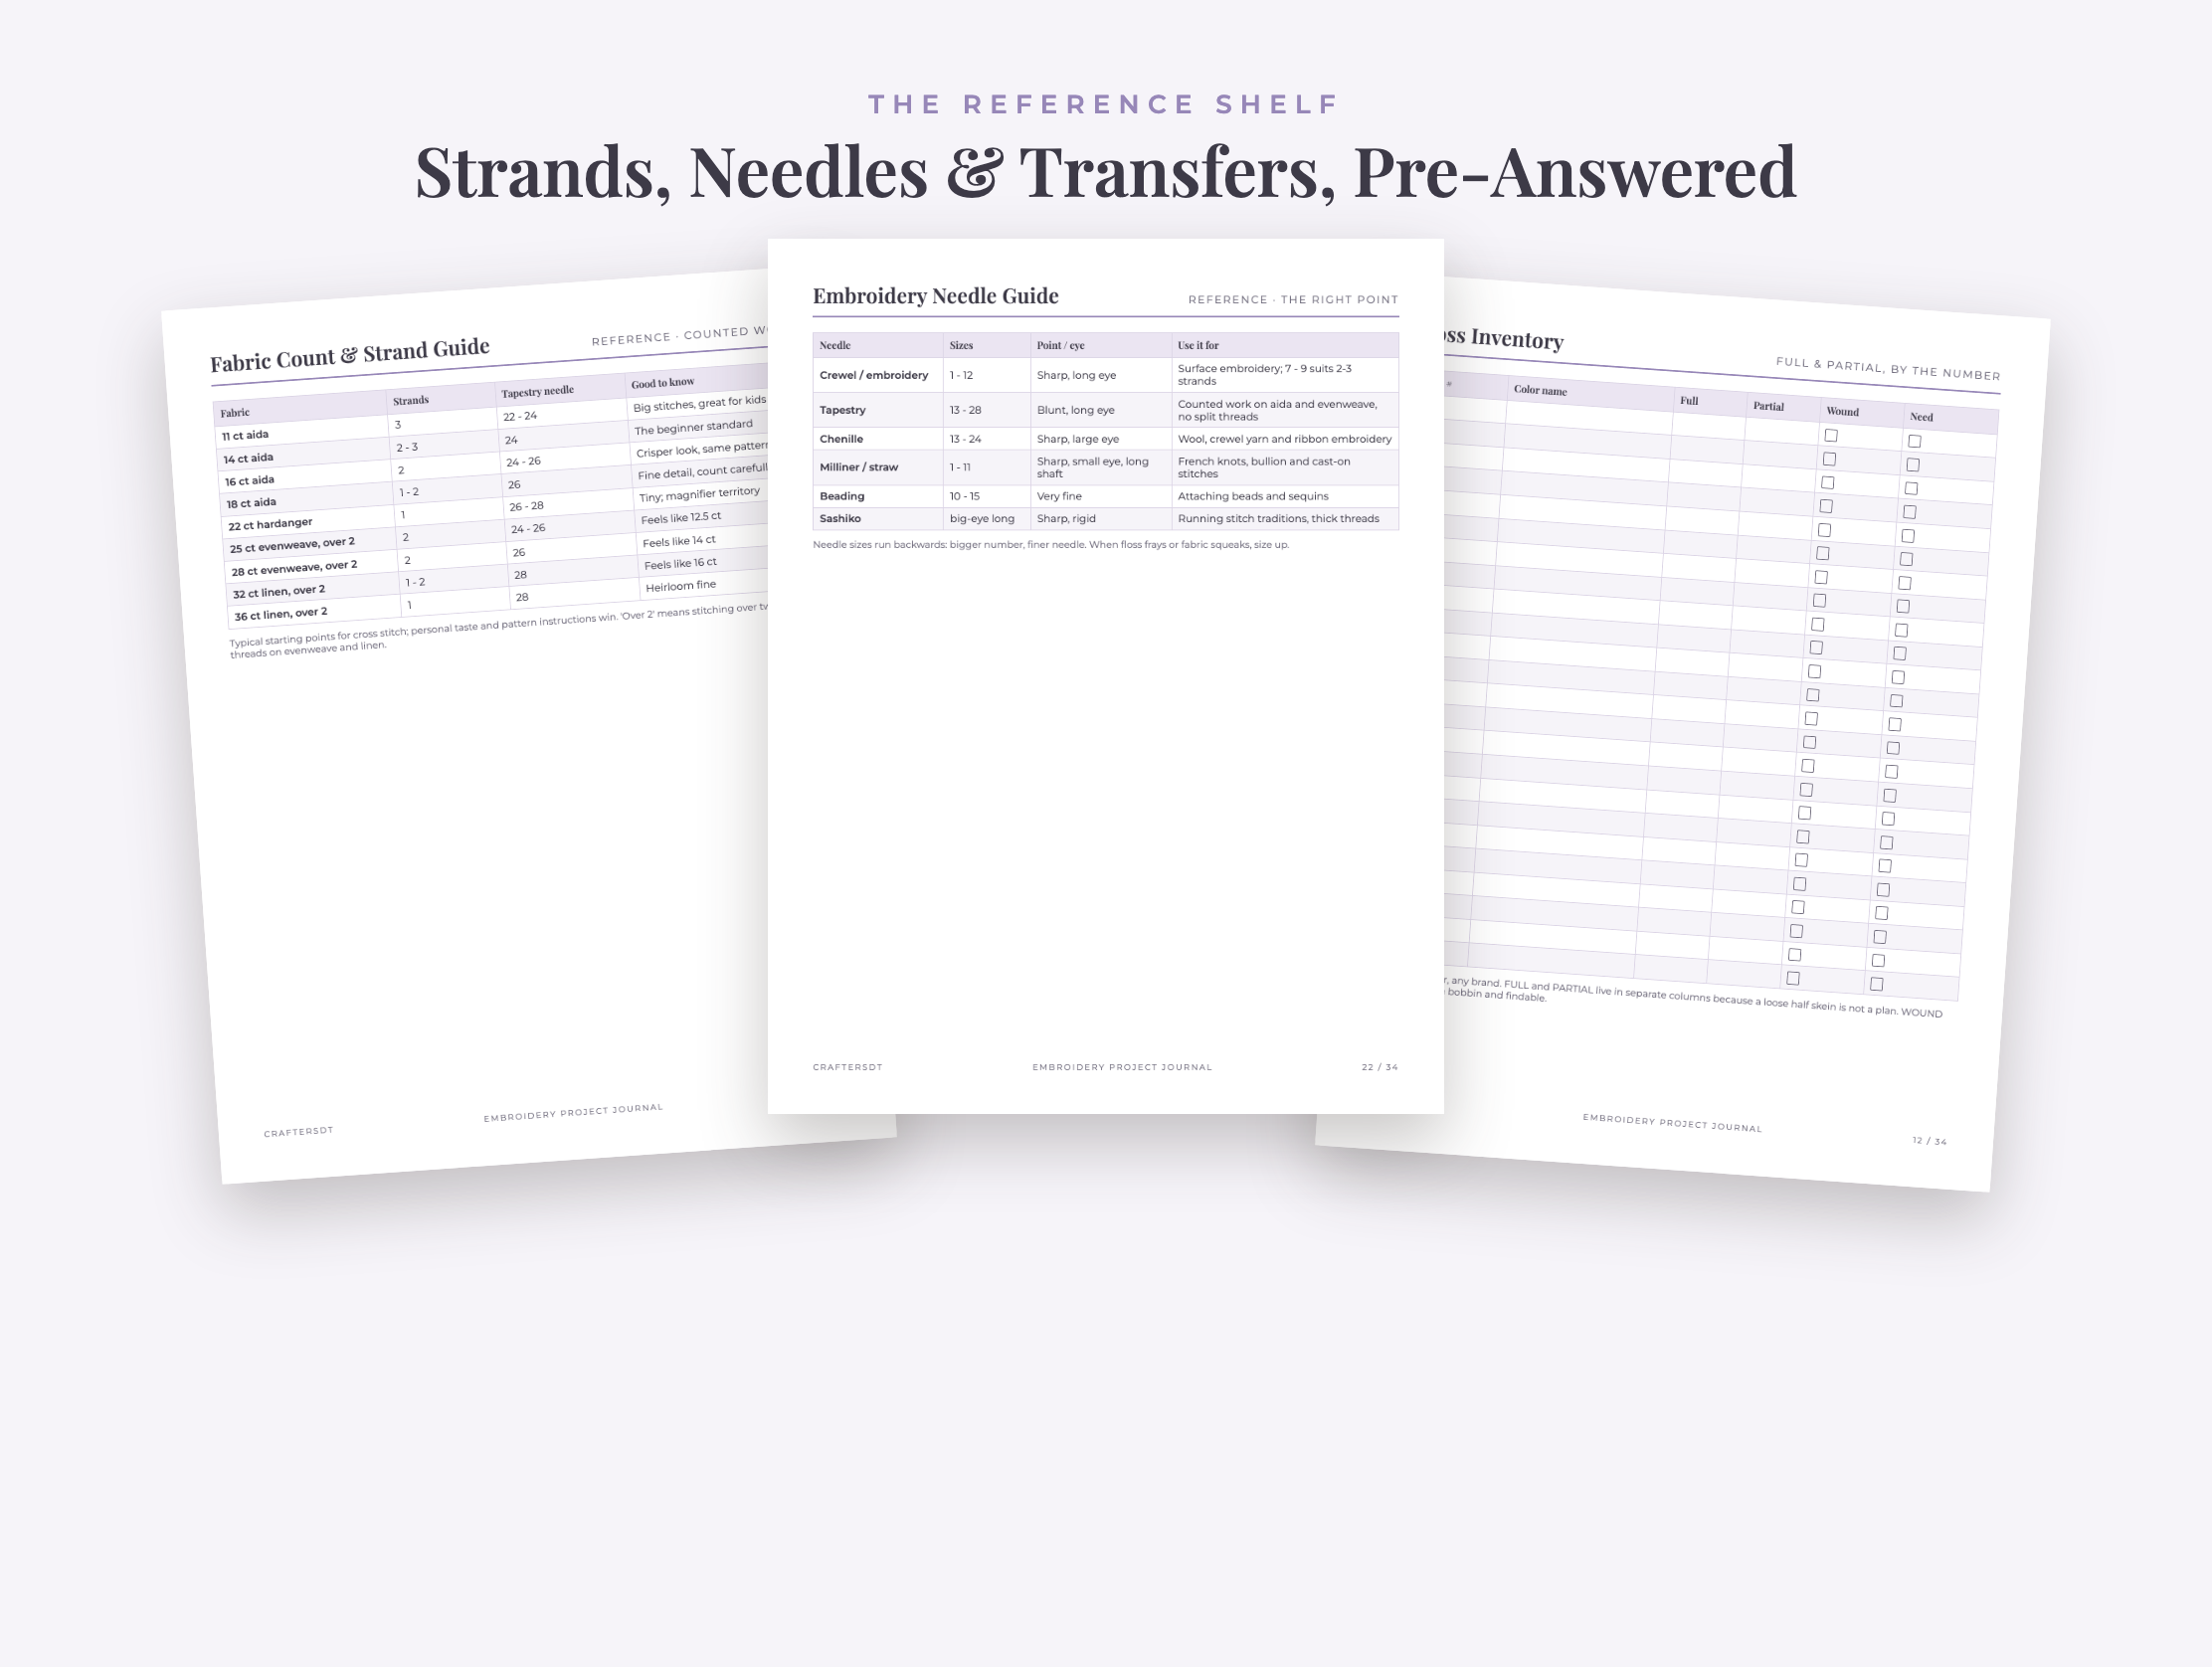
Use Fabric, Strand and Needle Charts as Starting Points
Fabric count, thread coverage and needle size affect one another, especially in counted work. A reference chart can narrow the first test, but the pattern instructions, thread type, fabric, stitch and desired coverage should decide the final combination. Test a small area before committing to the whole piece.
Record the choice that worked on the project page. “Two strands on 14-count Aida with a size 24 tapestry needle” is reusable information; “used the usual setup” is not. For surface embroidery, note the needle family as well as its size because point shape and eye size serve different materials and techniques.
Record the Transfer Method Before the Lines Disappear
Design transfer methods behave differently on light, dark, textured and delicate fabrics. Record the method, marking tool, fabric and removal plan on the project sheet. Always test the complete process—including removal—on a scrap or hidden edge first.
Note whether the design was mirrored and whether the marks are intended to remain, rinse away or be covered by stitches. Follow the marker, stabilizer and fabric manufacturer’s instructions; a journal preserves what you used, but it cannot make an incompatible product safe for a particular textile.
Turn Your Finished Work into a Stitch Library
A stitch library becomes more valuable when it points back to real projects. For each stitch, record whether you have learned it, its difficulty for you, where it works best and a piece where you used it successfully. Add a small sample or sketch if you keep the record on paper.
This is also a practical way to plan learning goals. Instead of collecting a long list of techniques, choose one stitch that fits an upcoming design and log the result after using it.
Audit “Hoops in Hiding” without Guilt
An unfinished-project list should create decisions, not shame. Gather every occupied hoop and identify where each piece stopped, what it needs and what happens next:
- Finish: write the next stitchable action and a realistic review date.
- Pause: label and store the complete project kit together.
- Finish as-is: choose a smaller final use that suits the stitched area.
- Unpick or release: reclaim the hoop and any reusable materials.
Limit the active queue to a number you can see and maintain. A deliberately paused piece is organized; an unidentified hoop at the bottom of a bag is not.
📱 Craftino App
Make more crafts like this
1,000+ craft ideas with photo guides & Pro Tips
✓ Step-by-step photo tutorials, nothing left out
✓ Pro Tips for every step
✓ Save crafts & browse fully offline
✓ New ideas added every week


Choose Printable, Fillable or GoodNotes by Update Moment
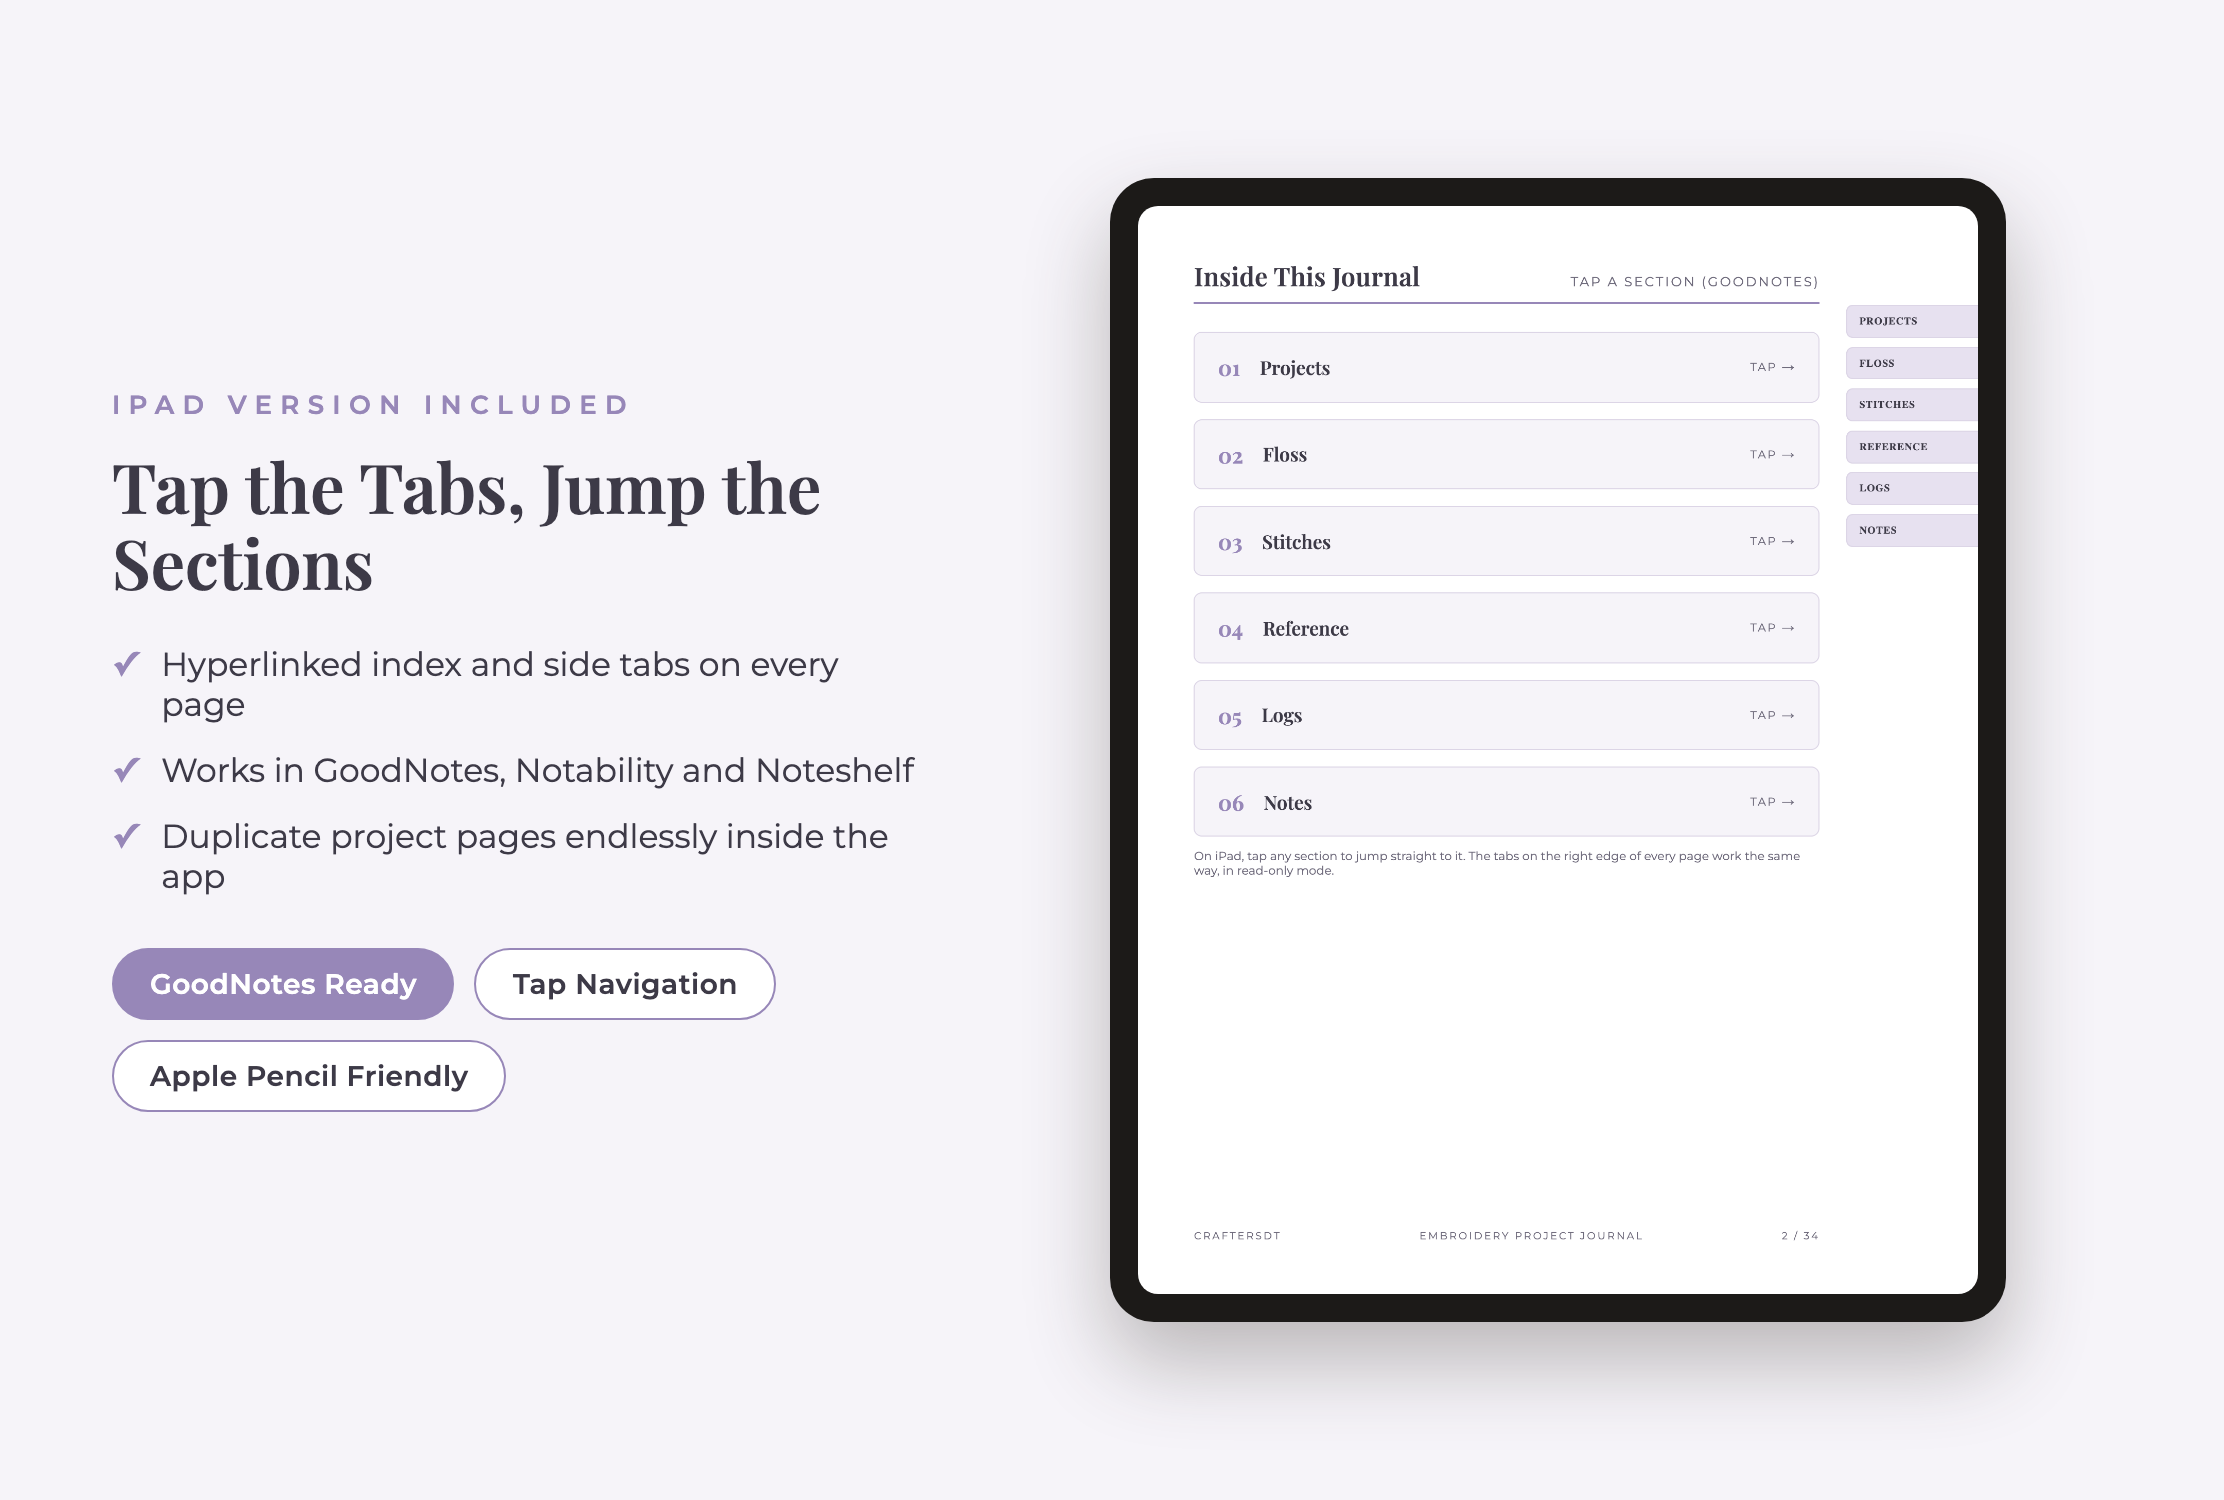
The journal contains 34-page printable PDFs in US Letter and A4, matching fillable PDFs and a 34-page GoodNotes PDF with linked navigation. Print project records for individual pouches or a binder. Use the fillable version for typed records on a computer, or import the GoodNotes file for an iPad workflow.
In the GoodNotes version, the index and side tabs link to Projects, Floss, Stitches, Reference, Logs and Notes. Use navigation/read-only mode when tapping links, then switch back to writing mode. Duplicate reusable project and inventory pages inside the app before filling them.
What Is Included in the 34-Page Embroidery Journal?
The project section includes yearly stitching goals, a project queue, reusable project worksheets and per-project thread logs. Inventory pages cover full and partial floss, a floss shopping list, fabric stash, kits and patterns, stitches, hoops and tools.
Reference pages include fabric count and strand starting points, embroidery needle types and transfer-method notes. The remaining sections provide a “Hoops in Hiding” WIP review, color-palette planning, design grids, finished pieces, gifted and sold work, finishing and care notes, care tags and general notes. A read-me file explains the included formats.
Set Up the System in 15 Minutes
- Choose one active hoop. Create its project record and write the exact stopping point.
- List its colors. Add brand, number, strands and where each color is used.
- Label the physical kit. Put the pattern, fabric, floss, needle and project record together.
- Inventory the colors in your hand. Begin with the active project instead of trying to catalog the entire drawer at once.
- Write one next action. Make the next session possible without rereading the whole pattern.
34 Pages · Printable + Fillable + GoodNotes
Keep every hoop, skein and stitch connected
Organize projects, floss, fabric, stitches, tools, WIPs and finished pieces in US Letter, A4 or a hyperlinked iPad file.
View the Embroidery Project Journal on EtsyRelated Planners
If your needlework also includes garments, the Sewing Project Planner adds pattern adjustments, machine settings, measurements, fabric and notions records. For piecing and quilting, the Quilt Project Planner Bundle tracks cutting, blocks, backing, binding, fabric and UFOs.
Embroidery Organization FAQ
What should I record for each embroidery project?
Record the design and source, fabric and count, hoop size, start date, floss brand and numbers, strand count, stitches, transfer method, current stage, next action and finishing plan. Add what you would repeat or change next time.
Should embroidery floss be organized by number or color?
Organize by brand and number when you usually work from patterns because it makes inventory checks and shopping faster. A visual color arrangement can work for designing palettes, but keep the printed brand and number attached to every bobbin or bag.
How do I track partial skeins?
Give partial skeins their own quantity column rather than counting them as full. Keep each remnant labeled, and note whether it is wound or stored loose. This shows what exists without overstating how much project-ready floss you have.
How do I organize several embroidery WIPs?
Keep each WIP in a labeled pouch or box with its pattern, fabric, pulled colors, needle and project record. Maintain a master list with its stopping point, required next step and decision to finish, pause, complete as-is or release.
Do GoodNotes links work while I am writing?
In GoodNotes, use navigation/read-only mode to tap the index or side tabs, then return to writing mode to add notes. Duplicate reusable pages before filling them so you retain a blank master.
Make the Next Stitching Session Easy to Resume
Embroidery organization works when the record and the physical project tell the same story: which colors belong to the piece, how many strands you chose, where the hoop stopped and what happens next. Begin with one active project and update the master inventory as its materials pass through your hands. If you want the complete set of records ready to print, type into or use on iPad, see the Embroidery Project Journal on Etsy.

Leave a Reply