
A sewing project rarely fails because you forgot how to sew a seam. More often, progress stalls because the useful details are scattered: the pattern is on one device, the fabric is in an unmarked bin, your fitting change lives on a scrap of paper, and the machine settings that worked on the test piece were never recorded.
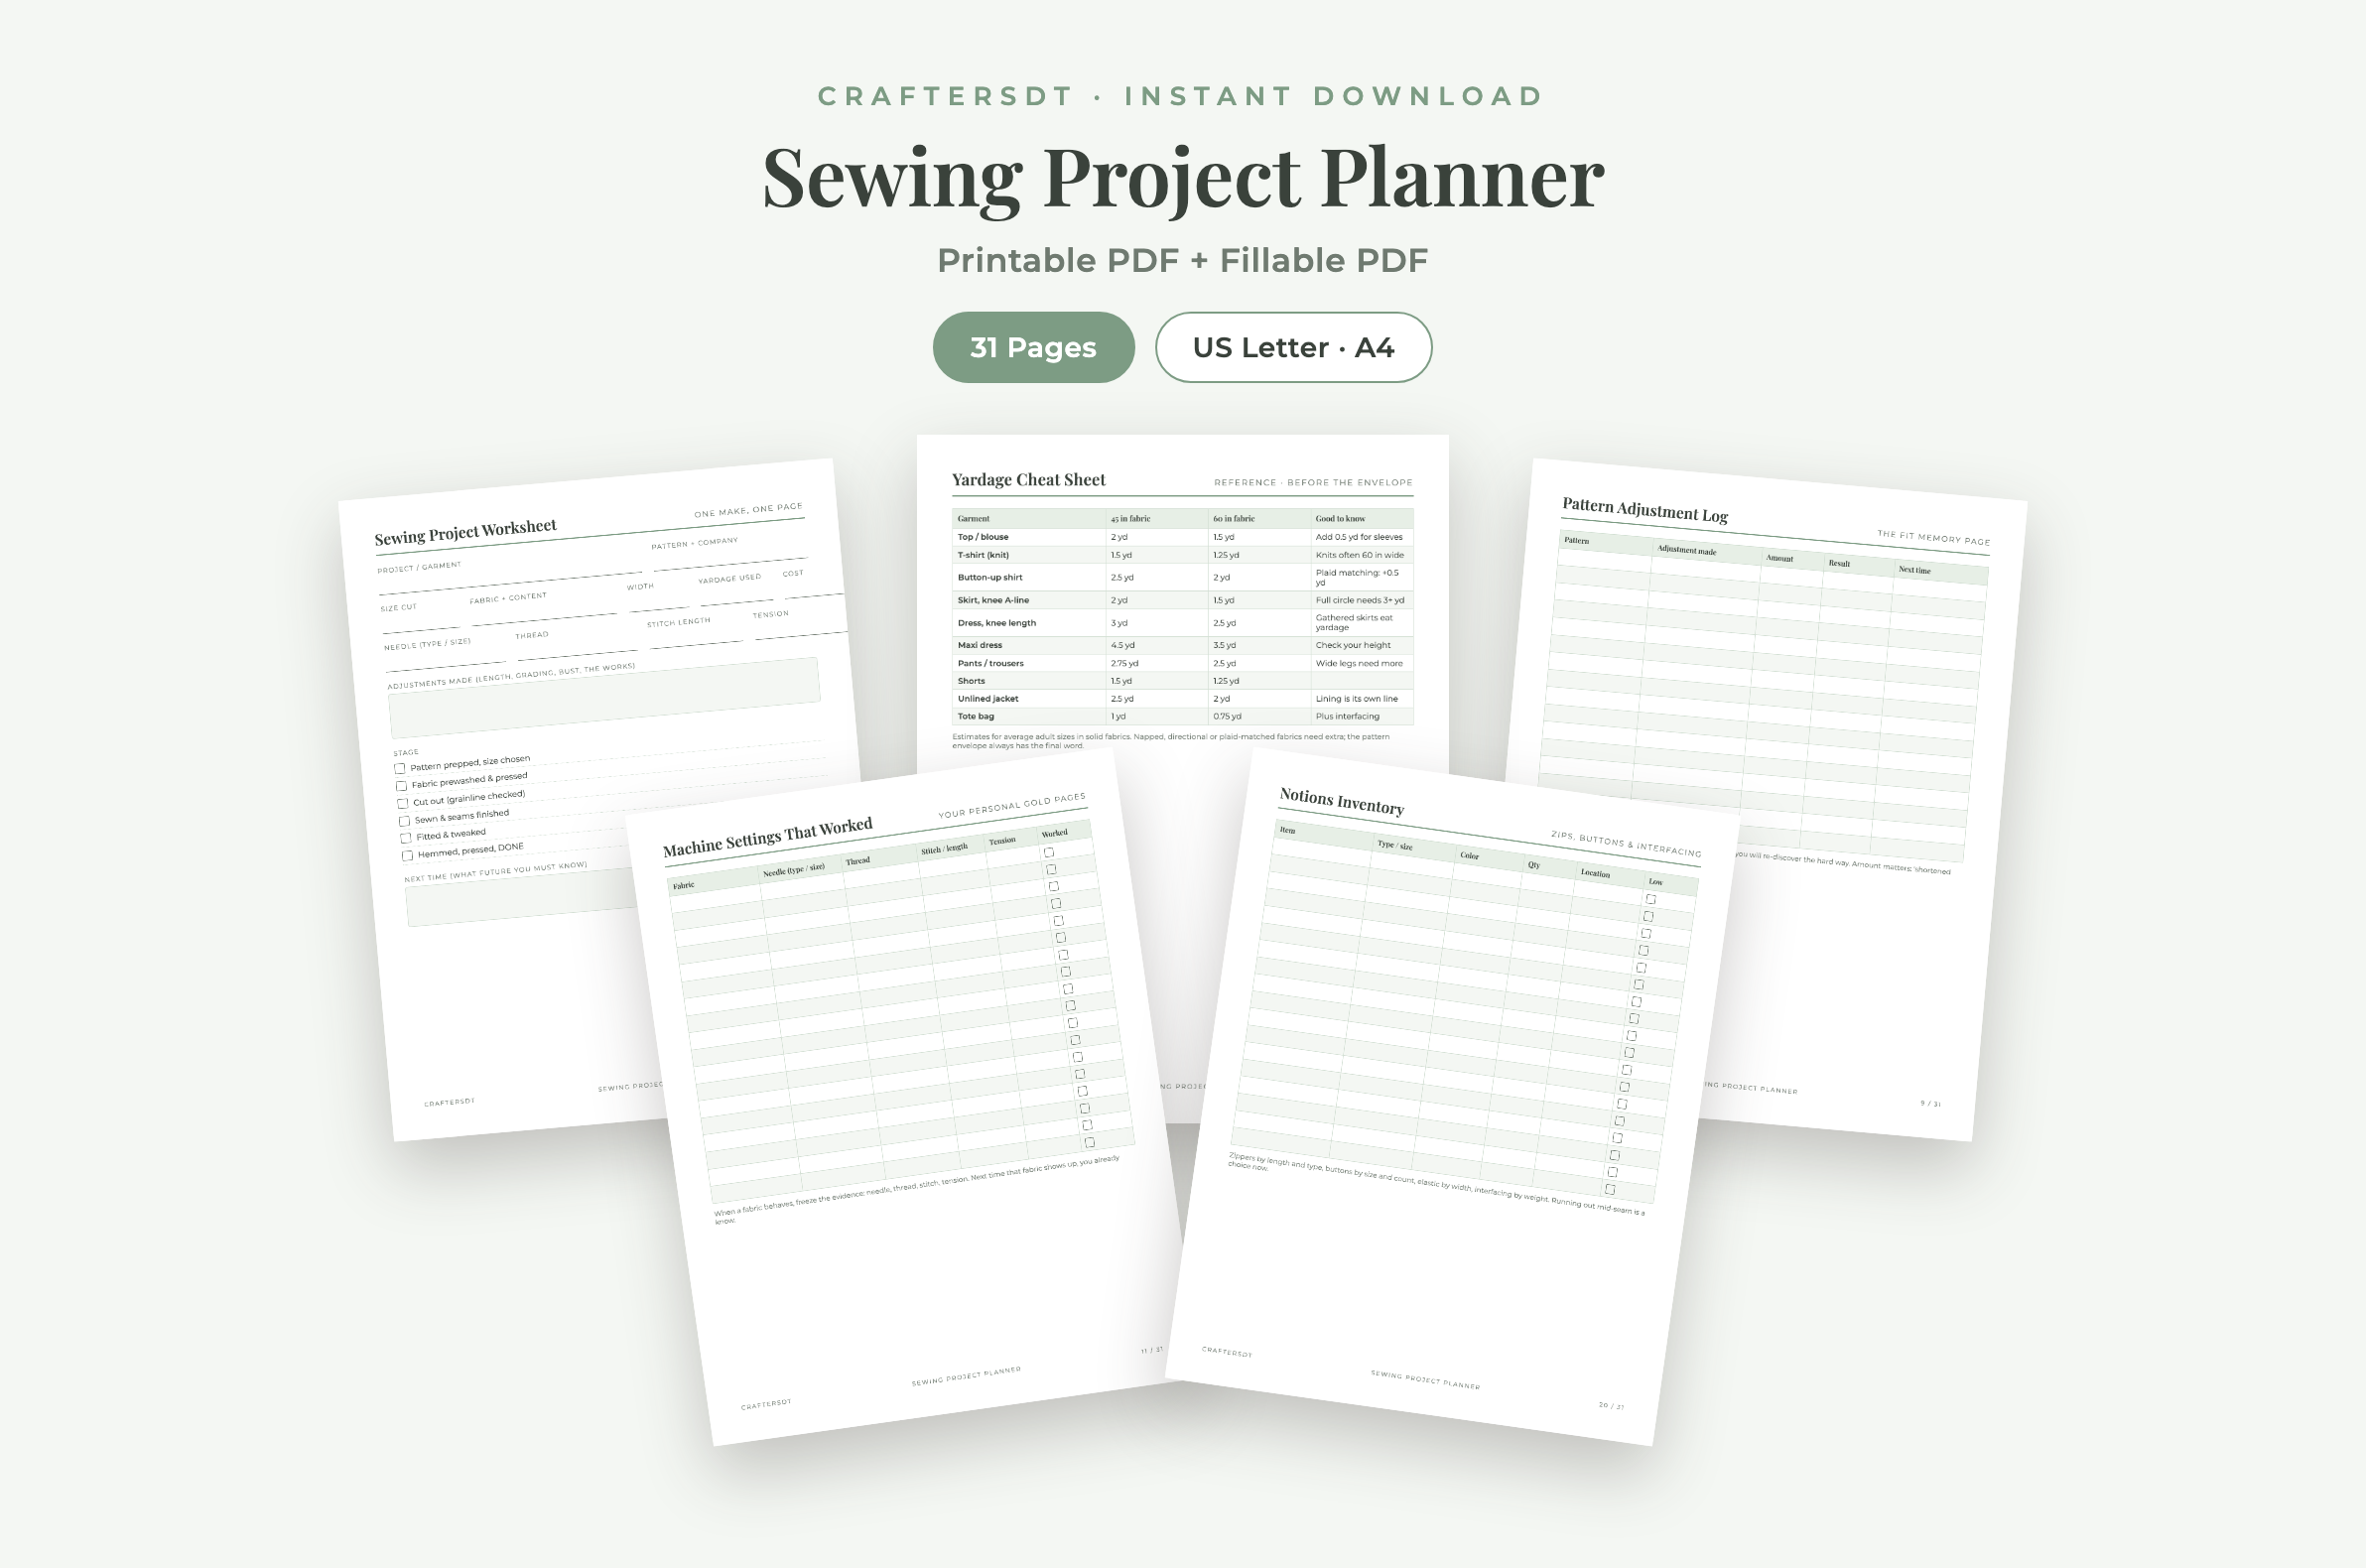
This guide builds a simple system for organizing sewing projects, patterns and fabric without turning the hobby into an administration job. You can recreate it with a notebook, index cards or a spreadsheet. If you prefer ready-made pages, our Sewing Project Planner on Etsy combines the records described below in printable and fillable PDF formats. It is a digital download; no physical item is shipped.
Start Every Make with One Master Project Record
Create the project record before you cut. The purpose is not to predict every step perfectly; it is to preserve the decisions that would otherwise have to be made twice. Give the make a clear name, then record the pattern and company, size selected, intended wearer, fabric content and width, yardage, needle, thread, stitch length and tension.
Add a short stage checklist so you can see the real stopping point when the project returns to its box:
- Pattern prepared and size selected
- Fabric prewashed, pressed and checked for direction or nap
- Pieces cut, marked and labeled
- Main construction completed and seams finished
- Fit checked and alterations made
- Hem, final press and finishing details completed
End every sewing session by writing one physical next action: “insert the invisible zipper,” “recut the front facing” or “test tension on a double layer.” A specific action makes the project much easier to restart than a vague status such as “about halfway done.”
Make Pattern Adjustments Reusable
A note that says “shortened bodice” is not enough six months later. A useful pattern-adjustment record identifies the pattern, the exact alteration, the amount, the result and what you would change next time. Include the size or size range because the same adjustment may not transfer unchanged to another size.
Write the adjustment as a measurement and location whenever possible. “Removed 1/2 inch at center back neckline” is easier to reproduce than “fixed gaping.” If you graded between sizes, note where the transition began and ended. Keep the result honest: successful, partly successful or reverse next time.
Save Machine Settings That Actually Worked
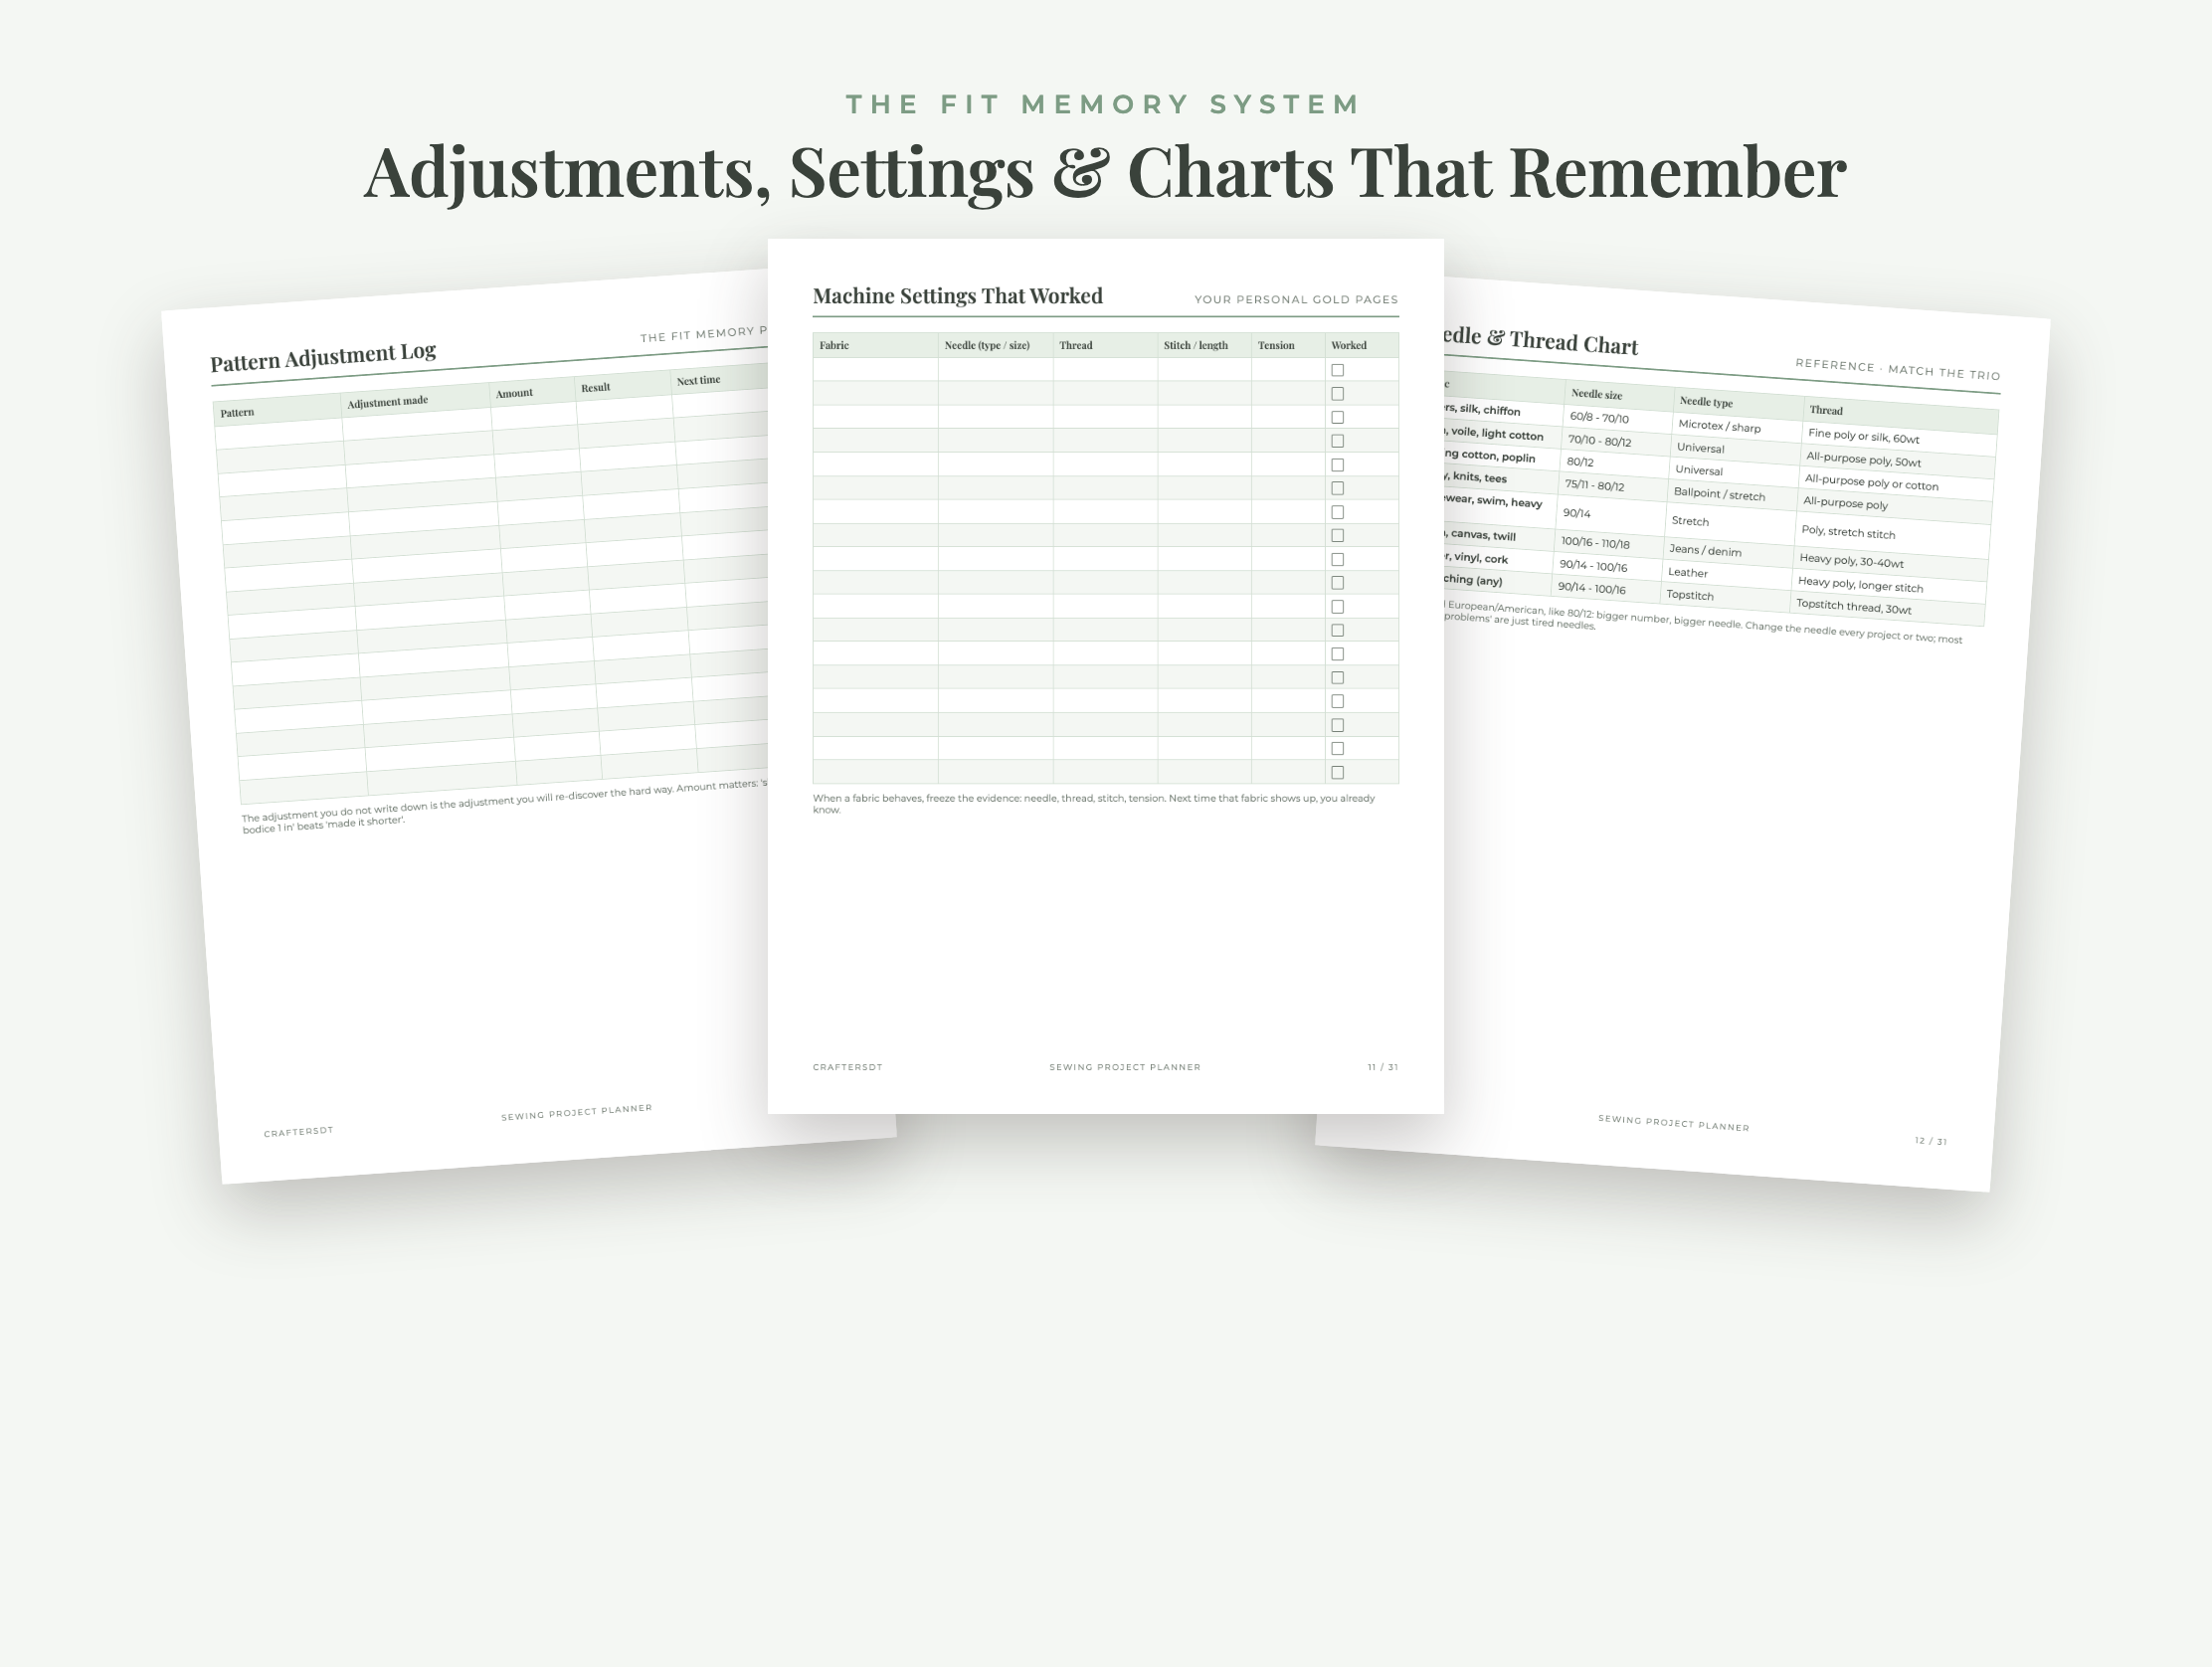
Generic needle and thread charts are useful starting points, but your final combination also depends on the particular fabric, thread, machine, seam construction and number of layers. When a test seam behaves well, record the evidence:
- Fabric type, weight and number of layers tested
- Needle type and size
- Thread type or weight
- Stitch type and length
- Tension and presser-foot details that mattered
- A simple worked/did-not-work result
Treat reference charts as a place to begin and your machine manual as the authority for your equipment. Test on scraps from the actual project before sewing the garment.
Turn the Fabric Stash into a Working Inventory
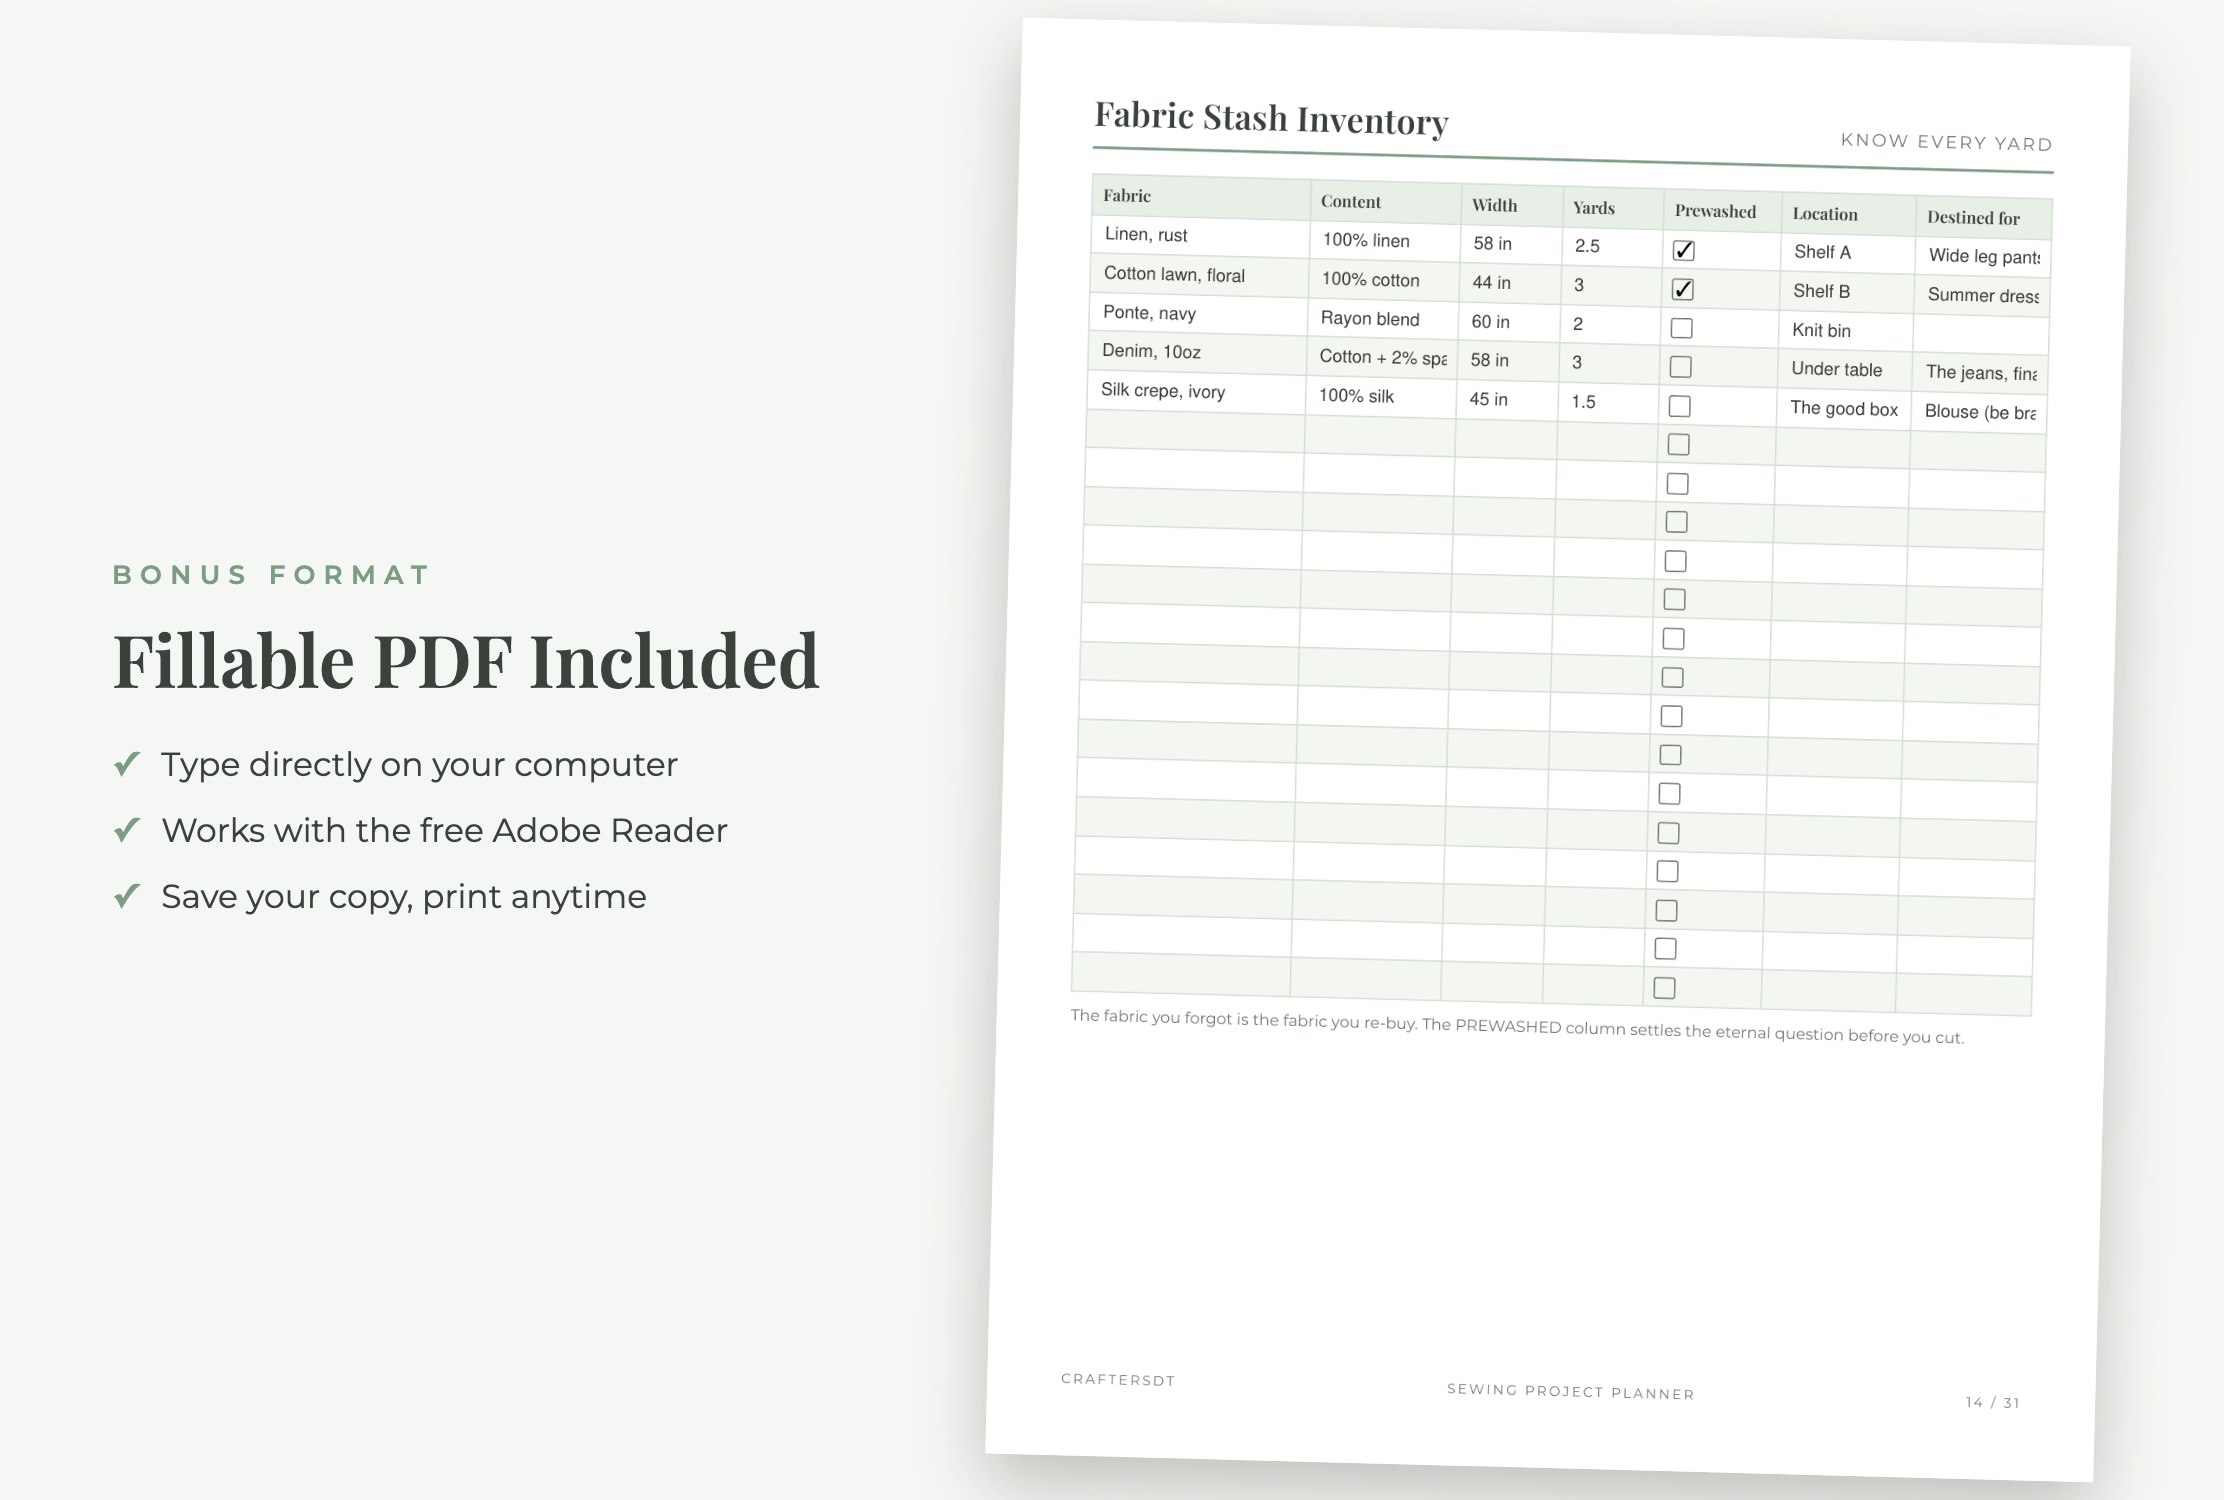
A stash list is useful only if it answers three questions quickly: What do I have, is there enough, and where is it? Record a recognizable fabric name, fiber content, width, honest remaining yardage, prewashed status and a location that another person could follow. “Blue bin, top shelf” is more useful than “sewing room.”
Add a “destined for” field when fabric has been reserved. This prevents the same yardage from being mentally assigned to two projects. If you cut into it, update the remaining amount while the fabric is still on the table. For physical records, staple a small swatch beside the entry; it preserves color, scale, texture and drape better than a written description alone.
Organize Paper and PDF Patterns with the Same Fields
Use one pattern library for both paper and digital files. Record the pattern name or number, company, garment type, available sizes, format and exact storage location. A digital location should be as specific as a physical one—for example, “Sewing/Patterns/Tops” rather than “computer.” A paper location might be “drawer 2, envelope T-14.”
Keep the library separate from the wishlist. The library answers “Do I already own this?” while the wishlist answers “Would this fill a real gap?” Once you buy a pattern, move it into the library and add its location immediately.
Connect Measurements to Dates and People
Measurements change, so a number without a date has limited value. Keep dated columns for your own measurements and a separate record for anyone else you sew for. Include enough detail for the type of garments you make, then note which measurement set you used on the project record.
Measurements are planning information, not a replacement for the pattern company’s size chart, finished-garment measurements or a fitting sample. Compare all three before selecting a size, especially when moving between pattern brands.
Give Mending and Machine Care Their Own Queues
Mending disappears when it competes with exciting new projects. Give each item an owner, the repair needed, a priority and a decision. “Replace 8-inch navy zipper” can move forward; “fix trousers” will probably remain in the pile. Review old items honestly and allow donate, repurpose or discard decisions when repair no longer makes sense.
Keep machine and serger care separate from project notes. Log cleaning, oiling when permitted by the manual, needle changes, servicing and any recurring symptoms. This creates a maintenance history without mixing equipment records into individual makes.
Use a Five-Minute Closing Routine
The best sewing organization system is the one you update before leaving the machine. Reserve the last five minutes of a session for these steps:
- Update the project stage. Check only what is truly complete.
- Record changes. Add fitting decisions, pattern alterations and final settings.
- Write the next action. Name the first task for the next session.
- Return materials together. Keep the pattern, assigned fabric, notions and record with the project.
- Update inventory. Adjust used yardage and notions before putting leftovers away.
📱 Craftino App
Make more crafts like this
1,000+ craft ideas with photo guides & Pro Tips
✓ Step-by-step photo tutorials, nothing left out
✓ Pro Tips for every step
✓ Save crafts & browse fully offline
✓ New ideas added every week


What Is Included in the 31-Page Sewing Planner?
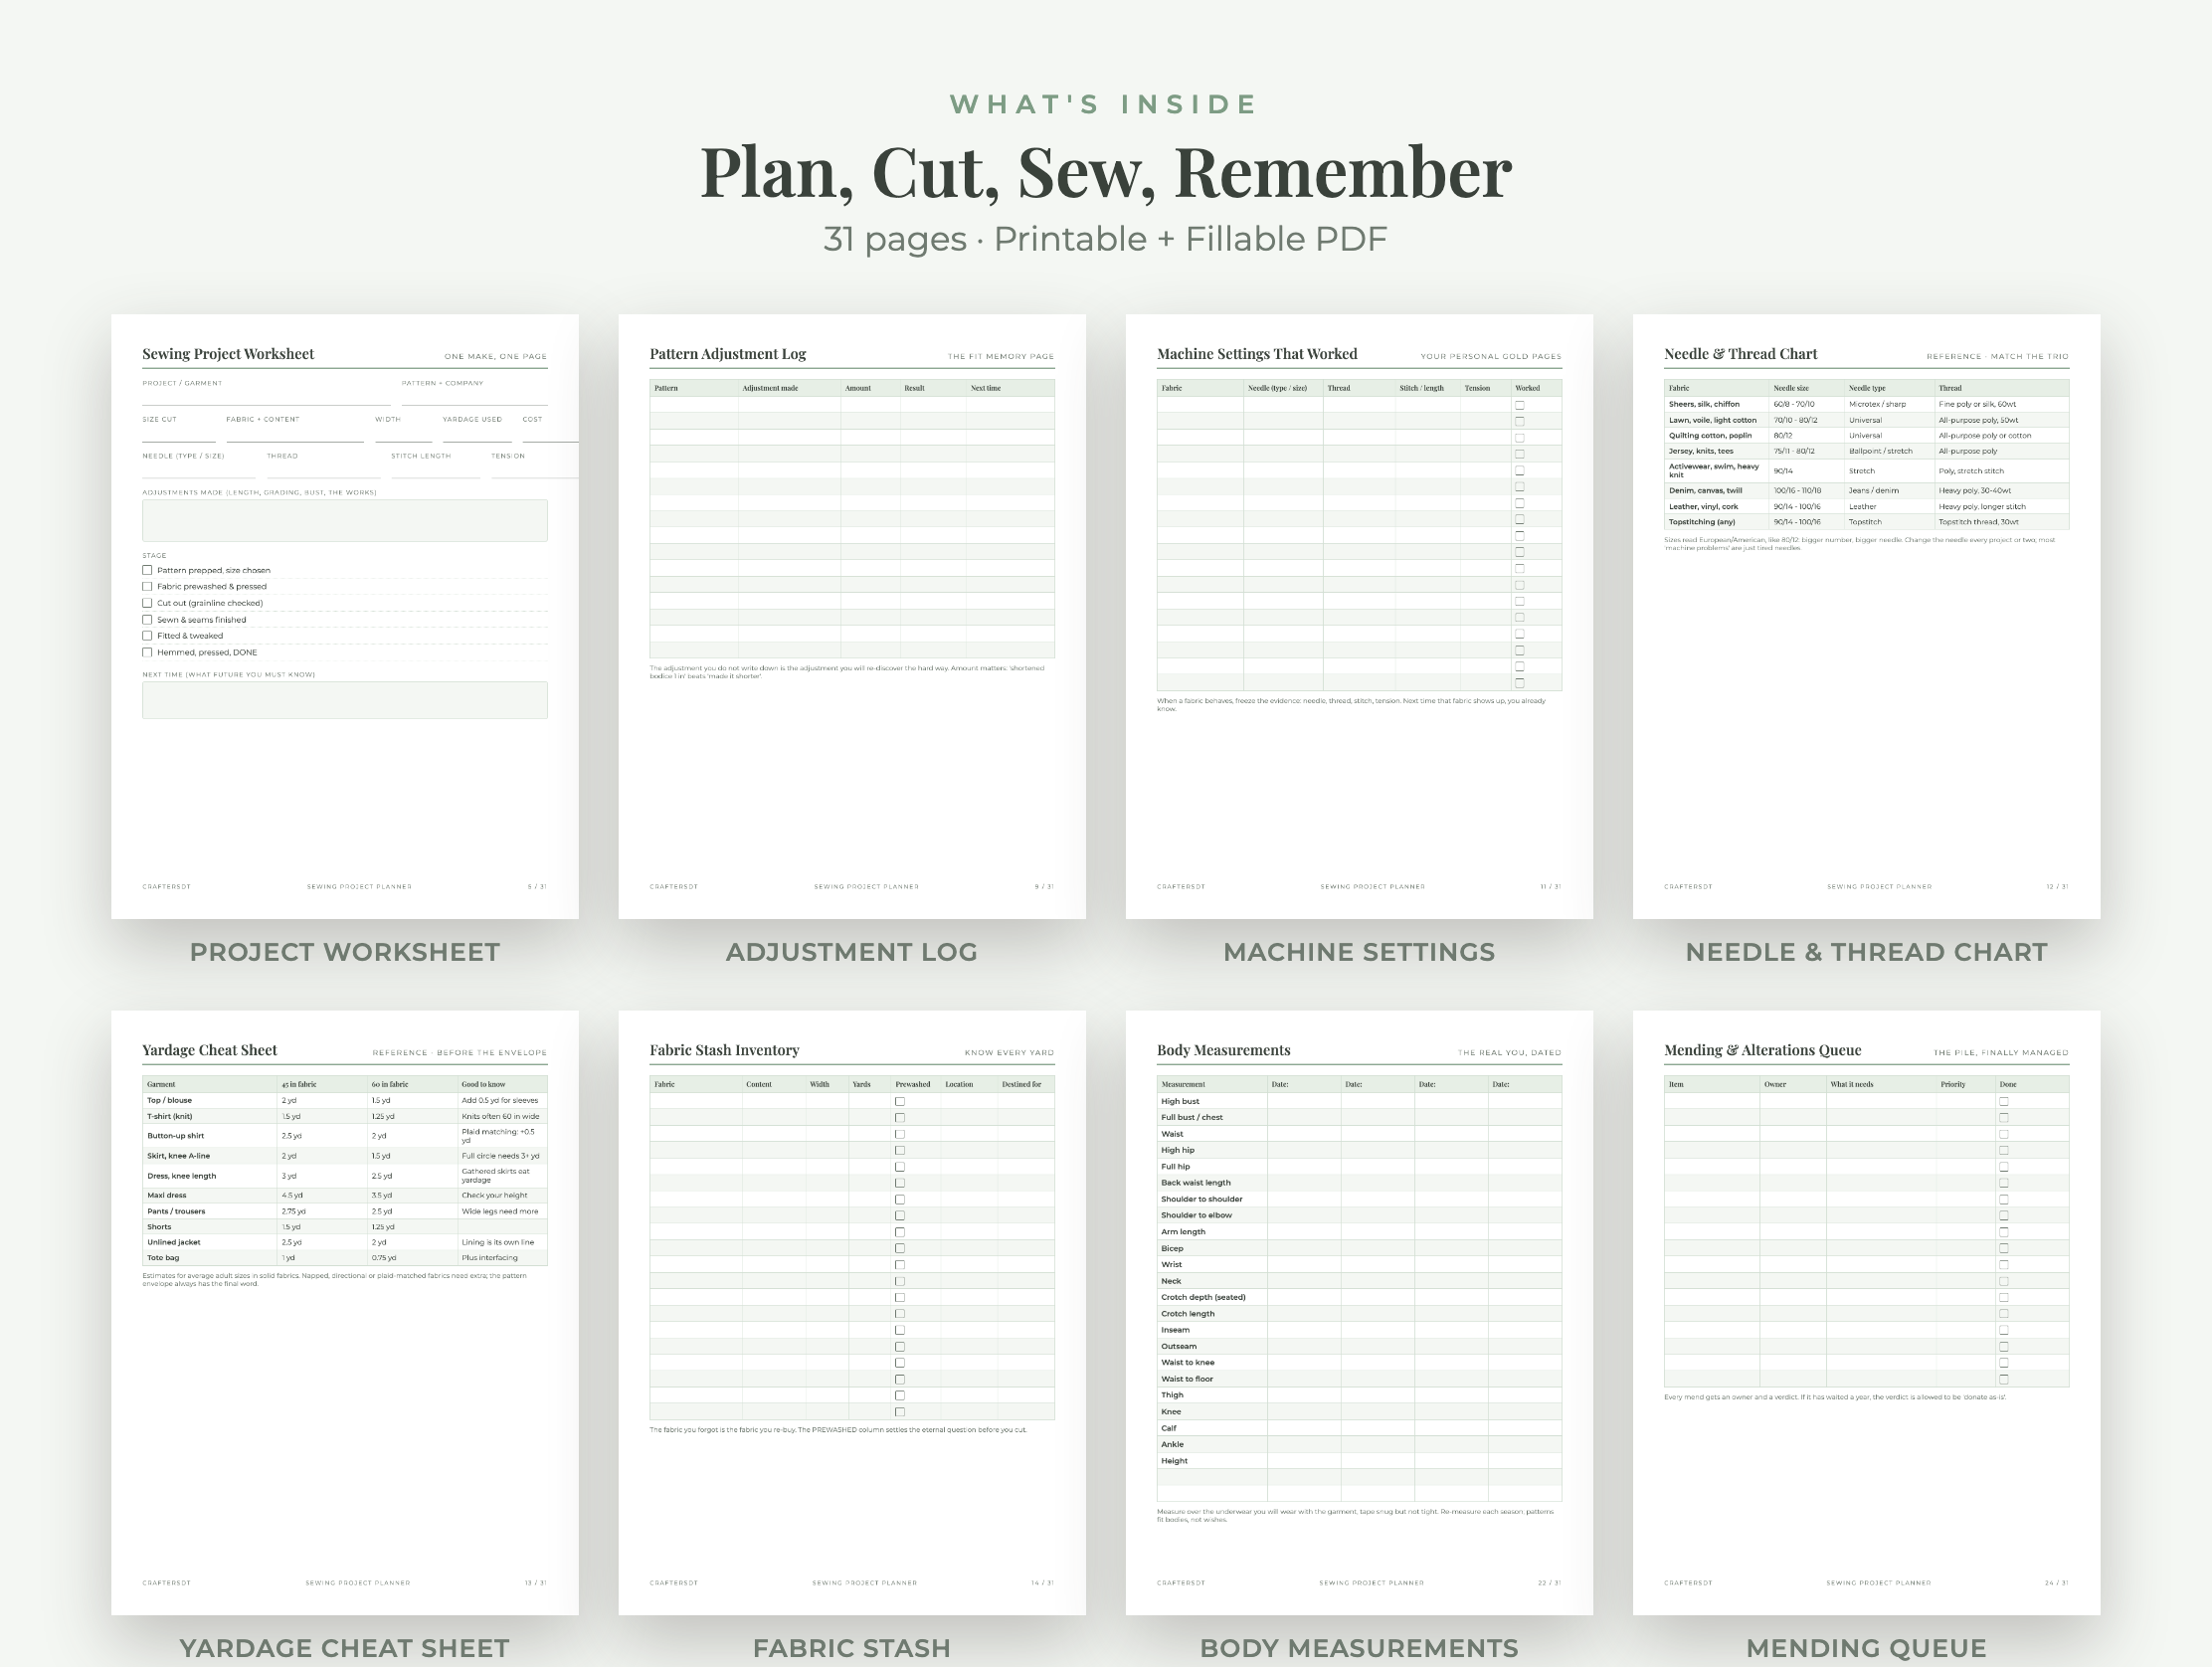
The planner includes sewing goals and dream makes, a project queue, reusable project worksheets, pattern-adjustment logs, successful machine-settings records, a needle-and-thread chart and a yardage planning reference. Inventory pages cover fabric, swatches, patterns, pattern wishes, notions and thread.
Later pages provide dated body measurements, measurements for family and friends, a mending and alterations queue, machine and serger care, seasonal planning, a shopping list, a sewing-skills checklist, a finished-makes gallery and notes. The reference charts provide starting points; the pattern envelope, actual measurements and equipment manual should guide final project decisions.
Printable or Fillable: Choose the Update Moment
The download contains 31-page printable PDFs in US Letter and A4, matching fillable PDFs and a read-me guide. Print frequently used worksheets for a binder or individual project boxes, or type into a fillable copy on a computer using Adobe Acrobat Reader. Save a newly named copy for each project so the original stays reusable.
A hybrid system is often practical: maintain inventory in the fillable file, then keep a printed worksheet with the fabric and pattern currently at the machine. What matters is that the record is available at the moment a decision changes.
31 Pages · Printable + Fillable PDF
Keep every make, yard and adjustment together
Organize projects, pattern changes, machine settings, fabric, notions, measurements, mending and finished makes in US Letter or A4.
View the Sewing Project Planner on EtsyRelated Planners
If your sewing room also holds piecing projects, the Quilt Project Planner Bundle adds block progress, cutting notes, backing and binding planning, UFO records and quilt-specific inventory. For hand stitching, the Embroidery Project Journal focuses on floss, stitches, needles, fabric and embroidery project notes.
Sewing Project Organization FAQ
What should I write down for every sewing project?
Record the pattern and company, selected size, fabric and yardage, needle, thread, machine setup, construction stage, adjustments made, result and one next-time note. The goal is to preserve decisions you will need when restarting or repeating the make.
How do I organize a large fabric stash?
Use physical storage categories that make sense to you, then give every location a clear label. In the inventory, record fiber content, width, remaining yardage, prewashed status, exact location and any project reservation. Update yardage as soon as fabric is cut.
How do I keep track of sewing pattern alterations?
Log the pattern, size, exact adjustment, measured amount, result and next-time decision. Keep a copy with the pattern and transfer the key information to the project record whenever you use it again.
Should I use a paper or digital sewing planner?
Choose the format you will update beside the work. Paper is convenient at the cutting table and inside project boxes. A fillable PDF is easier for typed master records and duplicates. A hybrid approach can keep a digital inventory and a printed sheet with each active make.
Is the yardage chart a replacement for the pattern envelope?
No. Yardage references are rough planning aids. Use the selected pattern size, fabric width, layout, directional print or nap, matching requirements and the pattern company’s instructions before purchasing or cutting fabric.
Make the Next Sewing Session Easier to Start
Sewing organization works when it remembers the small decisions that disappear between sessions: which size you cut, how much fabric remains, what changed at the fitting and which setup produced a clean seam. Begin with one active make, one clearly labeled storage location and one next action. If you want the complete system ready to print or type into, see the Sewing Project Planner on Etsy.

Leave a Reply