
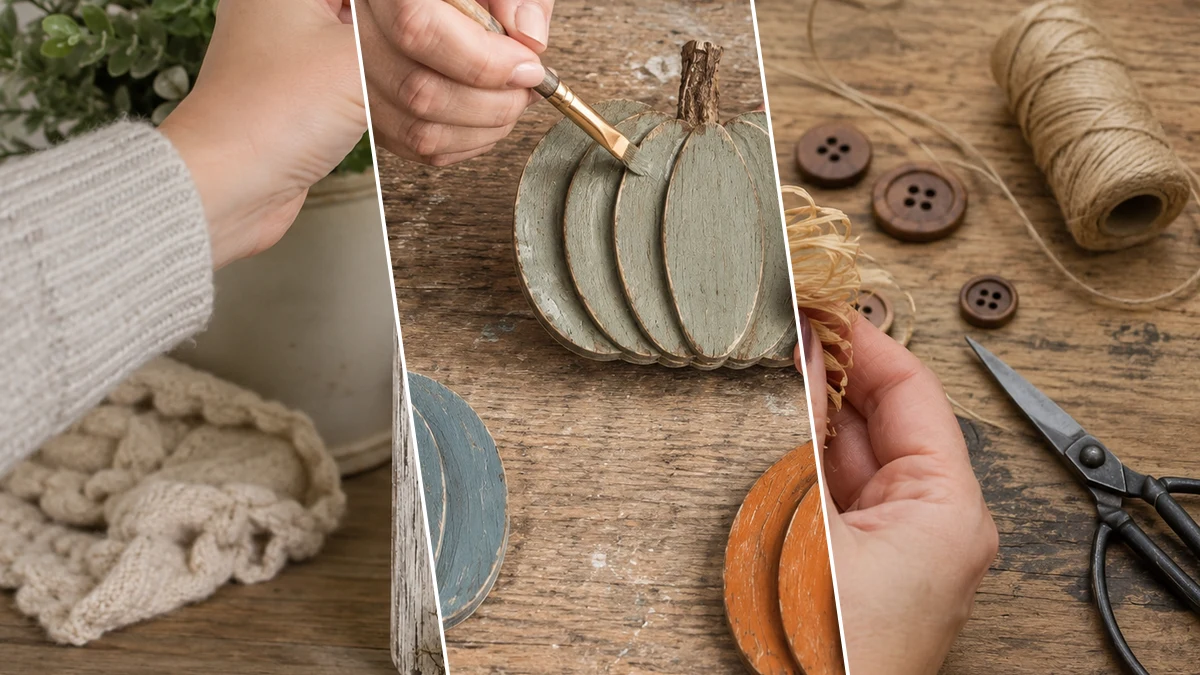
Fall is my absolute favorite time of year, and I just can’t get enough of all the cozy home decor. My neighbor saw something similar on Pinterest and begged me to figure out how to make one, so naturally, I headed straight to Dollar Tree! This Rustic Stacked Pumpkin Wall Plaque came out even cuter than I imagined, and it’s perfect for welcoming autumn.
Theme: Fall & Autumn
Materials Needed
- Vertical Wooden Plaque (rounded corners)
- Three Wooden Pumpkin Cutouts (layered wood, faux wood)
- Acrylic Craft Paints (white, black, sage green, dusty blue, burnt orange)
- Spanish Moss or Natural Moss Filler
- Raffia or Straw Ribbon
- Brown Button (approx. 1/2 inch)
- Hot Glue Gun and Glue Sticks
- Paintbrushes
- Scissors
- Optional Sandpaper (fine grit)
Why This Craft Works
This little beauty is perfect for adding that farmhouse touch to your Fall & Autumn home decor. I hung mine right by the entryway, but it would look amazing above a mantel, on a kitchen wall, or even tucked onto a covered porch. It just screams ‘cozy autumn’ and makes every corner feel warm and inviting.
The best part? This Rustic Stacked Pumpkin Wall Plaque ran me about $12-15 total for all the supplies. Seriously, almost everything came from Dollar Tree, which means you can get that high-end look without breaking the bank. It’s proof you don’t need a big budget for big style!
You’ll be thrilled to know this is an easy craft, perfect for beginners or anyone who needs a quick project. From start to finish, it took me around 30-45 minutes, not counting drying time. It’s the ideal craft for a cozy afternoon or a fun activity with the kids.
Step-by-Step Instructions for Rustic Stacked Pumpkin Wall Plaque
Alright, my crafty friends, are you ready to get started on your own Rustic Stacked Pumpkin Wall Plaque? This project is super fun, easy, and you’ll be amazed at how quickly it comes together. Grab your supplies, put on some tunes, and let’s make some gorgeous Fall & Autumn home decor that everyone will ask about!
Step 1: Create Rustic Plaque Background
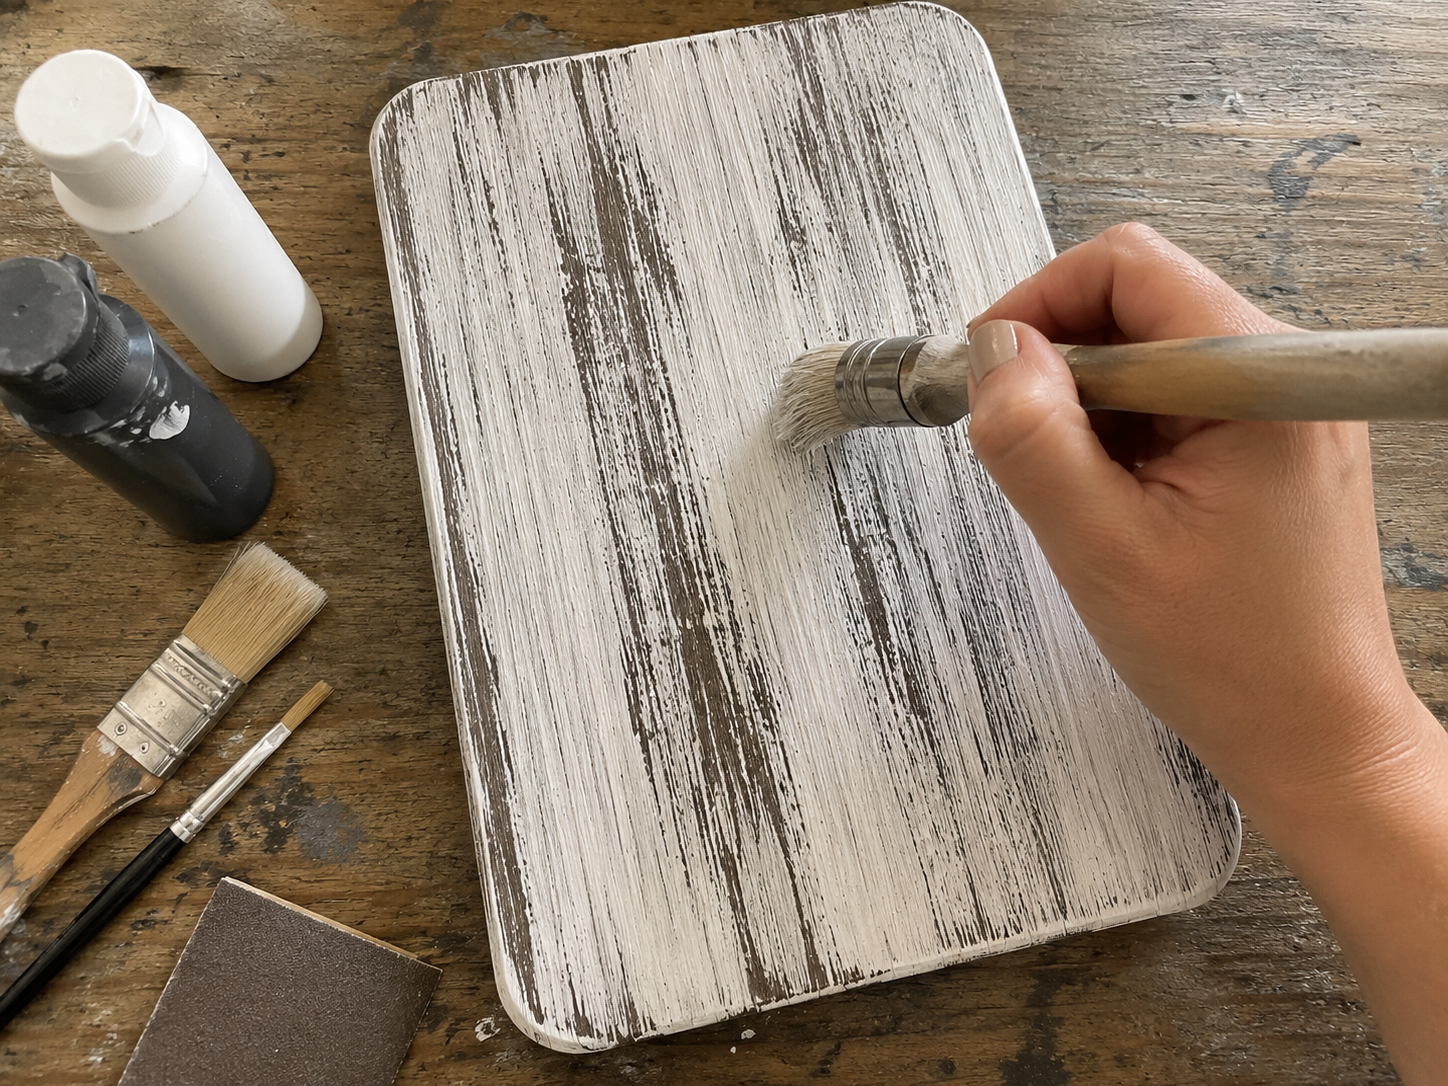
Begin by preparing your rectangular wooden plaque. Apply a thin, uneven coat of black or dark brown paint to the entire surface and let it dry completely. Once dry, dry brush a generous but imperfect coat of white acrylic paint over the dark base. Allow some of the darker paint to show through, creating a distressed, chippy look. For more distressing, lightly sand areas with fine-grit sandpaper after the white paint is dry.
Step 2: Paint the Pumpkin Shapes
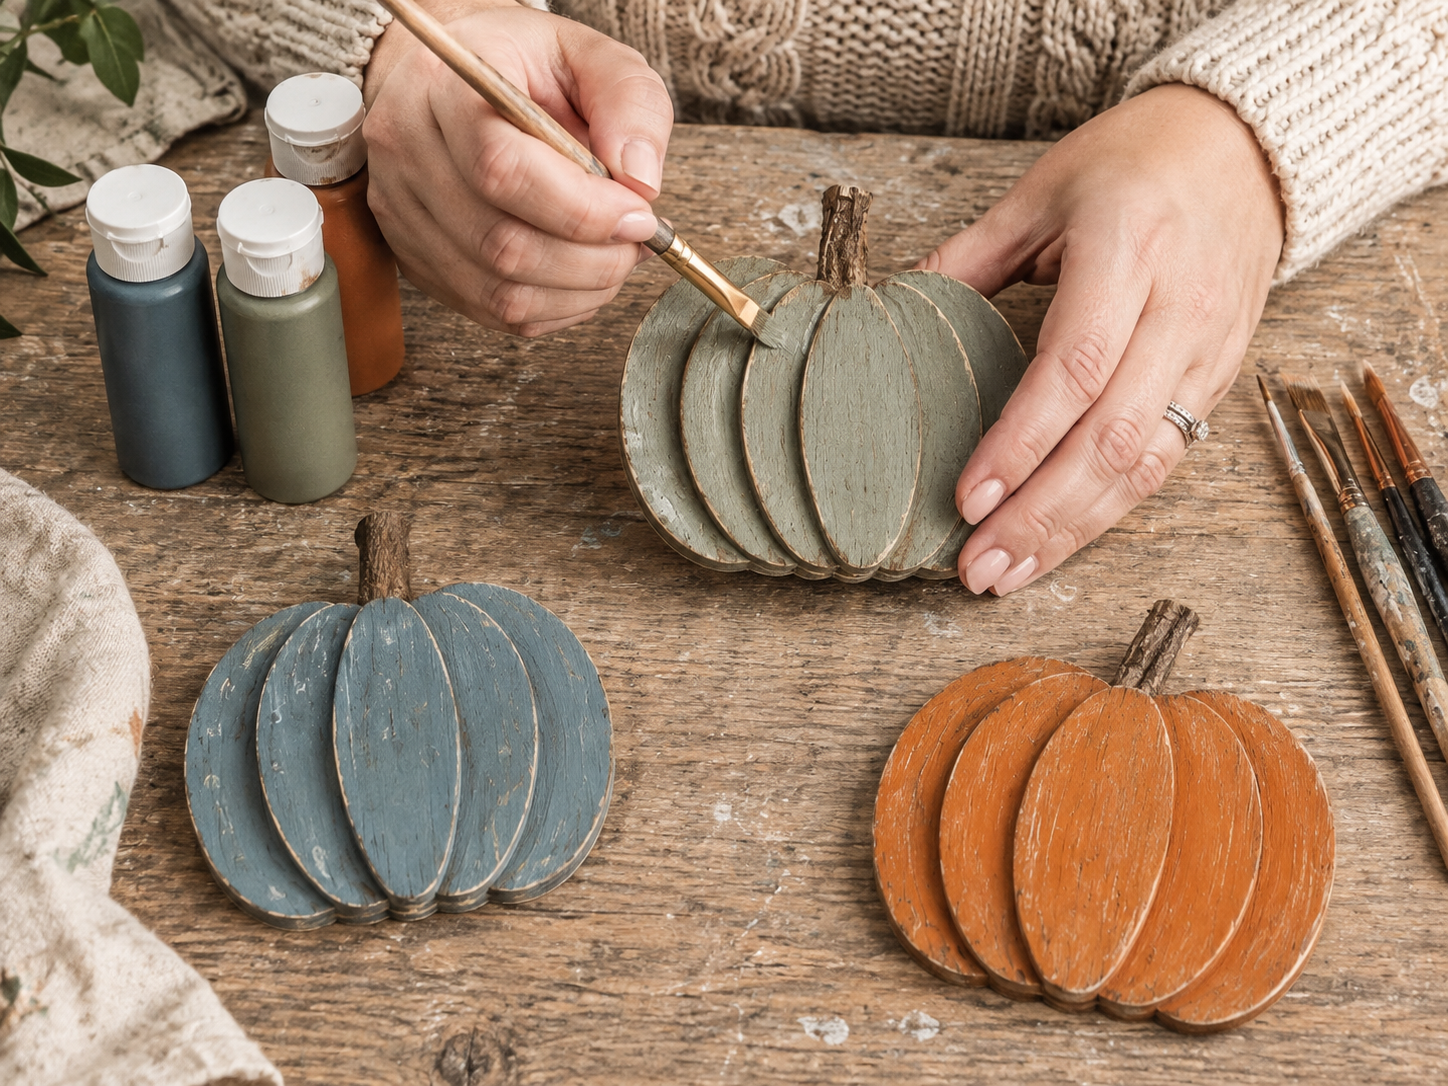
Take your three pumpkin shapes. Paint one pumpkin a sage green, one a dusty blue, and the last one a burnt orange. Ensure you apply even coats of paint for full coverage. You may need two coats for each pumpkin, allowing adequate drying time between applications.
Step 3: Distress & Detail Pumpkins
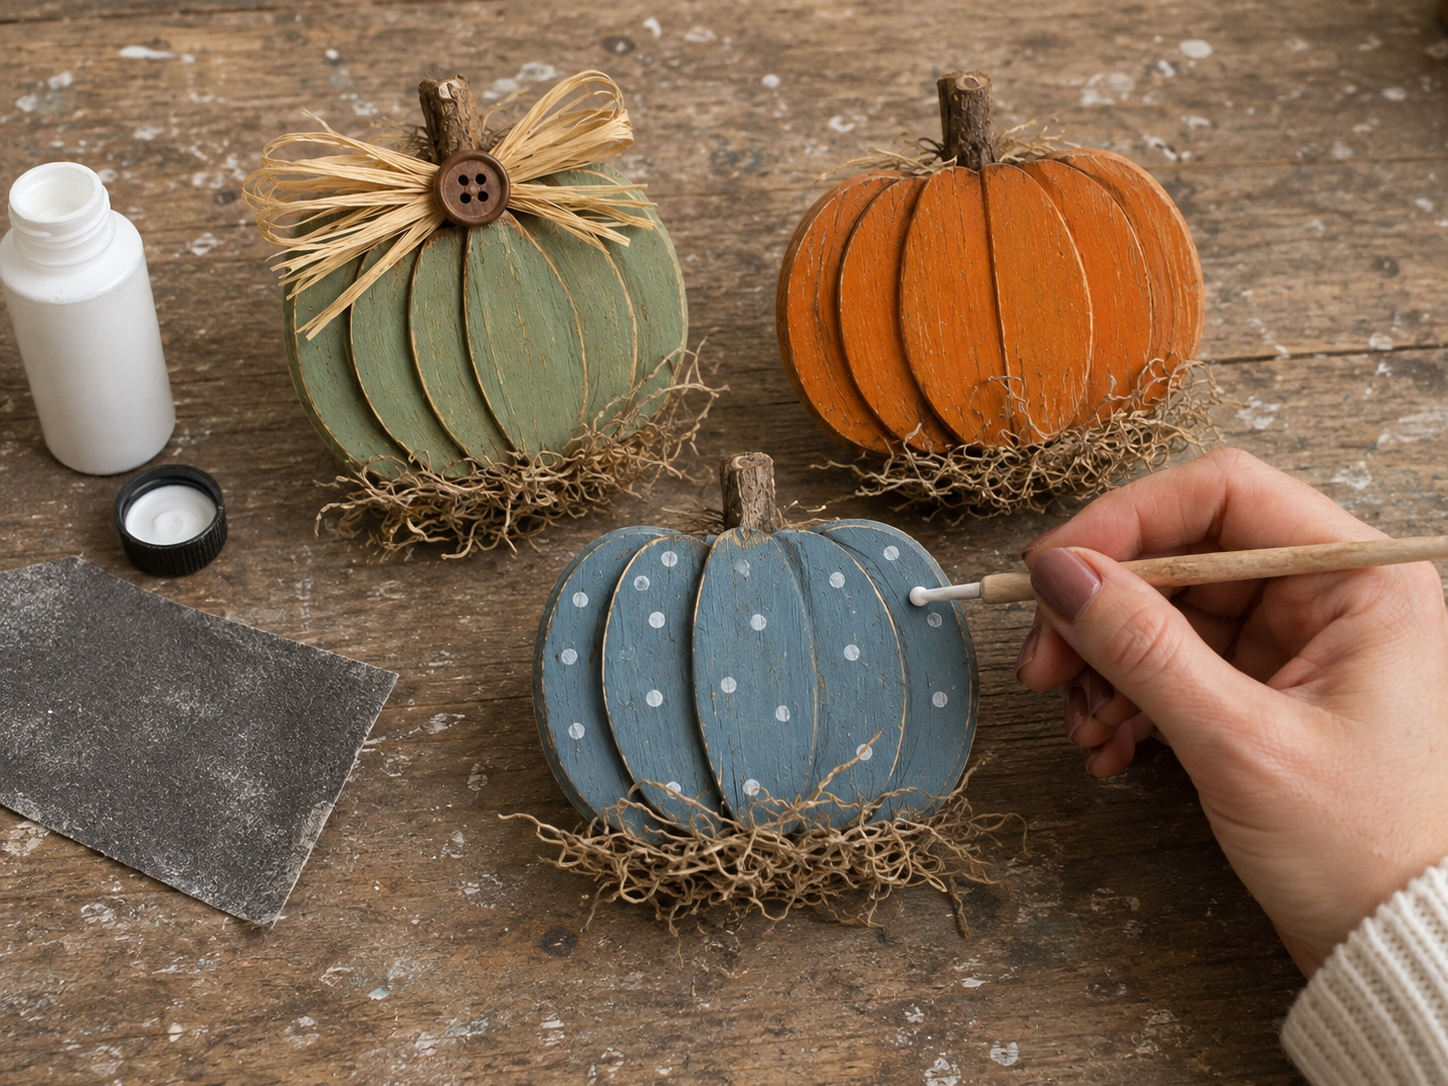
Once the pumpkins are dry, lightly distress their edges and raised areas using fine-grit sandpaper or a tiny amount of white paint on a dry brush. This adds an aged, farmhouse feel. For the dusty blue pumpkin, use the back of a paintbrush handle or a small round sponge dabber to add small, scattered white polka dots.
Step 4: Stack & Glue Pumpkins
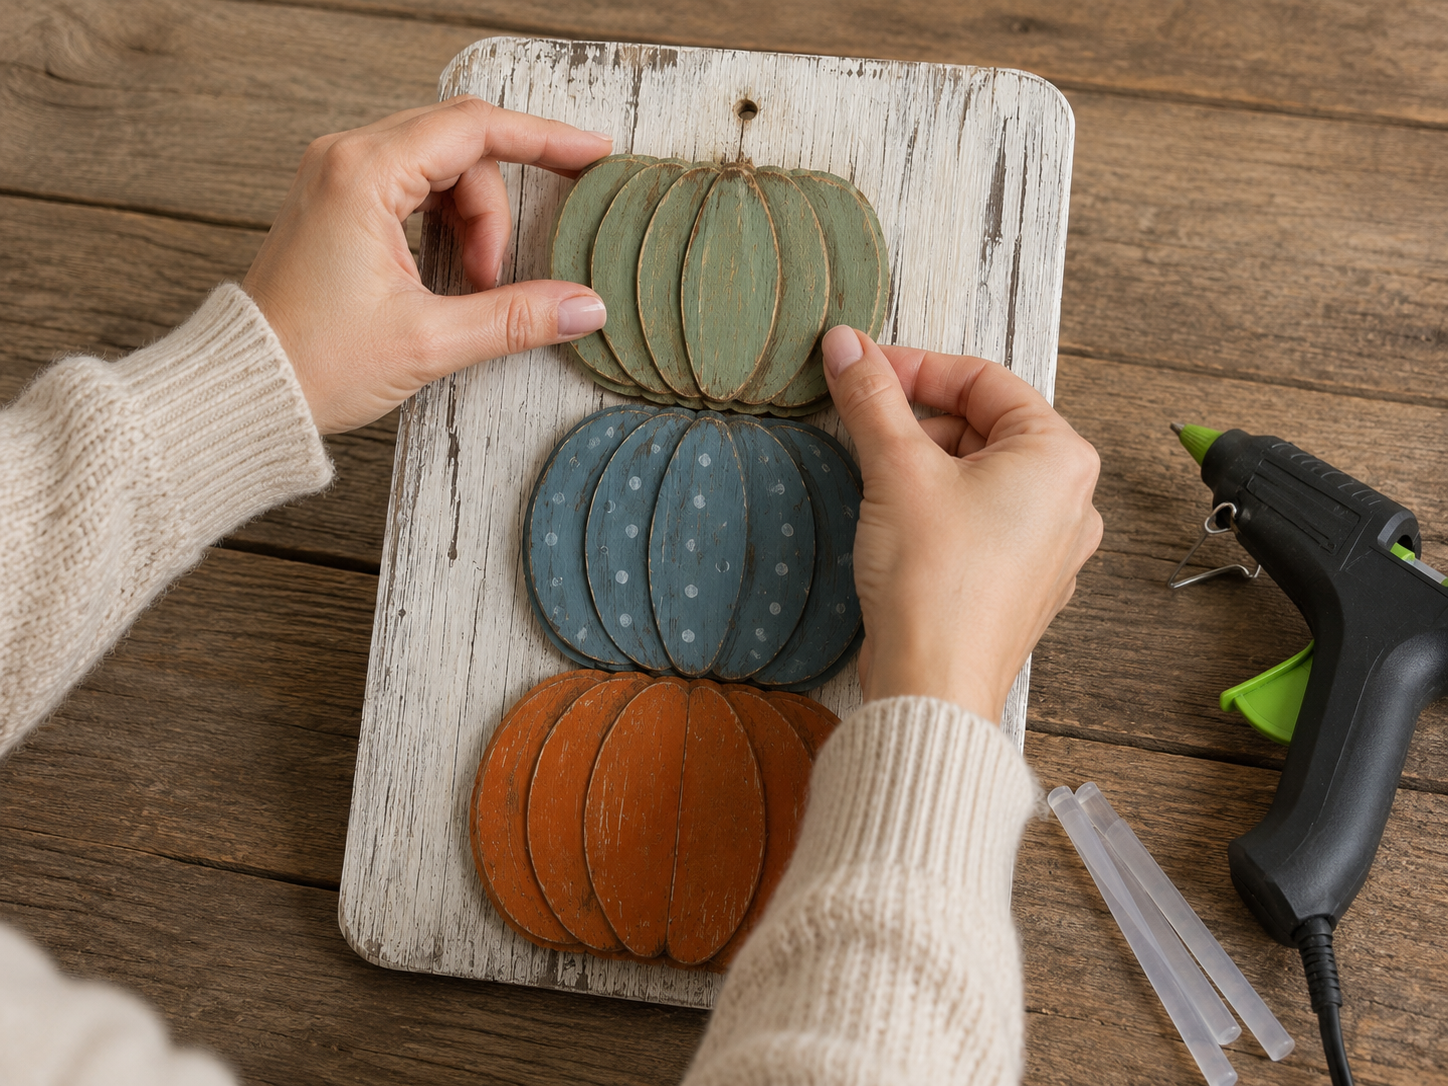
Arrange your three distressed pumpkins vertically on the prepared rustic plaque. Decide on their exact placement, ensuring they are centered and evenly spaced. Once satisfied with the arrangement, apply hot glue to the back of each pumpkin and firmly press them onto the plaque, stacking them from bottom to top.
Step 5: Add Spanish Moss Accents
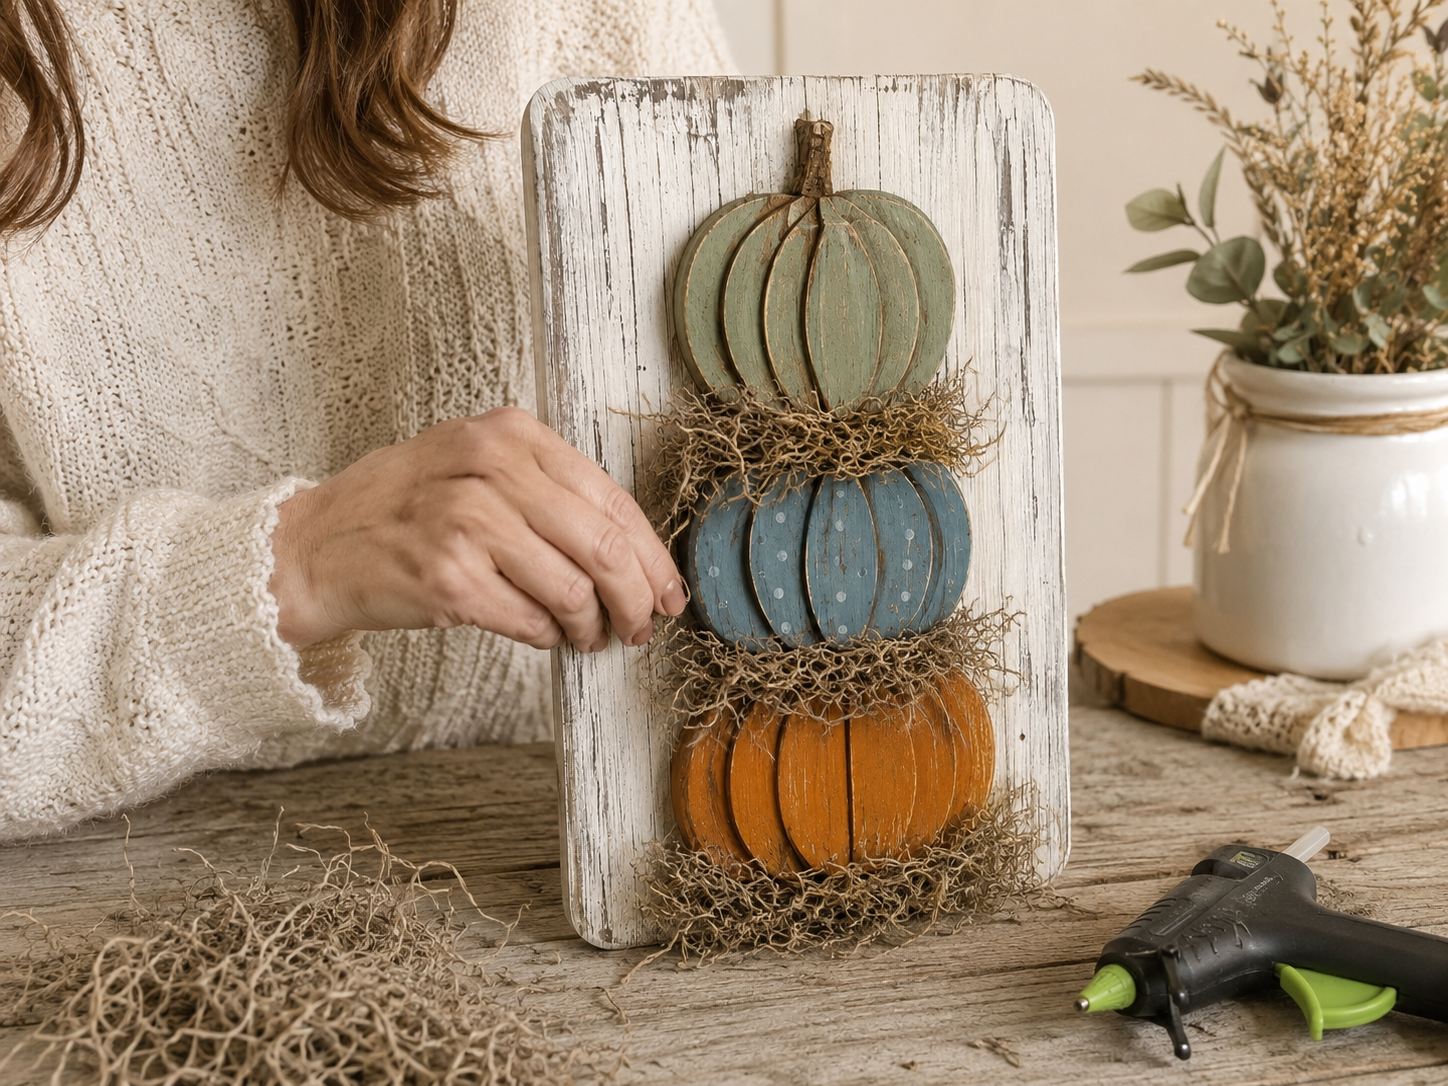
Tear off small tufts of Spanish moss. Using your hot glue gun, carefully glue a tuft of moss between each stacked pumpkin to create a textural separation. Also, add a small mound of moss at the very base of the bottom pumpkin on the plaque to complete the layered, natural look.
📱 Craftino App
Make more crafts like this
1,000+ Fall & Autumn ideas with photo guides & Pro Tips
✓ Step-by-step photo tutorials, nothing left out
✓ Pro Tips for every step
✓ Save crafts & browse fully offline
✓ New ideas added every week


Step 6: Craft Raffia Bow & Button
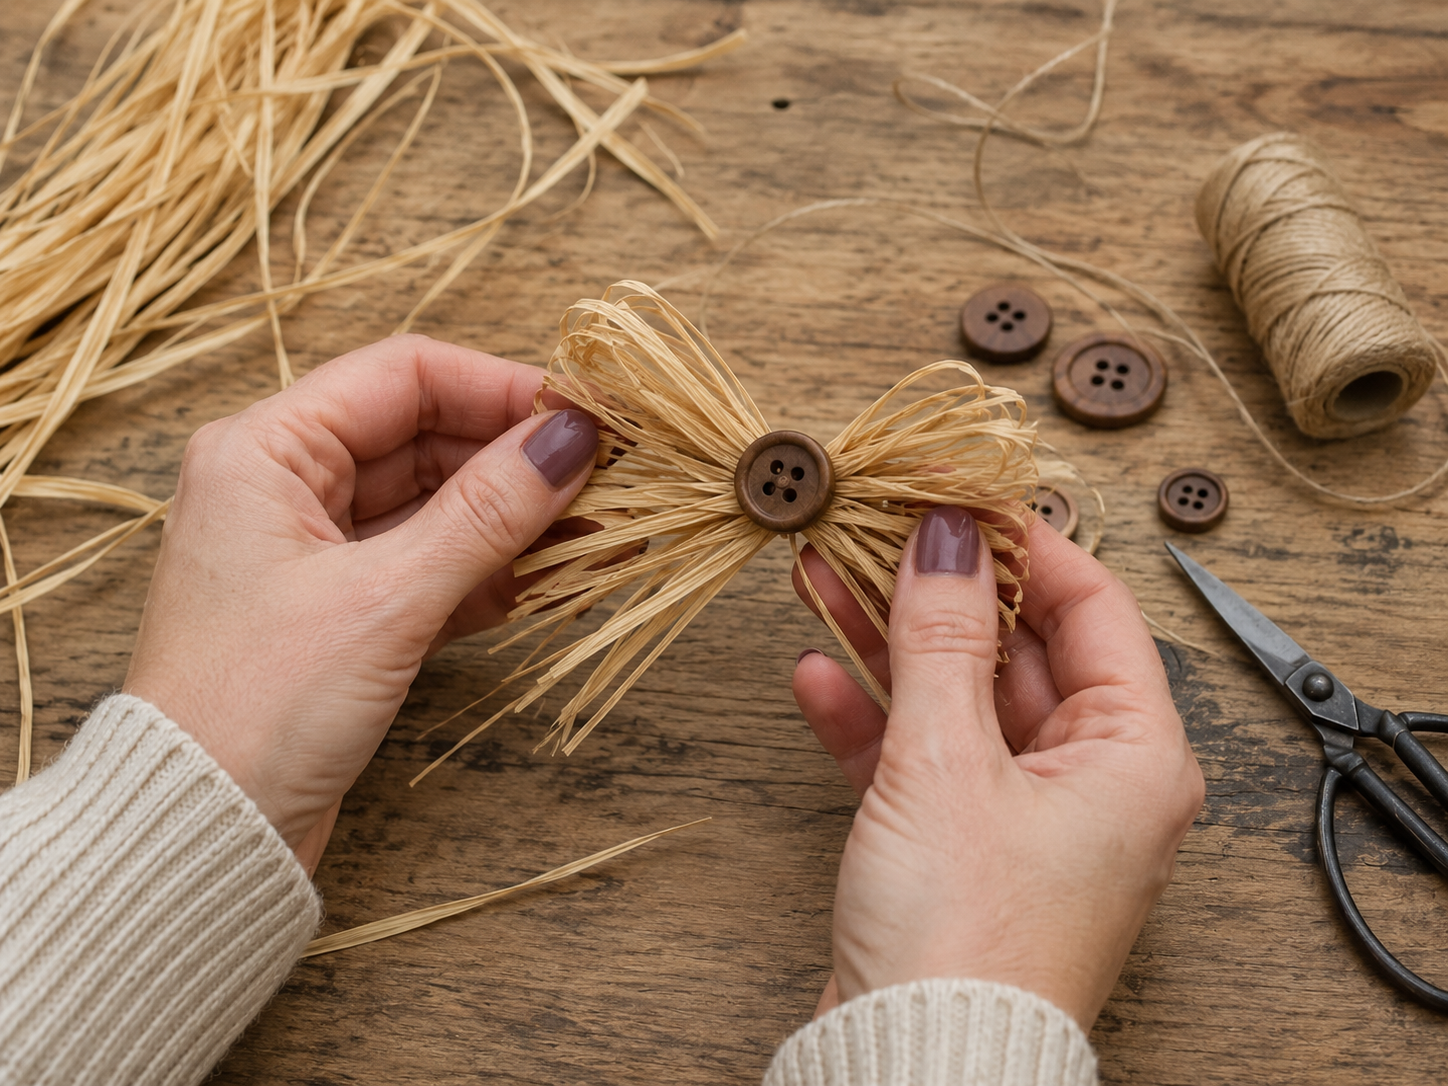
Take several strands of raffia ribbon and tie them into a simple, rustic bow. Trim the ends of the bow to your desired length. Then, thread your brown button onto a short piece of raffia or thin twine and tie it securely to the center of your raffia bow.
Step 7: Attach Final Embellishment
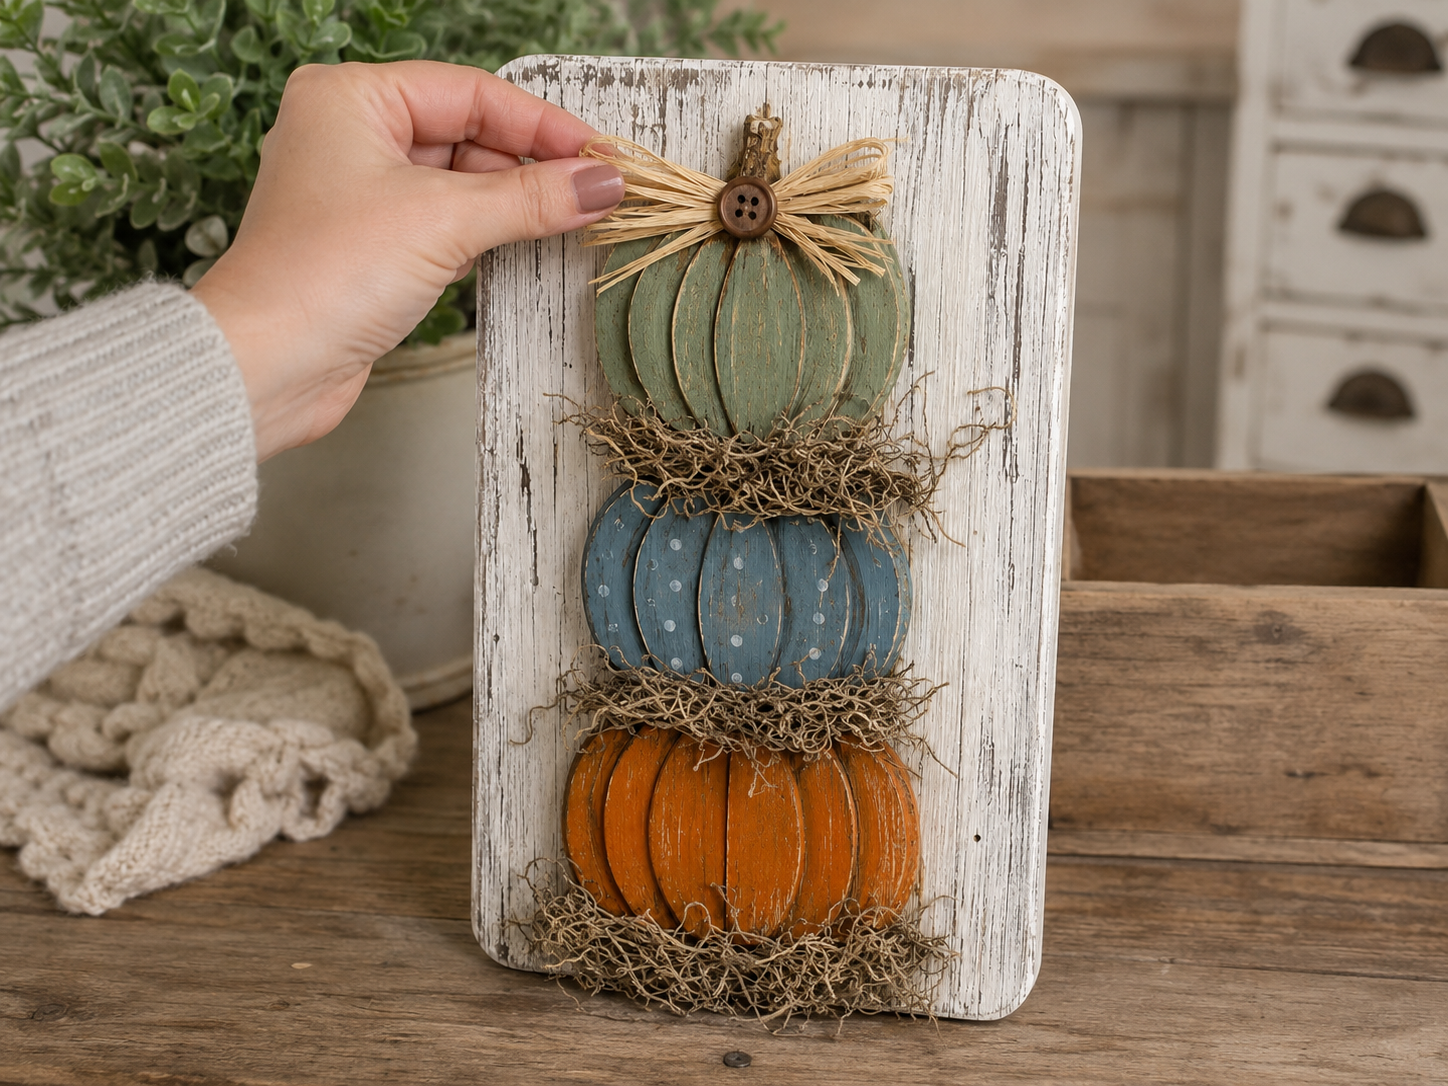
Apply a dab of hot glue to the top center of the sage green pumpkin, specifically at the base of its stem area. Carefully press your finished raffia bow, with the button centered, onto this spot. Hold it firmly until the glue sets. Take a final look at your plaque and make any necessary adjustments or touch-ups.
See also: Harvest Haven Wreath A Dollar Tree Style Fall Statement
📋 Love staying organized while crafting? Check out our printable planners & craft designs at CraftersDT on Etsy and use code CRAFT20 for 20% off your entire order!
Your Gorgeous Rustic Pumpkin Plaque Awaits!
Look at that! Your Rustic Stacked Pumpkin Wall Plaque is all done and ready to make your home feel extra cozy for Fall. Hang it up, lean it on a shelf, or even make a few as sweet gifts for friends and family. Don’t forget to share your finished pumpkin plaques with me, I love seeing your creativity!
📱 Craftino App
Make more crafts like this
1,000+ Fall & Autumn ideas with photo guides & Pro Tips
✓ Step-by-step photo tutorials, nothing left out
✓ Pro Tips for every step
✓ Save crafts & browse fully offline
✓ New ideas added every week
Frequently Asked Questions
How much does it cost to make the Rustic Stacked Pumpkin Wall Plaque?
The total cost to make this charming Rustic Stacked Pumpkin Wall Plaque is typically around $12-15. Most of the necessary supplies can be found affordably at Dollar Tree.
How long does it take to create this DIY Fall & Autumn Home Decor?
You can expect to complete the Rustic Stacked Pumpkin Wall Plaque in about 30-45 minutes of active crafting time. This quick project is perfect for a weekend afternoon.
Is the DIY Rustic Stacked Pumpkin Wall Plaque suitable for beginners?
Yes, this Rustic Stacked Pumpkin Wall Plaque is an easy craft, making it perfect for beginners and those new to DIY projects. The steps are straightforward and require minimal special skills.
Where can I find the supplies for this Dollar Tree pumpkin craft?
Most of the supplies for your Rustic Stacked Pumpkin Wall Plaque can be purchased at Dollar Tree, including the wooden pumpkins, paint, and twine. Craft stores like Hobby Lobby or Walmart also carry similar items.
Can I customize the colors of my Rustic Stacked Pumpkin Wall Plaque?
Absolutely, you can customize the colors of your Rustic Stacked Pumpkin Wall Plaque to match your existing Fall & Autumn home decor. Consider using classic orange, cream, or even a deep teal for a unique touch.
What kind of glue works best for this DIY Fall & Autumn craft?
Hot glue is highly recommended for assembling the Rustic Stacked Pumpkin Wall Plaque because it dries quickly and provides a strong bond. Ensure you use a low-temp glue gun if crafting with kids.
What specific Dollar Tree items are essential for this stacked pumpkin project?
Essential Dollar Tree items for this craft include three wooden pumpkin cutouts, a small wooden plaque or sign as a base, and jute twine for embellishment. You’ll also need acrylic paints and brushes.
Is the Rustic Stacked Pumpkin Wall Plaque a good gift for Fall?
Yes, the Rustic Stacked Pumpkin Wall Plaque makes an excellent handmade gift for friends, family, or neighbors during the Fall & Autumn season. It’s a thoughtful and budget-friendly present.
Will this Rustic Stacked Pumpkin Wall Plaque hold up outdoors?
This Rustic Stacked Pumpkin Wall Plaque is primarily designed for indoor Fall & Autumn home decor. If you wish to display it outdoors, apply a clear, weather-resistant sealant to protect the wood and paint from elements like rain and sun.
Shop fall & autumn decor & supplies at Dollar Tree.
Inspiration / Credit: Brandi Lea Johnson

Leave a Reply