
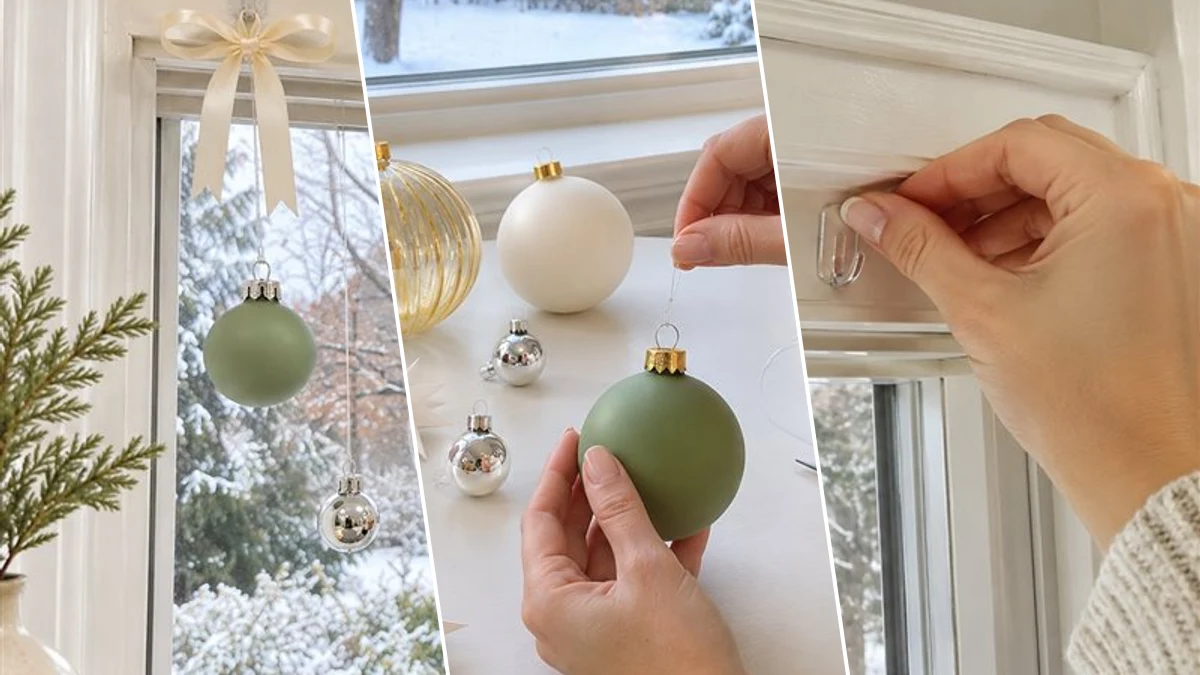
A floating Christmas ornament window display creates a magical holiday ambiance without permanent fixtures. This renter-friendly project uses clear fishing line and decorative ribbons to suspend assorted ornaments at varying heights. It offers a charming festive focal point for any window in your home, perfect for seasonal decorating.
Project at a Glance
- Difficulty: Easy
- Estimated active time: 25 minutes to 35 minutes (drying and curing waits not included)
- Estimated component cost: Budget-friendly (reusable tools and general supplies excluded)
- Main material: Plastic
- Suggested placement: Window
Why Choose a Floating Christmas Ornament Window Display?
A floating Christmas ornament window display provides a unique way to decorate for the holidays, especially for those in rented spaces. This project avoids nails or drilling, relying instead on removable adhesive hooks or strong tape to secure the display. It ensures that festive cheer can be added to windows without concerns about property alterations or damage.
This display transforms a plain window into a dynamic, festive focal point. By suspending ornaments at different heights using clear fishing line, a 'floating' effect is achieved, catching light and drawing the eye. It's a simple yet effective method to infuse any room with holiday spirit.
Materials for Renter-Friendly Floating Christmas Ornament Window Display
- Assorted Christmas Ornaments (various sizes, colors, and textures)
- Clear Fishing Line
- Thin Cream Ribbon
- White Paper Stars (optional)
- Removable Adhesive Hooks or Strong Tape
- Scissors
Need another material? Browse current craft supplies and deals.
How to Assemble Your Floating Christmas Ornament Window Display
Crafting a floating Christmas ornament window display is a straightforward process that yields a stunning seasonal accent. The steps involve preparing your ornaments, setting up secure hanging points, and arranging the display with varied lengths. Follow these instructions to bring a festive, 'floating' look to your windows.
Step 1: Gather and Prepare Ornaments
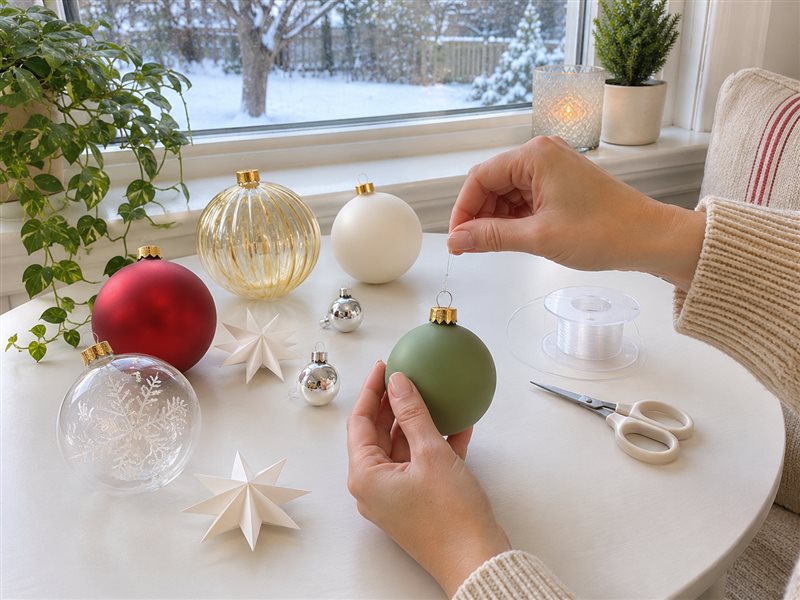
Lay out all your chosen Christmas ornaments. Select a variety of sizes, finishes (matte, glossy, clear), and colors to create visual interest. For each ornament, cut a piece of clear fishing line to your desired hanging length. Remember to account for extra length needed for tying knots. Thread one end of the fishing line through the ornament's hanger and secure it with a strong double knot. Trim any excess fishing line.
Step 2: Install Window Frame Hangers
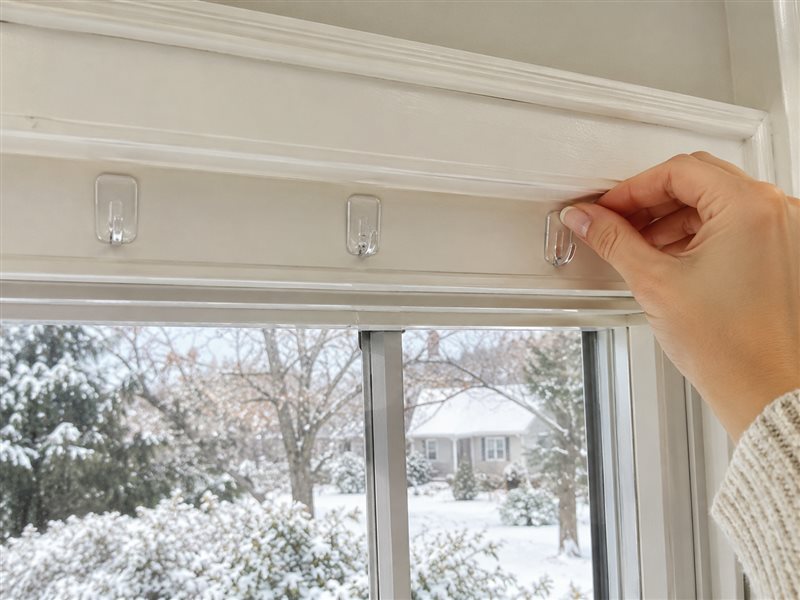
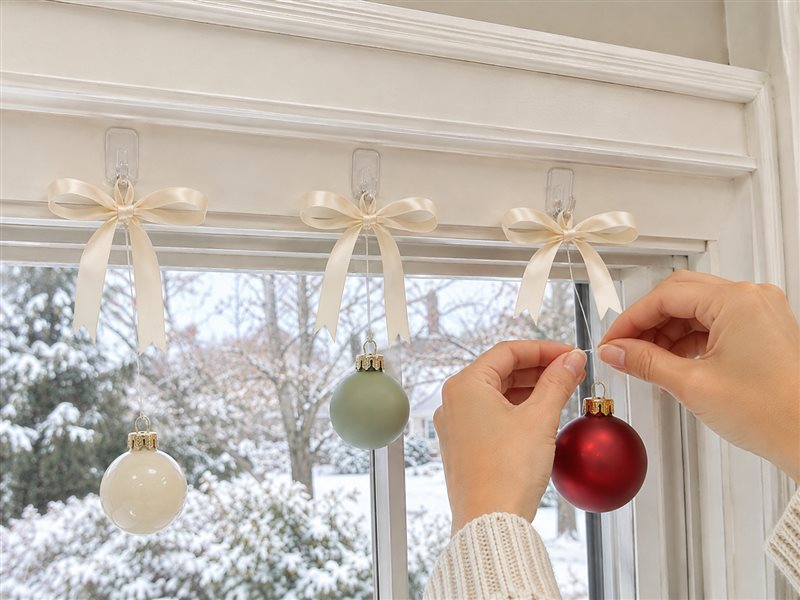
Determine the desired spacing for your hanging ornaments along the top of your window frame. For a renter-friendly approach, use small removable adhesive hooks or strong painter's tape. If using hooks, peel the backing and firmly press them onto the window frame, following the product's instructions for optimal adhesion. If using tape, tear pieces of tape and fold them over to create small loops with adhesive on both sides, then press them onto the frame. Ensure they are secure enough to hold the weight of the ornaments.
Step 3: Attach Ribbon Bows
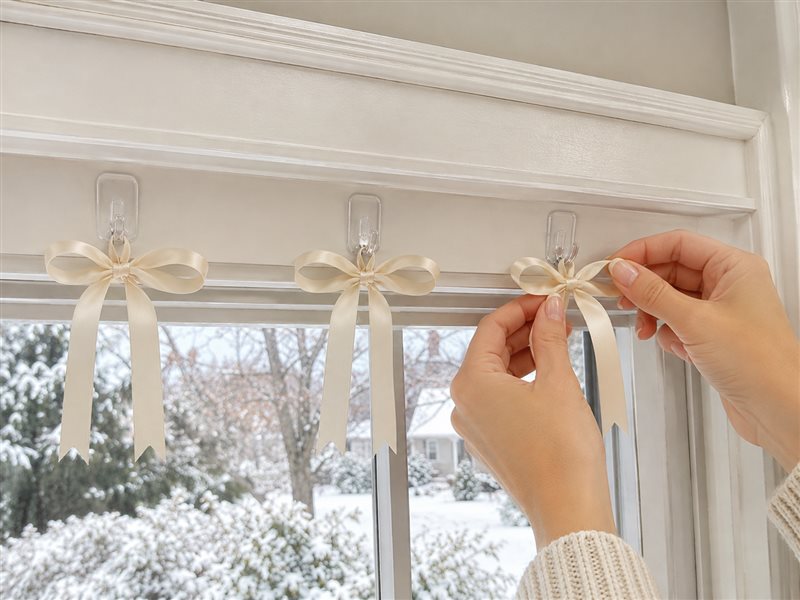
Cut several pieces of thin cream ribbon, each approximately 10-12 inches long. For each piece, tie a neat bow. Once tied, create a small loop with the remaining ribbon tails. Gently slide this ribbon loop over each adhesive hook or securely tape it to the window frame if you are using tape loops. These bows will serve as the attachment points for your ornaments and add an elegant decorative touch.


Step 4: Hang Ornaments and Stars
Take your prepared ornaments, each with its fishing line attached. Begin tying the free end of the fishing line to the bottom loop or tail of each cream ribbon bow. Vary the hanging lengths of the ornaments significantly to create a visually appealing 'floating' effect and depth in your display. Incorporate the white paper stars by either tying them directly with fishing line or gently attaching them to existing fishing lines with a small knot. Step back periodically to assess the balance and arrangement of your display.
Step 5: Final Adjustments and Display
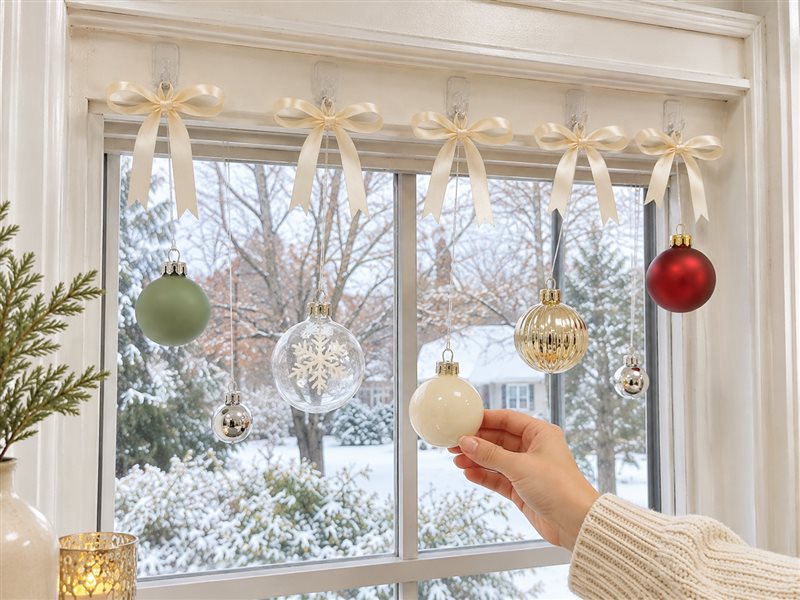
Once all your ornaments and stars are hung, take a moment to stand back and view the entire display. Adjust any ornament heights or positions by gently sliding knots up or down the ribbon, or re-tying if necessary, until you achieve your desired aesthetic. Ensure there's a good mix of colors, sizes, and textures distributed throughout. This final step allows you to fine-tune the 'floating' effect and ensure visual harmony. Your festive window display is now complete!
Enjoy Your Festive Floating Ornament Window Display
With the final adjustments made, your floating Christmas ornament window display is ready to brighten your home. This charming and renter-friendly decor piece offers a unique way to celebrate the holiday season. It provides a beautiful visual from both inside and outside, enhancing your festive ambiance.
Related project collection: DIY Christmas Ornament Cone Tree Centerpiece with Mini Ornaments
Practical Questions About This Project
What types of ornaments are best for a floating display?
For the best visual interest, select a variety of Christmas ornaments in different sizes, finishes (matte, glossy, clear), and colors. Incorporating white paper stars can also add to the display.
How is the 'floating' effect achieved with the ornaments?
The 'floating' effect is achieved by cutting clear fishing line to various lengths for each ornament and hanging them at significantly varied heights. This creates depth and a dynamic look.
Can other decorative elements be added to this window display?
Yes, white paper stars are an optional addition mentioned in the materials. They can be tied directly with fishing line or gently attached to existing lines.
What kind of ribbon is used for hanging?
Thin cream ribbon is used for tying bows that serve as attachment points for the ornaments. These ribbons also add an elegant decorative touch to the top of the display.
Search Dollar Tree for plastic supplies.

Leave a Reply