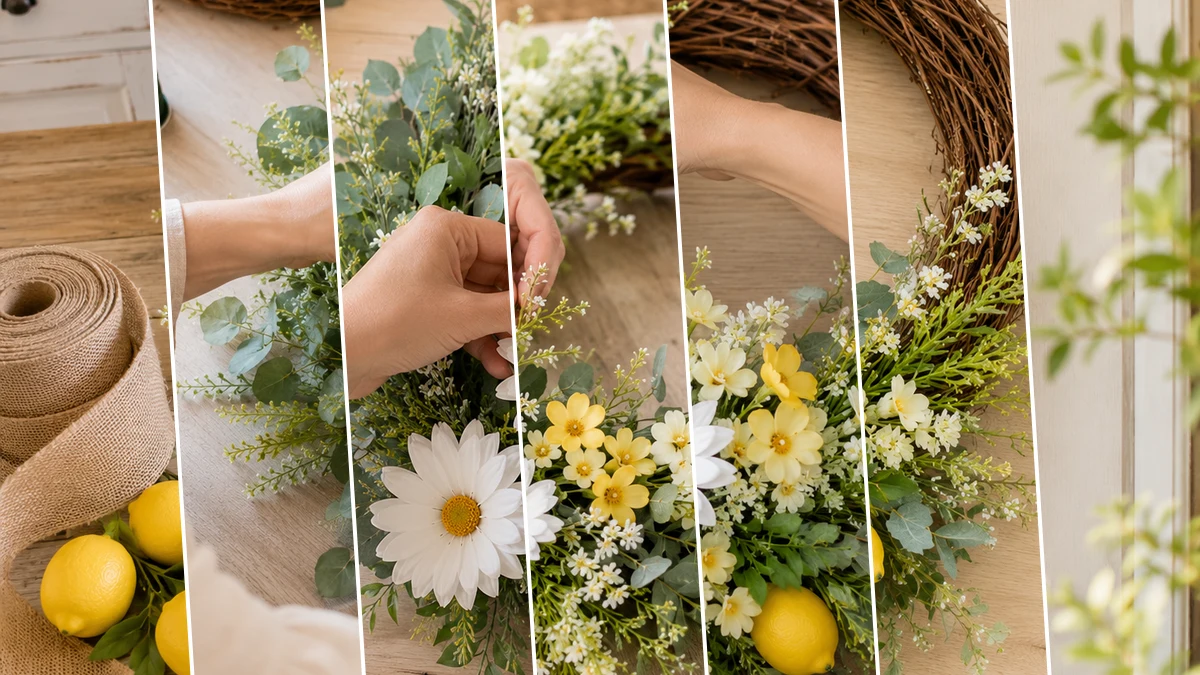
Okay, so I was strolling through Dollar Tree the other day, minding my own business, and these cute little lemons and daisies practically jumped into my cart! I swear it happens every time. Before I knew it, I had an idea bubbling, and now I’m so excited to show you how I made this adorable Boutique-Style Dollar Tree Summer Lemon & Daisy Wreath that looks way more expensive than it is! My front door has never looked cuter.
See also: Charming Coastal Summer Wreath
Theme: Summer & Beach
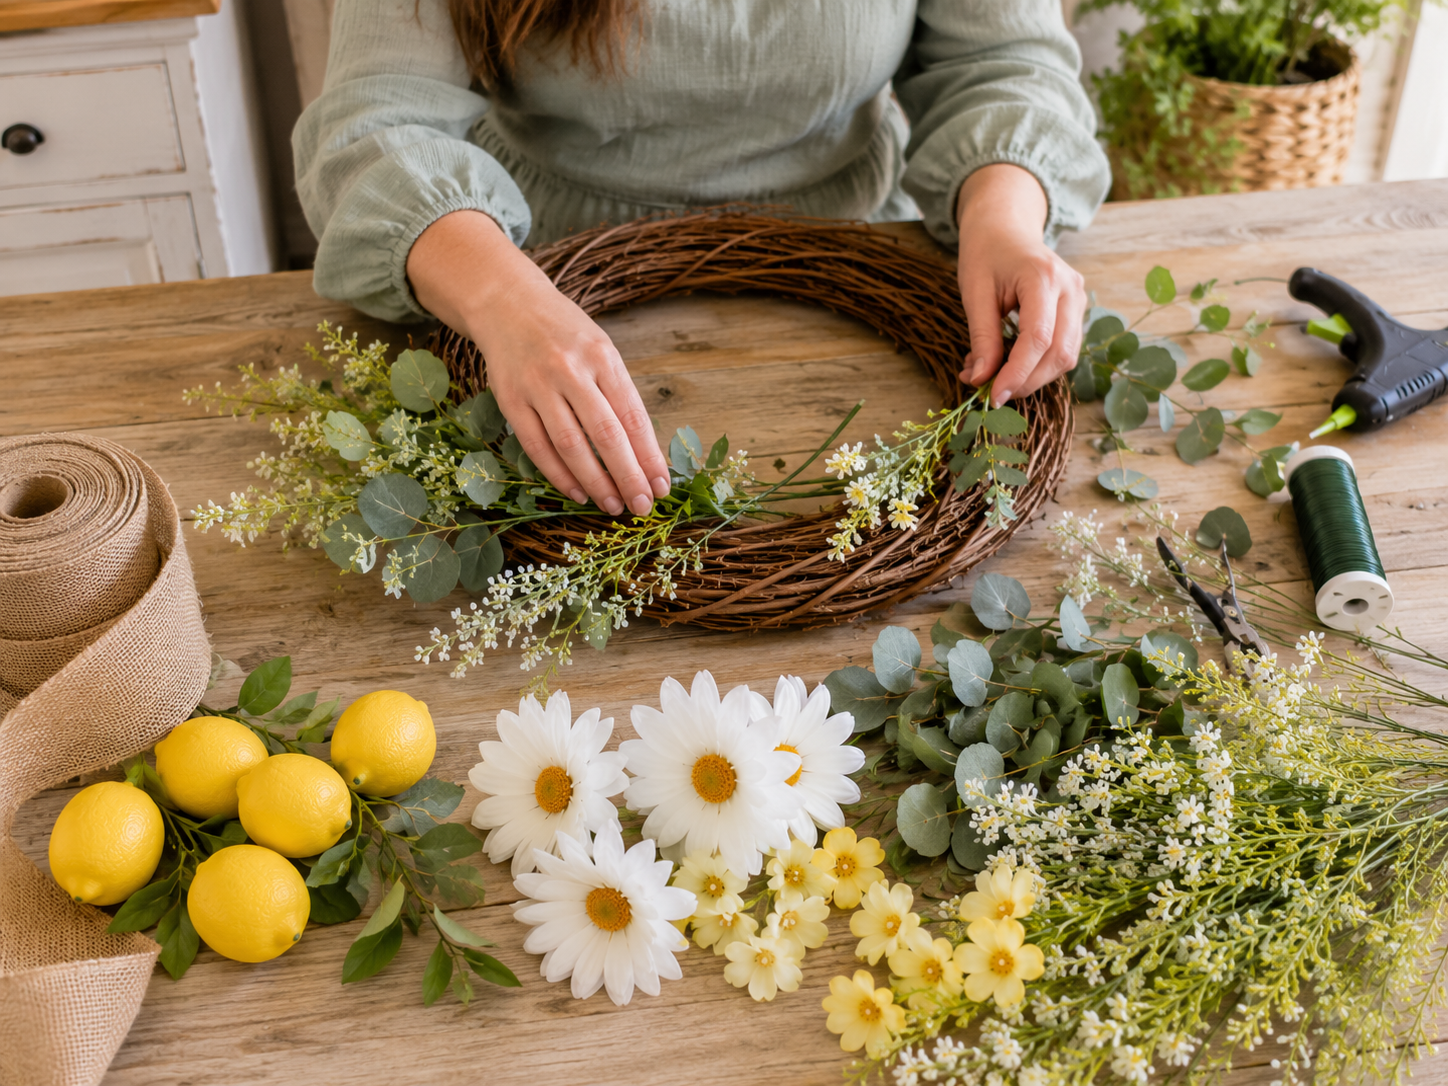
Materials Needed
- Natural Grapevine Wreath Base
- Assorted Faux Floral Stems (Large White Daisies, Small Yellow Flowers, White Filler Blooms)
- Faux Greenery Stems (Eucalyptus, Mixed Soft Greenery Picks)
- Mini Faux Lemons or Lemon Picks
- Wide Burlap Ribbon
- Hot Glue Gun & Glue Sticks
- Floral Wire
- Scissors
- Wire Cutters
📋 Love staying organized while crafting? Check out our printable planners & craft designs at CraftersDT on Etsy and use code CRAFT20 for 20% off your entire order!
Why This Craft Works
This cheerful little wreath is just perfect for bringing some sunshine into your home! I love hanging mine right on the front door to welcome guests, but it also looks amazing over a farmhouse-style mirror in the entry way, or even propped up on a shelf in a bright kitchen. It screams “Summer & Beach” vibes without being too over-the-top, making it a super versatile piece of Home Decor for the season.
📱 Free to Download
Join 50,000+ crafters already using Craftino
Browse 85+ Summer & Beach ideas and thousands more in the app
✓ Save crafts & browse fully offline
✓ Download printable PDF guides for every project
✓ Step-by-step photo tutorials, nothing left out
✓ 1,000+ craft projects with new ones added every week

The best part about this craft? It’s practically free! I made my wreath for a grand total of about $5. Yep, you heard that right, just five bucks! All the main supplies came straight from my favorite dollar store, so you can make a super cute item without breaking the bank.
You’re gonna love how simple this is. I’d say this is definitely an Easy level craft, perfect for beginners or even if you’ve got the kids helping out. From start to finish, I had my Boutique-Style Dollar Tree Summer Lemon & Daisy Wreath ready to hang in about 25-30 minutes. It’s awesome for a quick craft session or a last-minute gift idea!
Step-by-Step Instructions for Boutique-Style Dollar Tree Summer Lemon & Daisy Wreath
Alright, crafters, are you ready to get your hands a little glue-y? This “Boutique-Style Dollar Tree Summer Lemon & Daisy Wreath” project is so much fun and goes together super fast, you won’t believe it! I had such a blast putting mine together, and honestly, you’ll be amazed at how fancy it looks for hardly any money at all. Let’s grab our Dollar Tree goodies and make some magic!
Step 1: Plan Your Asymmetrical Layout
Lay your grapevine wreath on a flat, clean surface. Before attaching anything, arrange your various floral stems, greenery, lemons, and burlap ribbon around the wreath. Visualize an asymmetrical design where one side and the lower curve are heavily embellished, intentionally leaving a portion of the grapevine exposed for a natural, farmhouse aesthetic. This crucial pre-planning stage ensures a balanced and visually appealing final product.
💡 Pro Tip: To refine your vision, take a photo of your desired arrangement before you start gluing or wiring. This gives you a tangible reference point to ensure you don’t stray from your original vision and helps maintain an intentional, natural flow in your asymmetrical design.
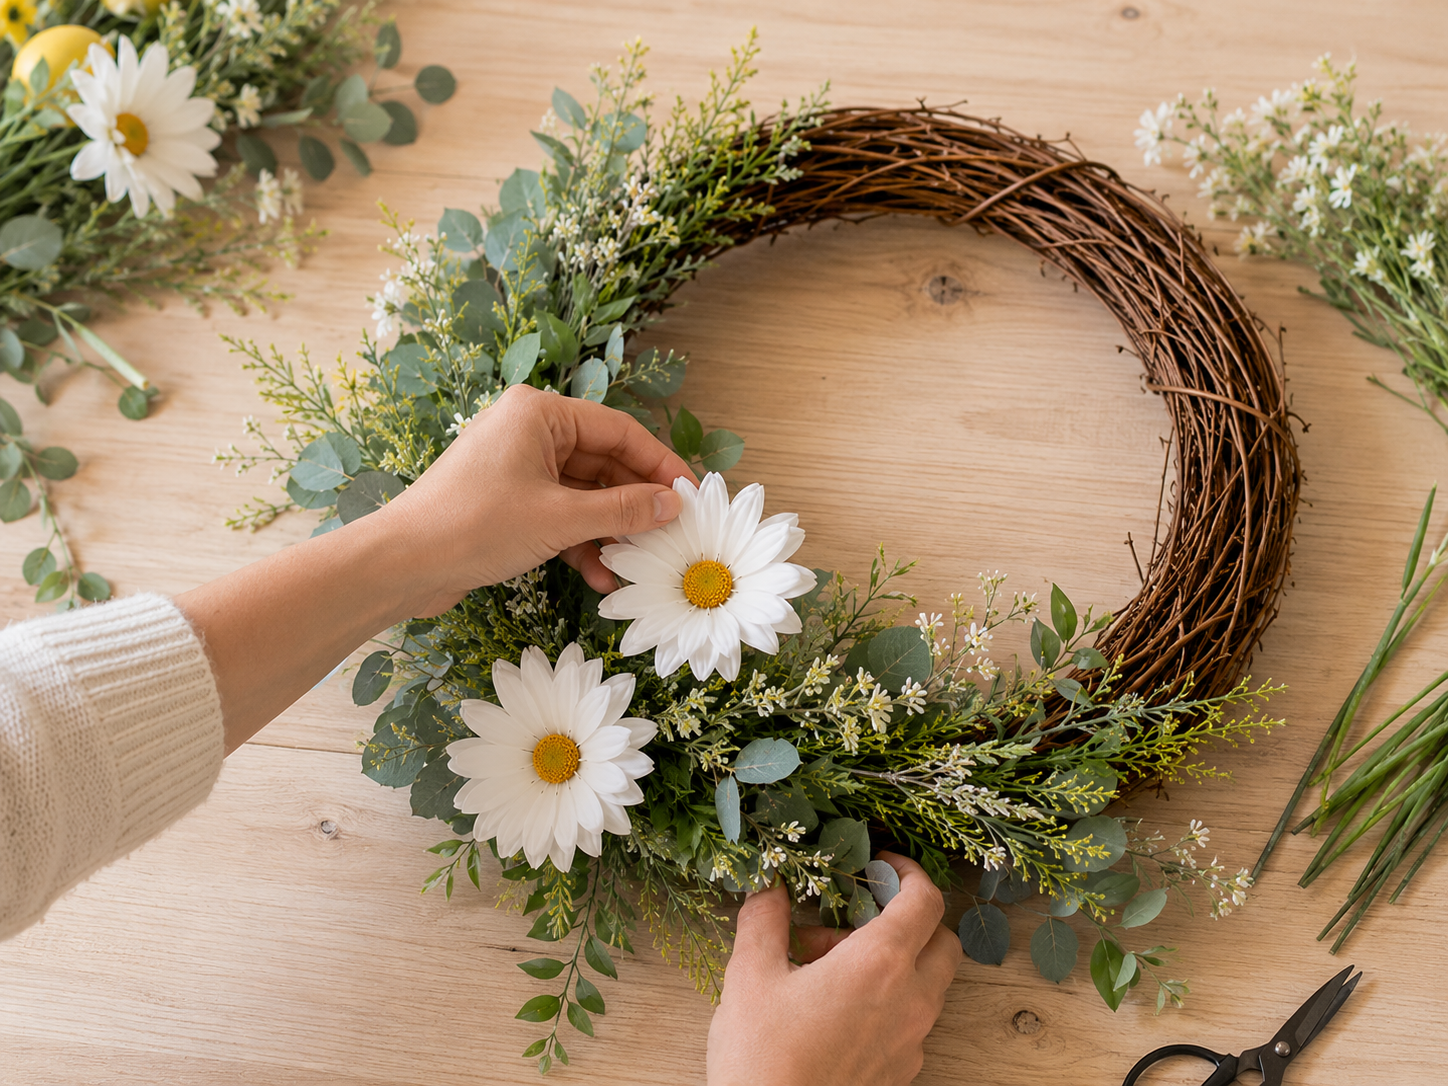
Step 2: Establish the Greenery Base
Begin by securing your faux eucalyptus and other soft greenery picks. Insert the individual stems directly into the woven grapevine base, working around the left side and along the lower curve, following your pre-planned layout. For a secure hold, apply a dab of hot glue to the tip of each stem before inserting, or use floral wire to tightly wrap the stems to the wreath, especially for heavier bunches. Build outward and downward to create a lush, flowing foundation.

💡 Pro Tip: When inserting greenery, angle the stems so they follow the natural curve of the wreath, enhancing its organic flow. For a fuller, more dynamic look, alternate the direction of some leaves and branches, and use different textures of greenery to add visual depth.
🗓️ Keep all your craft projects on track! Explore our printable planners & templates at CraftersDT on Etsy and use code CRAFT20 for 20% off!
Step 3: Place Main Focal Flowers
Now, introduce your larger white daisies, which will serve as the main focal points of your wreath. Position these flowers strategically within the greenery, ensuring they are well-spaced and naturally draw the eye. Aim for an airy, organic placement, as if they are blooming naturally. Secure each daisy stem by pushing it firmly into the grapevine or wiring it in place, reinforcing with hot glue for a steadfast hold. Distribute them to create visual anchors within your asymmetrical design.
💡 Pro Tip: Vary the depth at which you place the daisies – some can sit deeper within the greenery, while others can be more prominent. Gently fluff out the petals for a more realistic, open bloom appearance. Step back frequently to assess the overall balance and ensure your focal points are impactful.
Step 4: Incorporate Filler Blooms
With your main flowers securely in place, begin filling in any gaps with the smaller yellow faux flowers and tiny white filler blooms. These delicate additions are crucial for creating a soft, lush garden feel and for connecting the larger elements. Cluster some together, scatter others individually, always aiming for a natural, organic look. Use hot glue to secure these smaller, often lighter, elements firmly into the grapevine or nestled between other stems.

💡 Pro Tip: To add dynamic dimension, use varying lengths for the filler stems; some can peek out more prominently, while others can be nestled deeper within the existing foliage. Don’t hesitate to snip off individual blooms from larger stems to place them precisely where you need them for a truly bespoke look.
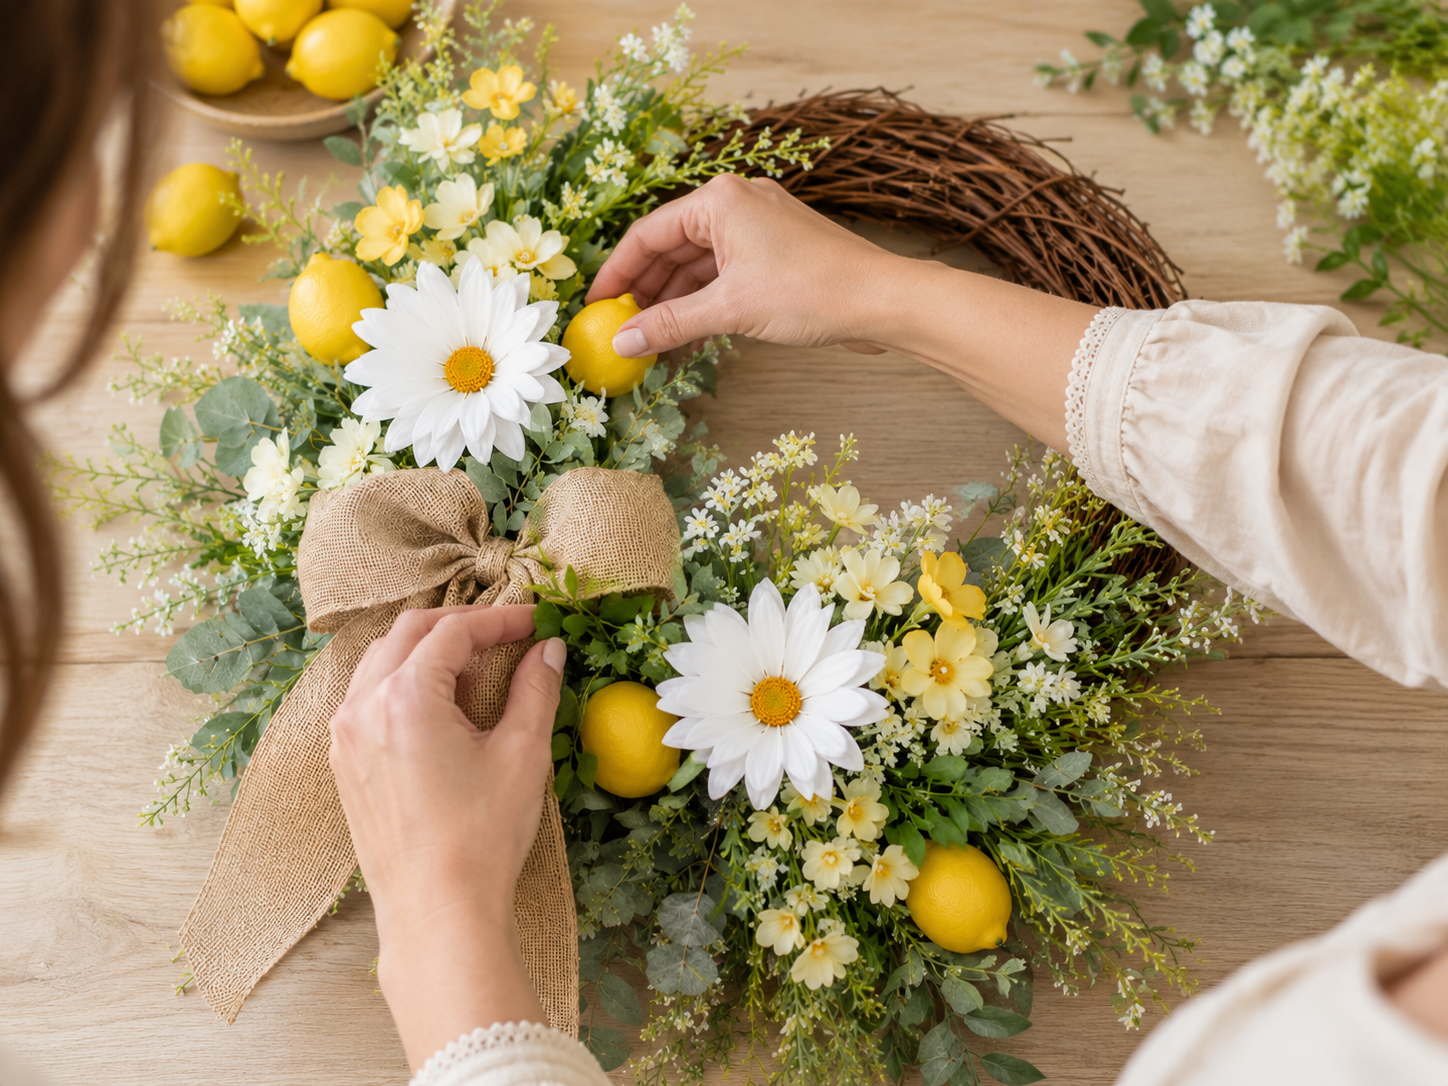
Step 5: Add Bright Lemon Accents
Now, introduce the mini faux lemons to complete your summer theme. Tuck a few lemons strategically among the established flowers and greenery. The goal is to add a bright, seasonal pop of color without making the wreath feel too crowded. Position them slightly recessed or peeking out, as if they are growing naturally within the foliage. Secure them firmly with hot glue, ensuring they won’t easily detach.
💡 Pro Tip: For a more aesthetically pleasing arrangement, place lemons in odd-numbered groupings (1, 3, or 5). Consider where natural light would hit them if they were real, and angle them slightly to enhance their vibrant color and make them truly ‘pop’ against the greenery.
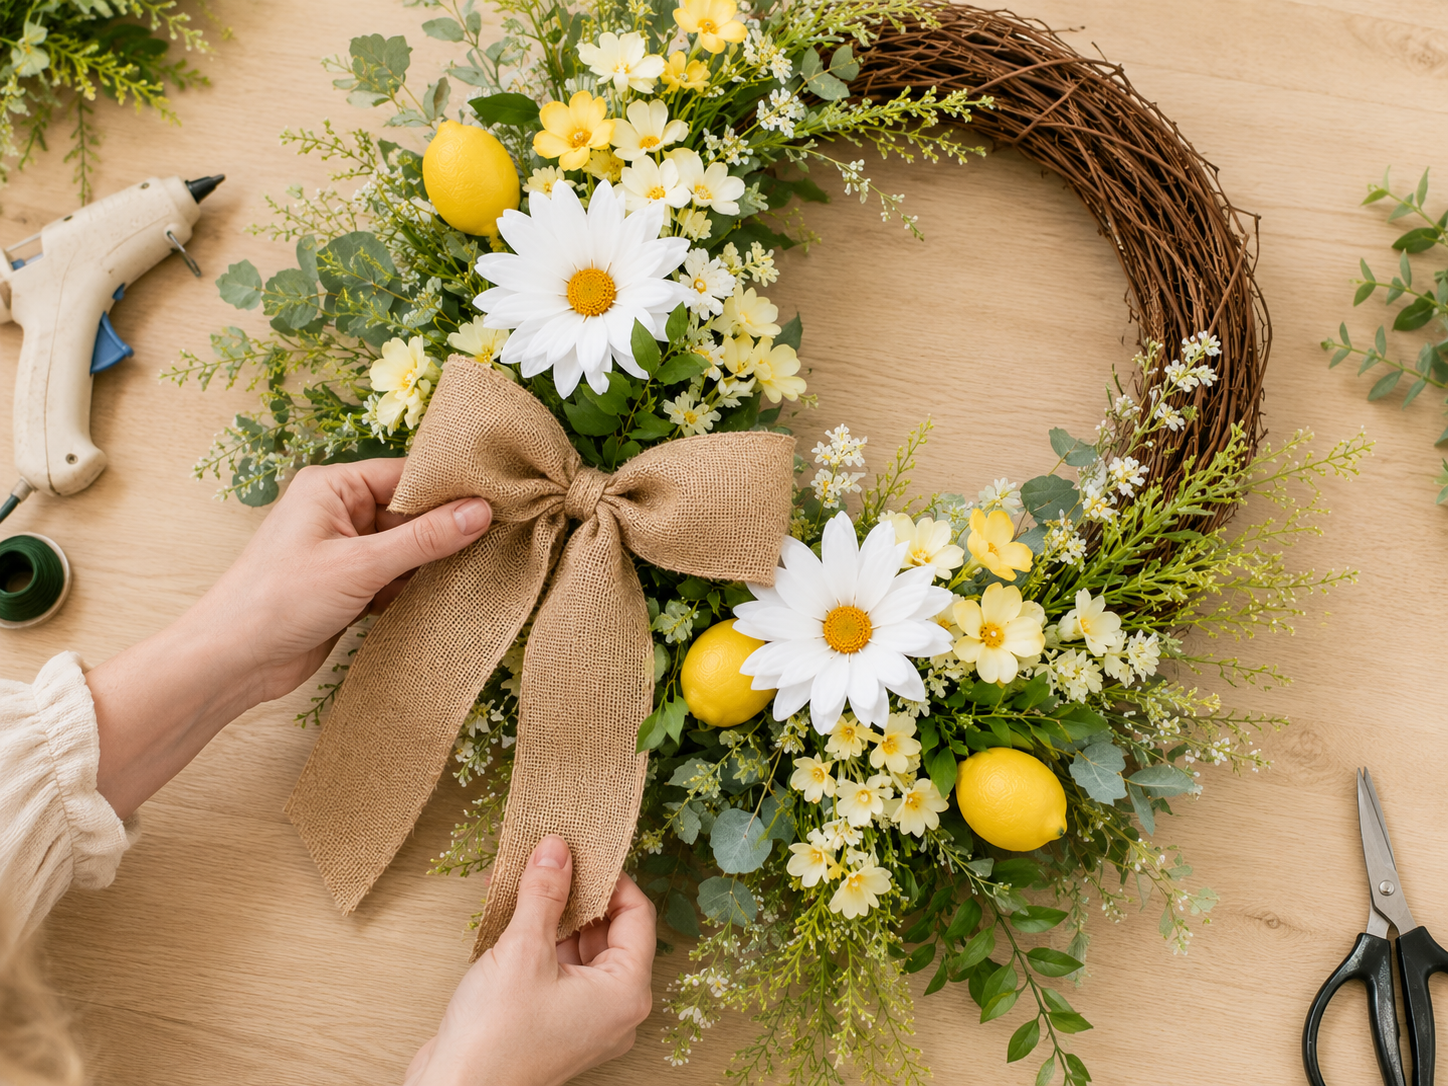
Step 6: Fashion and Attach the Burlap Bow
Create a large, multi-loop burlap bow. A simple ‘shoelace’ style bow with generous loops and long tails often works best for achieving a rustic farmhouse look. Once tied, gently fluff the loops to give it ample volume. Attach the bow securely near the lower-left floral cluster using floral wire; wrap the wire tightly around the knot of the bow and thread it through the grapevine wreath to anchor it. Let the tails hang naturally, trimming them to your desired length if necessary.
💡 Pro Tip: For an extra full and luxurious bow, create two slightly smaller bows and stack them, securing them together with floral wire before attaching them to the wreath. You can also discreetly wire the tails to specific spots on the wreath to control their drape and prevent them from flapping in the wind.
📱 Free to Download
Join 50,000+ crafters already using Craftino
Browse 21+ Summer & Beach ideas and thousands more in the app
✓ Save crafts & browse fully offline
✓ Download printable PDF guides for every project
✓ Step-by-step photo tutorials, nothing left out
✓ 1,000+ craft projects with new ones added every week
Step 7: Final Adjustments & Refinements
Take a final, critical look at your finished wreath. Adjust any stems or leaves that appear out of place, ensuring everything flows naturally and contributes to the intended asymmetrical design. Carefully trim any visible floral wire ends or hot glue strings for a clean finish. Fluff up flowers and bow loops as needed. Ensure the wreath looks full, balanced, and has that desired ‘expensive boutique’ feel, effectively masking its Dollar Tree origins. Hang it on your door to see how it looks in its final spot and make any last-minute tweaks.
💡 Pro Tip: To truly achieve that ’boutique’ look, pay close attention to the negative space – the areas of the grapevine left exposed are intentional and add to the charm. Also, ensure no two elements of the same type are placed too symmetrically or in a straight line; vary heights and depths to create natural visual interest and organic movement.
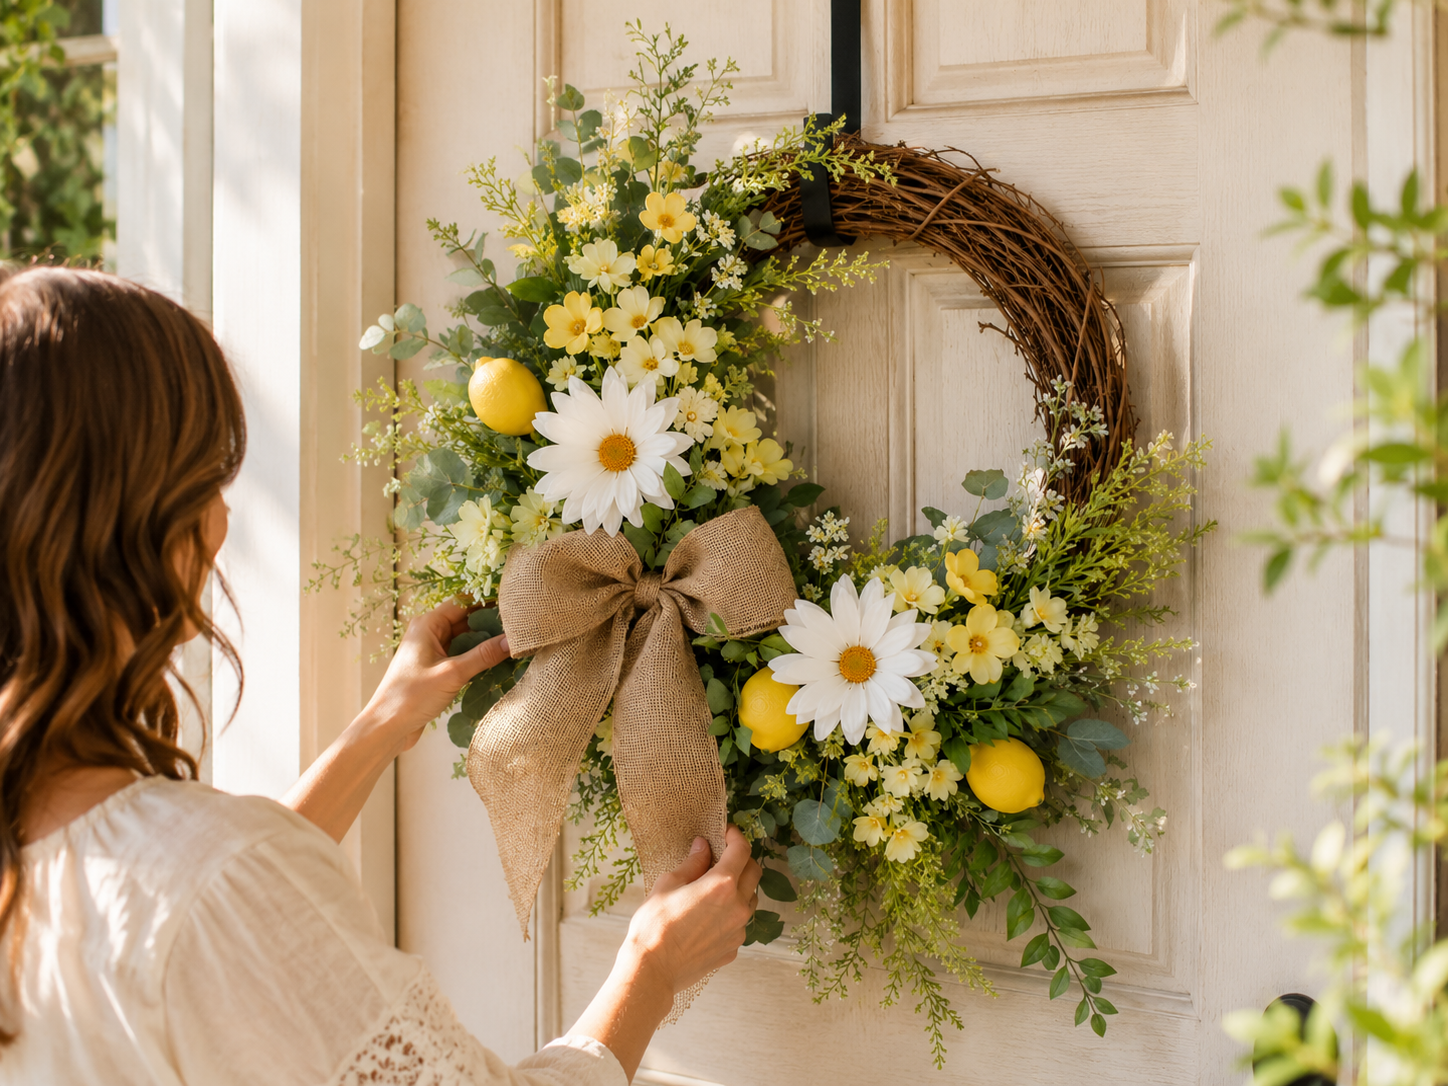
Your Zesty Lemon & Daisy Wreath Is Done!
Look at that! Your beautiful new Boutique-Style Dollar Tree Summer Lemon & Daisy Wreath is all ready to brighten up your space. I just love how fresh and happy it looks. Hang it on your door, a wall, or gift it to a friend who needs a little sunshine! Don’t forget to show me your finished wreath, I can’t wait to see your versions!
📱 Free to Download
Join 50,000+ crafters already using Craftino
Browse 79+ Summer & Beach ideas and thousands more in the app
✓ Save crafts & browse fully offline
✓ Download printable PDF guides for every project
✓ Step-by-step photo tutorials, nothing left out
✓ 1,000+ craft projects with new ones added every week
Frequently Asked Questions
How many lemon and daisy pieces do I need for the Boutique-Style Dollar Tree Summer Lemon & Daisy Wreath?
For a standard 10-inch wreath form, I used about 6-8 artificial lemon slices or small whole lemons and 10-12 daisy flower heads to get a nice full look.
What type of glue works best for a Dollar Tree Summer & Beach wreath?
A hot glue gun with strong craft glue sticks works best for securing items to the wreath form. I used about 5-6 standard glue sticks for my project.
Can kids help make this DIY Summer Lemon & Daisy Wreath?
Absolutely! This is an easy craft. Kids aged 8 and up can help with arranging and gluing, but make sure an adult handles the hot glue gun to prevent burns.
How much does it cost to make a Dollar Tree Summer Lemon & Daisy Wreath?
You can make this wreath for about $5-7, depending on how many embellishments you add. The main supplies (wreath form, lemons, daisies) are all $1.25 each at Dollar Tree.
How long does the DIY Dollar Tree Summer Lemon & Daisy Wreath last outdoors?
If displayed on a covered porch or door, your wreath should last through the entire summer season, typically 3-4 months. Direct sun and rain might fade or damage it faster.
What’s a good way to customize my Boutique-Style Dollar Tree Summer Lemon & Daisy Wreath?
Try adding a cute burlap bow, some small bee embellishments, or even a few sprigs of artificial greenery from Dollar Tree to make your wreath unique!
Discover the newest Dollar Tree arrivals for your next craft project here.
Leave a Reply