
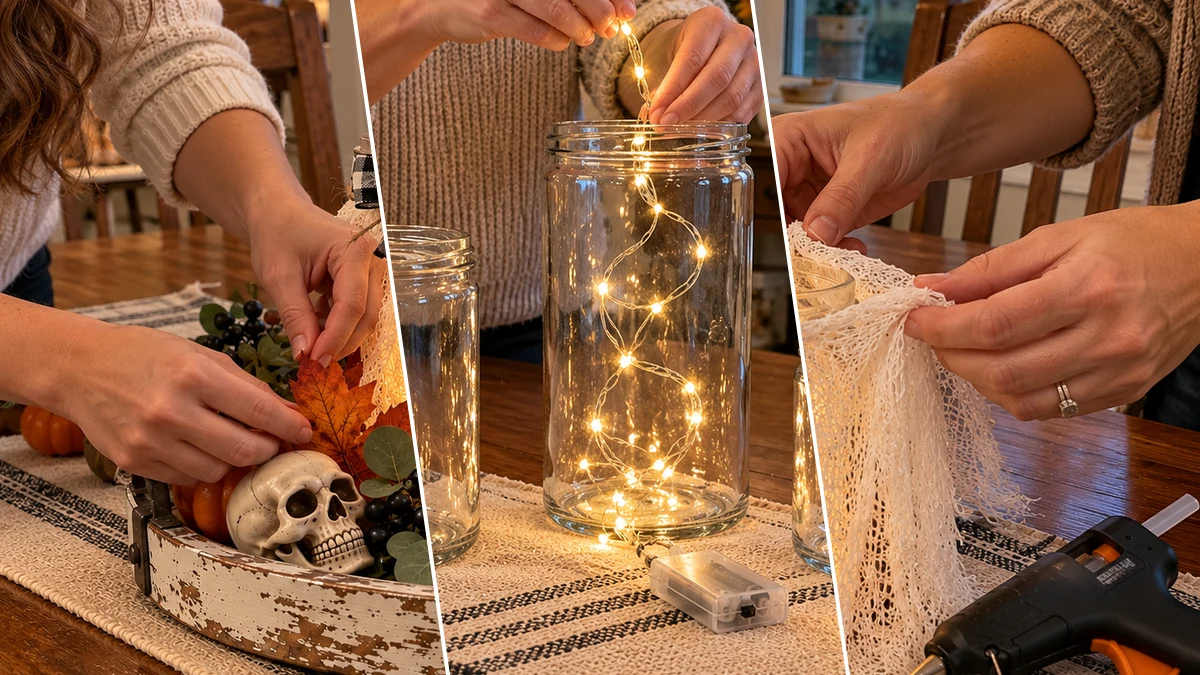
This tutorial guides the creation of a glowing ghost jar Halloween centerpiece, perfect for adding a cozy, spooky touch to your fall decor. Clear glass jars are transformed into charming ghosts with fairy lights and cheesecloth. Arranged in a rustic tray with seasonal accents, this farmhouse-style display enhances any dining table or entryway.
Project at a Glance
- Difficulty: Easy
- Estimated active time: 30 minutes to 60 minutes (drying and curing waits not included)
- Estimated component cost: $25 to $50 (reusable tools and general supplies excluded)
- Main material: Glass
- Suggested placement: Dining Table, Entryway
Designing Your Spooky Farmhouse Centerpiece
This craft combines the warmth of farmhouse decor with whimsical Halloween elements, resulting in a display that is both cozy and subtly spooky. The use of clear glass jars and warm fairy lights creates a gentle glow, while draped cheesecloth and simple black faces give each ghost its distinct character. This aesthetic is ideal for those who prefer a charming autumn-themed approach to Halloween decorations over overtly scary themes.
The centerpiece is designed around a shallow rustic tray, which provides a base for arranging the three glowing ghost jars. Surrounding these main elements are assorted fall decor items such as faux leaves, mini pumpkins, and berry stems, all contributing to a cohesive seasonal look. The black-and-white buffalo plaid ribbon adds a classic farmhouse touch, tying the entire arrangement together.
Materials for DIY Farmhouse Glowing Ghost Jar Halloween Centerpiece for a Rustic Tray
- Clear Glass Jars (assorted sizes, 3 total)
- Battery-operated Fairy Lights (warm white, 3 sets)
- White Cheesecloth or Gauze
- Black Craft Foam or Cardstock
- Black & White Buffalo Plaid Ribbon
- Jute Twine
- Hot Glue Gun & Glue Sticks
- Scissors
- Rustic Decorative Tray (shallow)
- Assorted Fall Decor (Faux leaves, mini pumpkins, eucalyptus, berry stems, small plastic skulls)
Need another material? Browse current craft supplies and deals.
Creating Your Glowing Ghost Jar Centerpiece
This section provides a step-by-step guide for assembling the glowing ghost jar Halloween centerpiece. Follow these instructions to transform simple materials into a charming and illuminated seasonal display. The process involves preparing the jars, creating the ghost features, and arranging the final display in a decorative tray.
Step 1: Prepare Jars & Lights
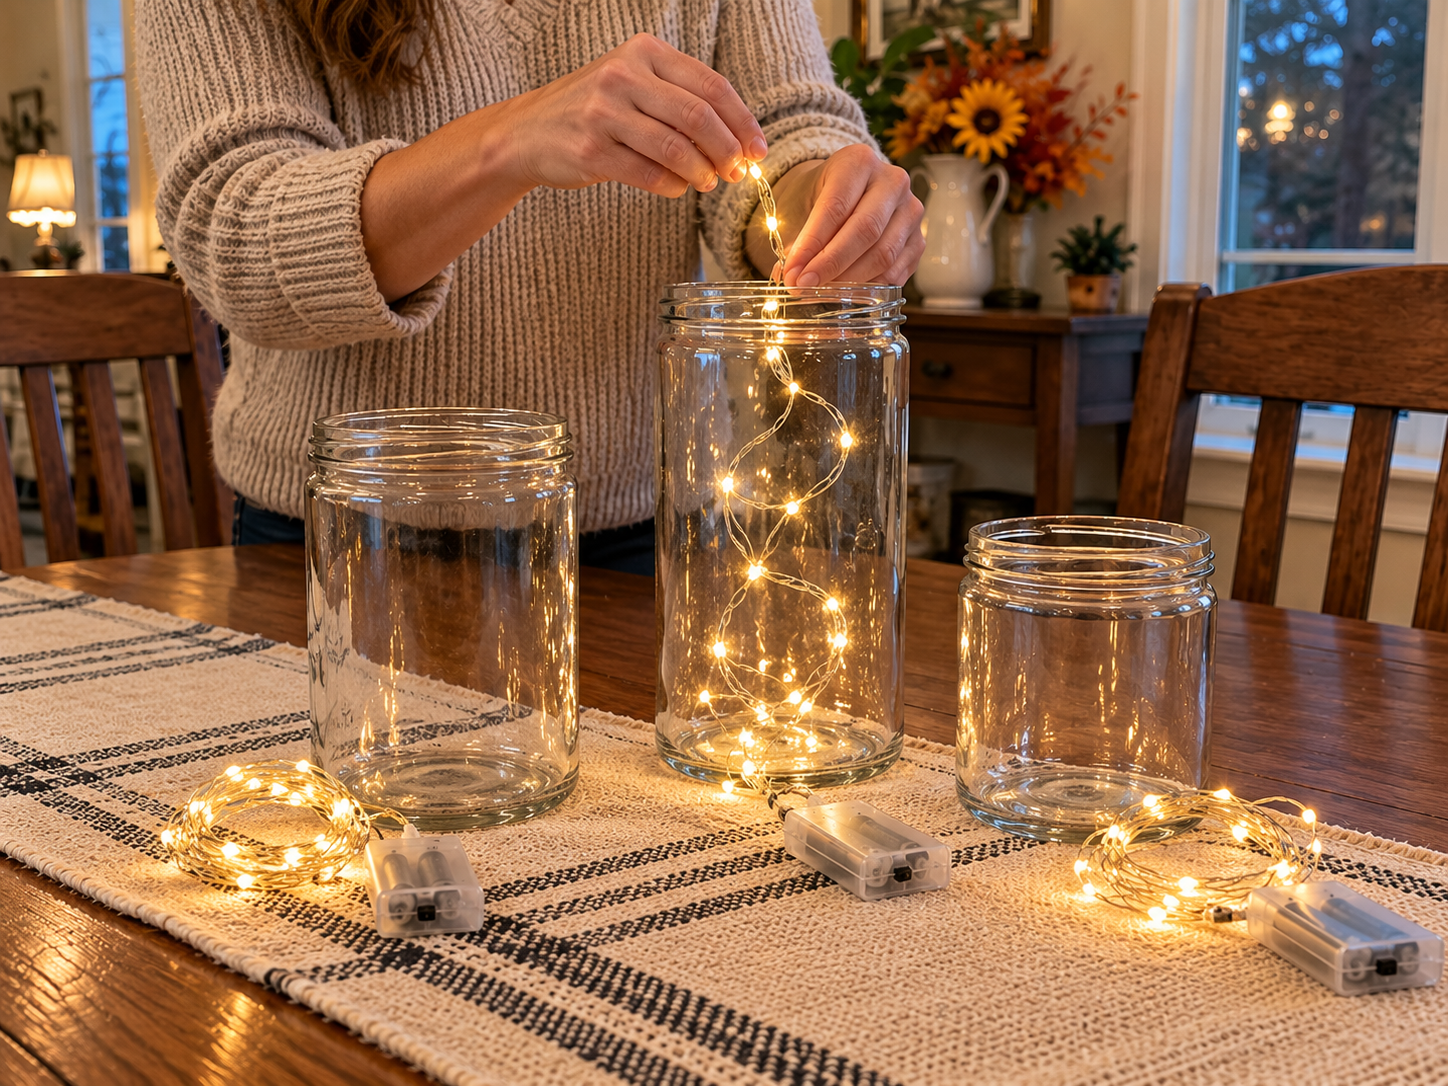
Begin by thoroughly cleaning your glass jars to ensure they are free of dust and oils. Once dry, carefully place one strand of warm battery-operated fairy lights into each jar. Make sure the battery pack for each light strand is accessible, either by leaving it slightly outside the jar's opening or positioned near the top rim for easy access to turn the lights on and off.
Step 2: Wrap Jars with Gauze
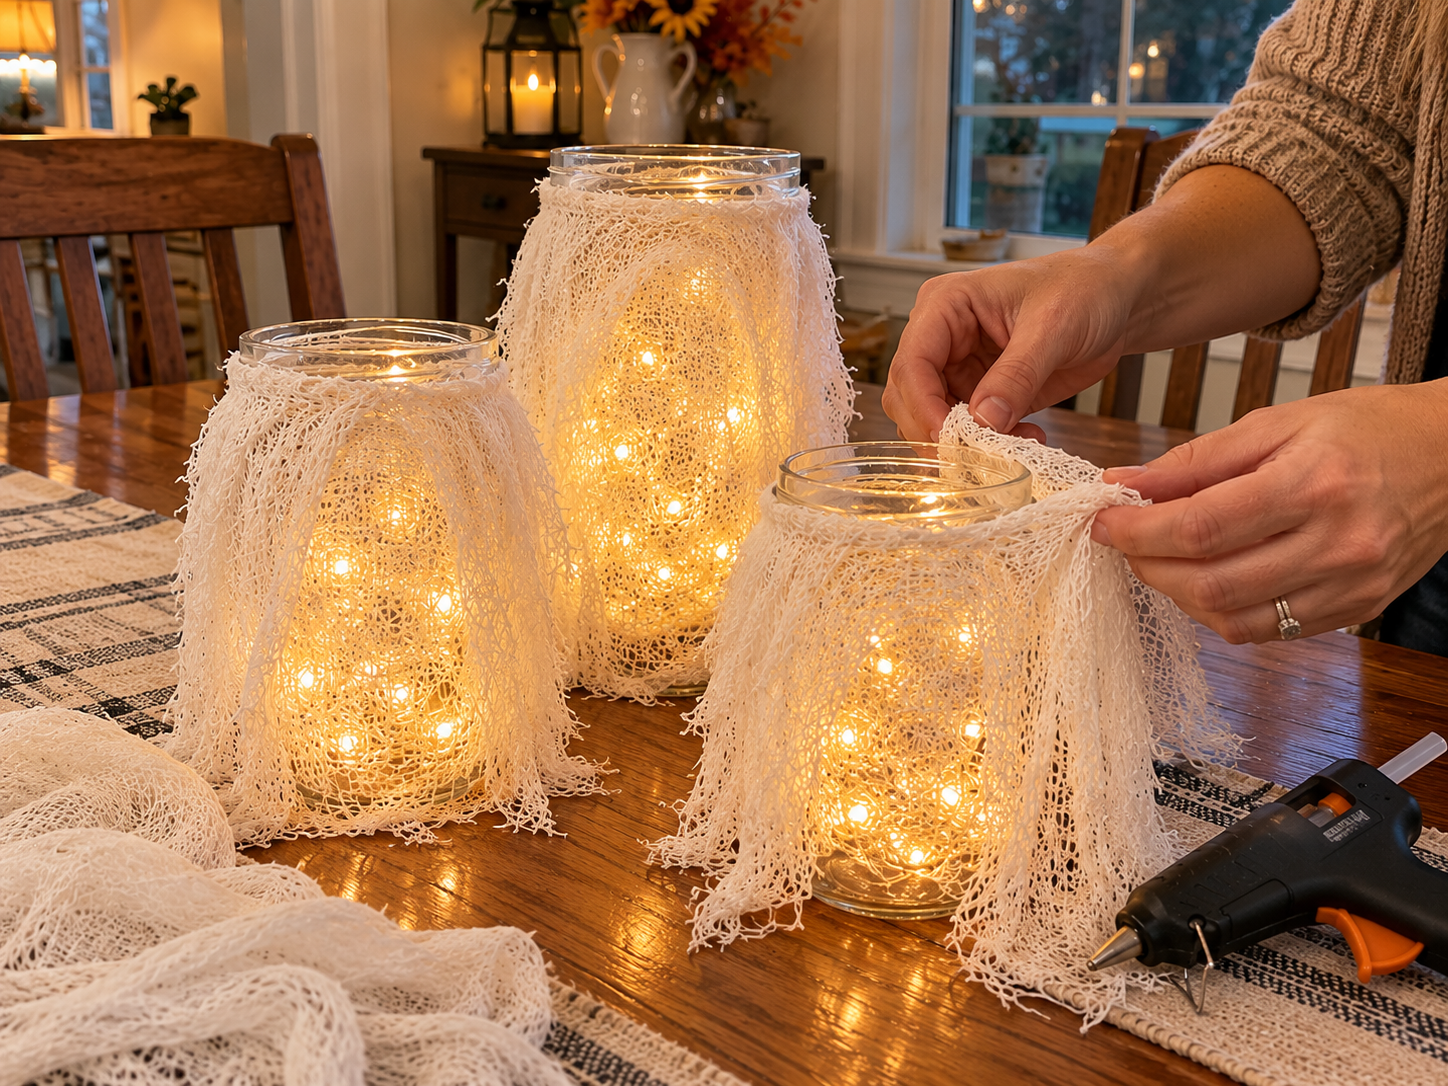
Take a piece of white cheesecloth or gauze and loosely drape and wrap it around each jar, covering the fairy lights. The goal is to create a wispy, ethereal ghost-like effect while still allowing the light to shine through. Secure the cheesecloth in place with a few small dabs of hot glue, primarily at the bottom or back of the jar, ensuring the light remains visible.
Step 3: Create Ghost Faces
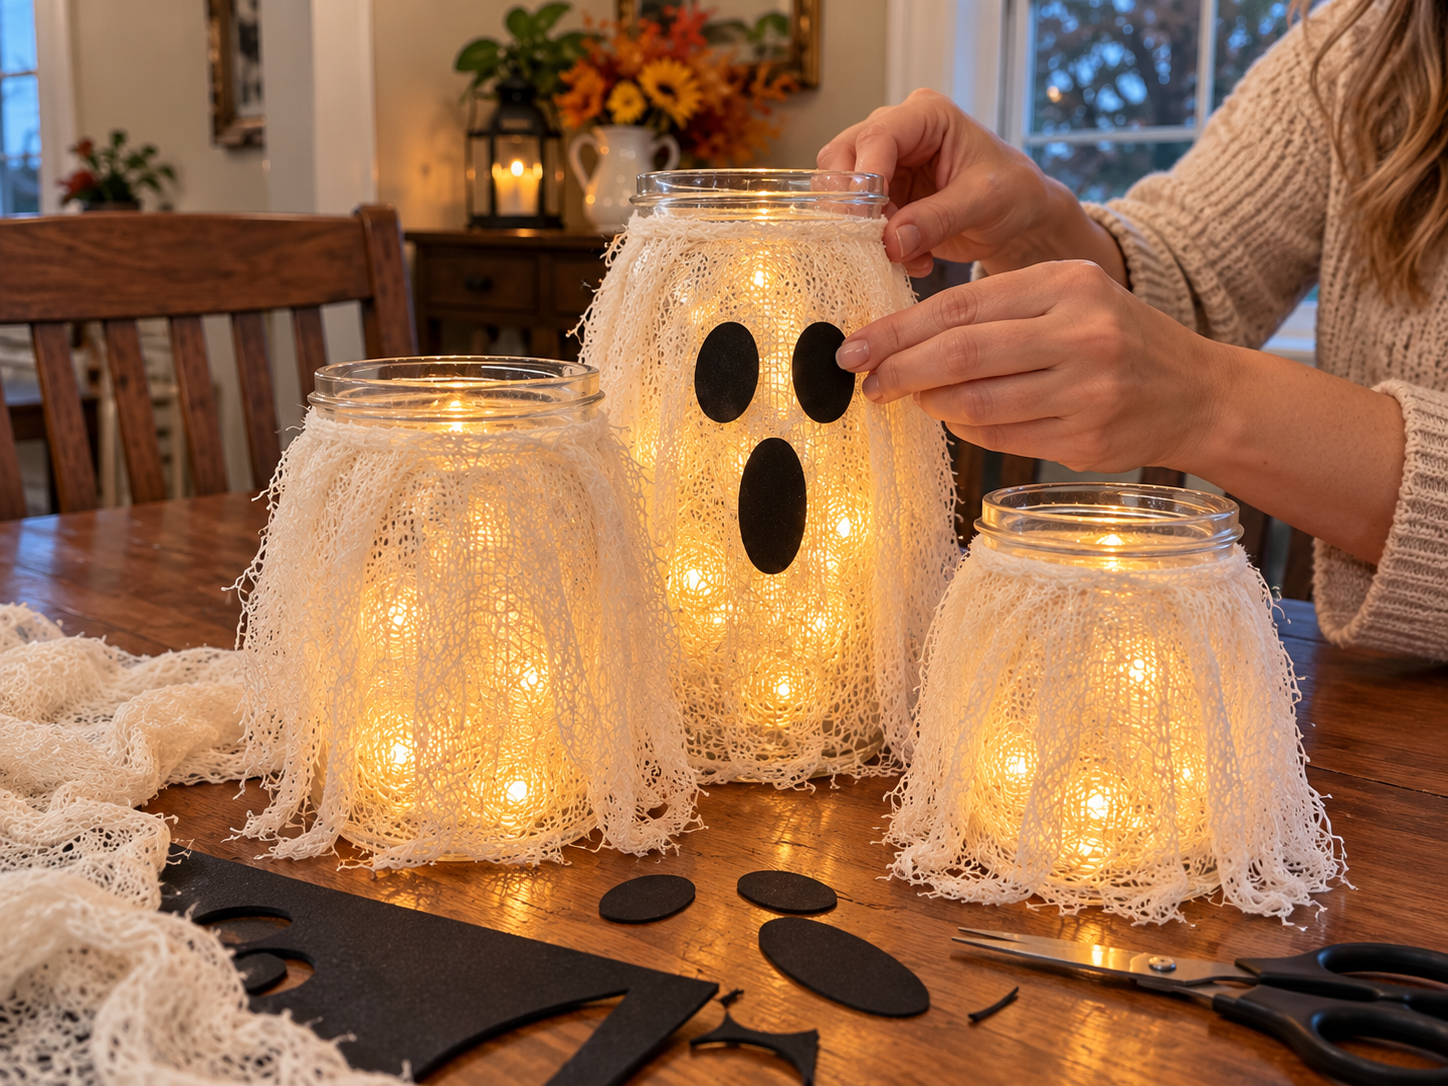
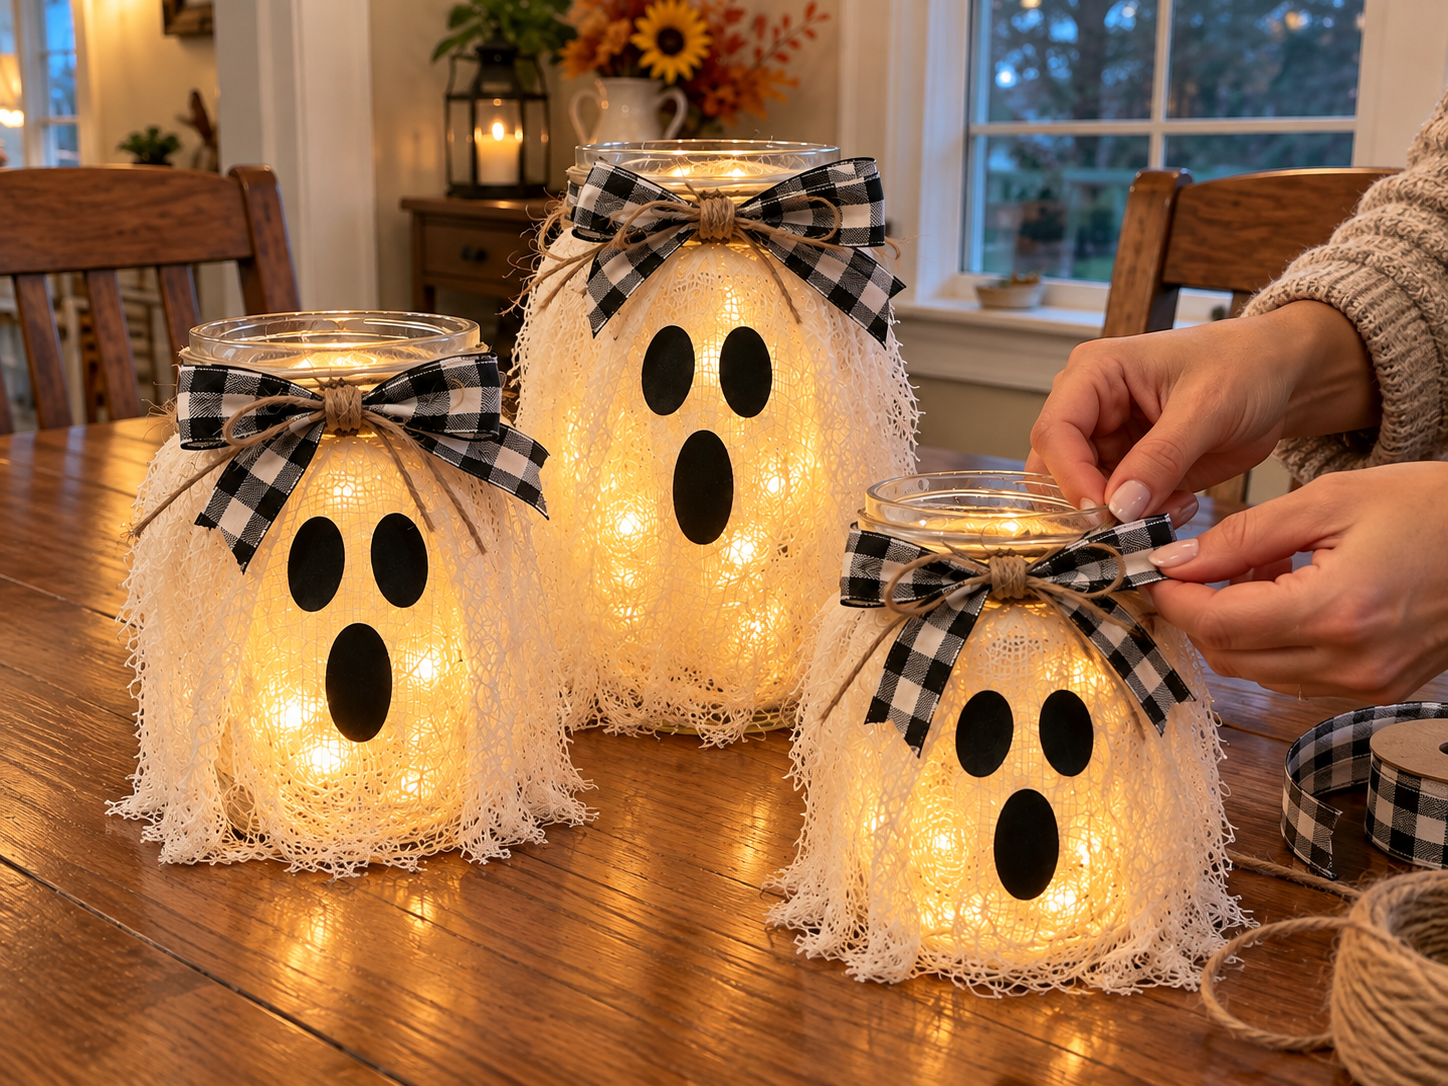
From black craft foam or cardstock, cut out two small oval shapes for each ghost's eyes and one slightly longer oval shape for the mouth. Using your hot glue gun, carefully attach these shapes to the front of each cheesecloth-wrapped jar to create simple, spooky ghost faces. Position the eyes and mouth to give each ghost its own personality.


Step 4: Add Jute & Ribbon Bows
To complete the ghost jars, take a piece of jute twine and wrap it around the neck of each jar, just below the rim. Tie it securely. Then, cut a length of black-and-white buffalo plaid ribbon and tie it into a bow around the jute twine. Position the bow at the front of the jar, aligning it with the ghost's face.
Step 5: Arrange Jars on Tray
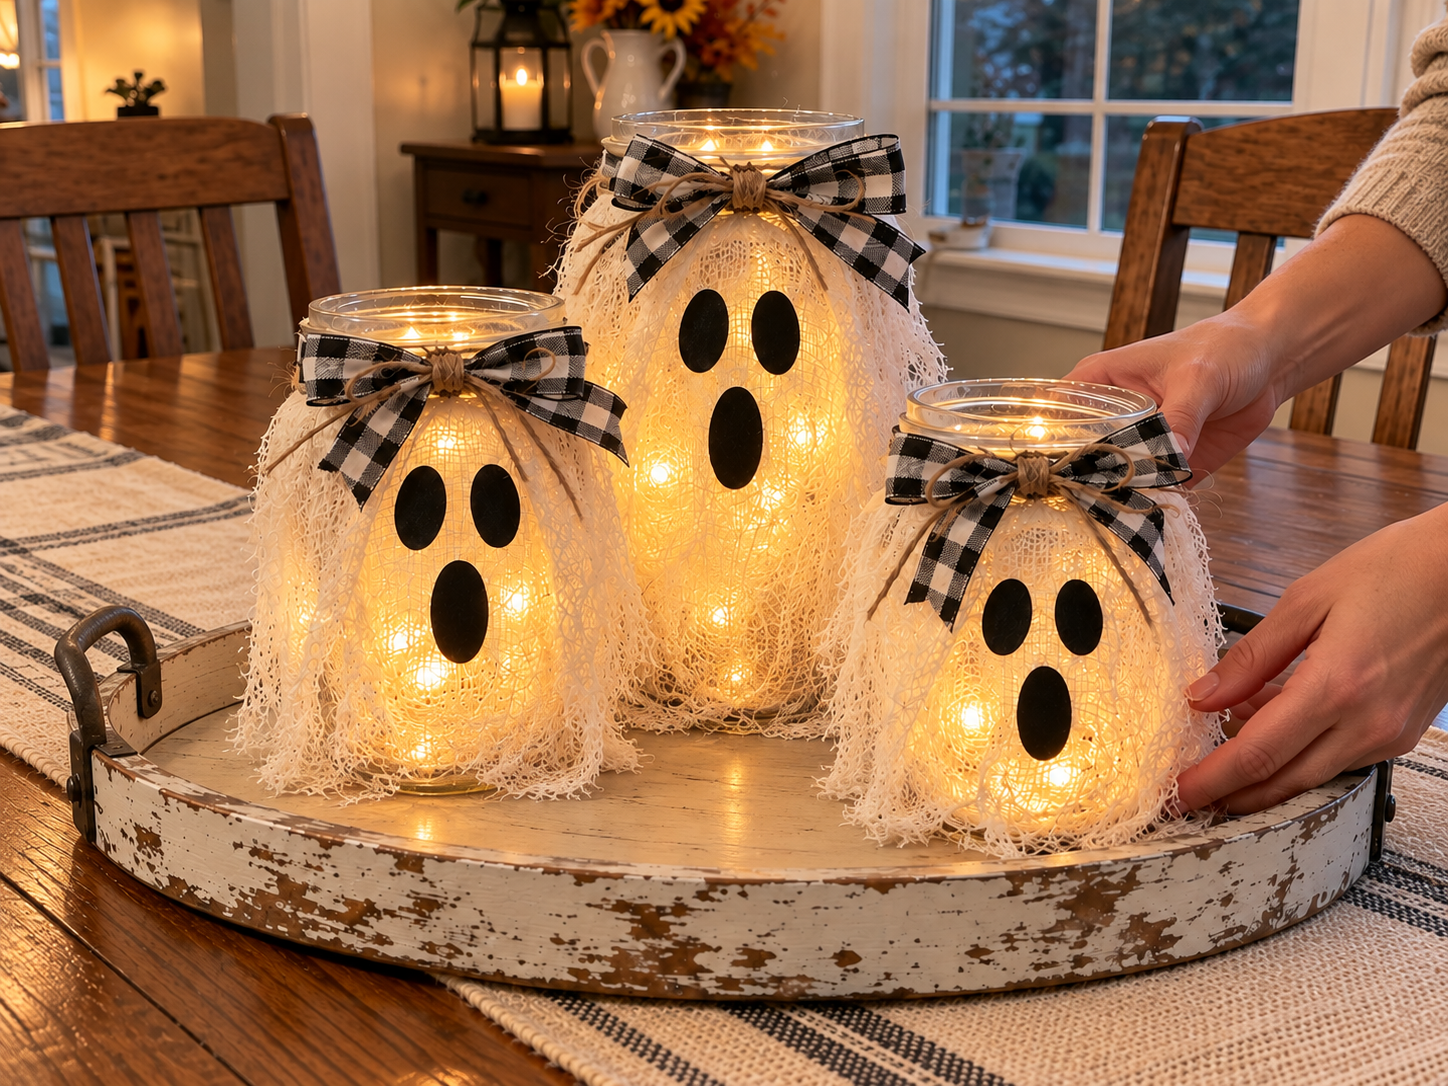
Place your shallow rustic decorative tray on your desired display surface. Carefully arrange the three finished ghost jars within the tray. Position the largest ghost jar at the back center of the tray, then place the medium-sized jar and the smallest jar in front, creating a tiered and visually appealing arrangement.
Step 6: Style the Tray
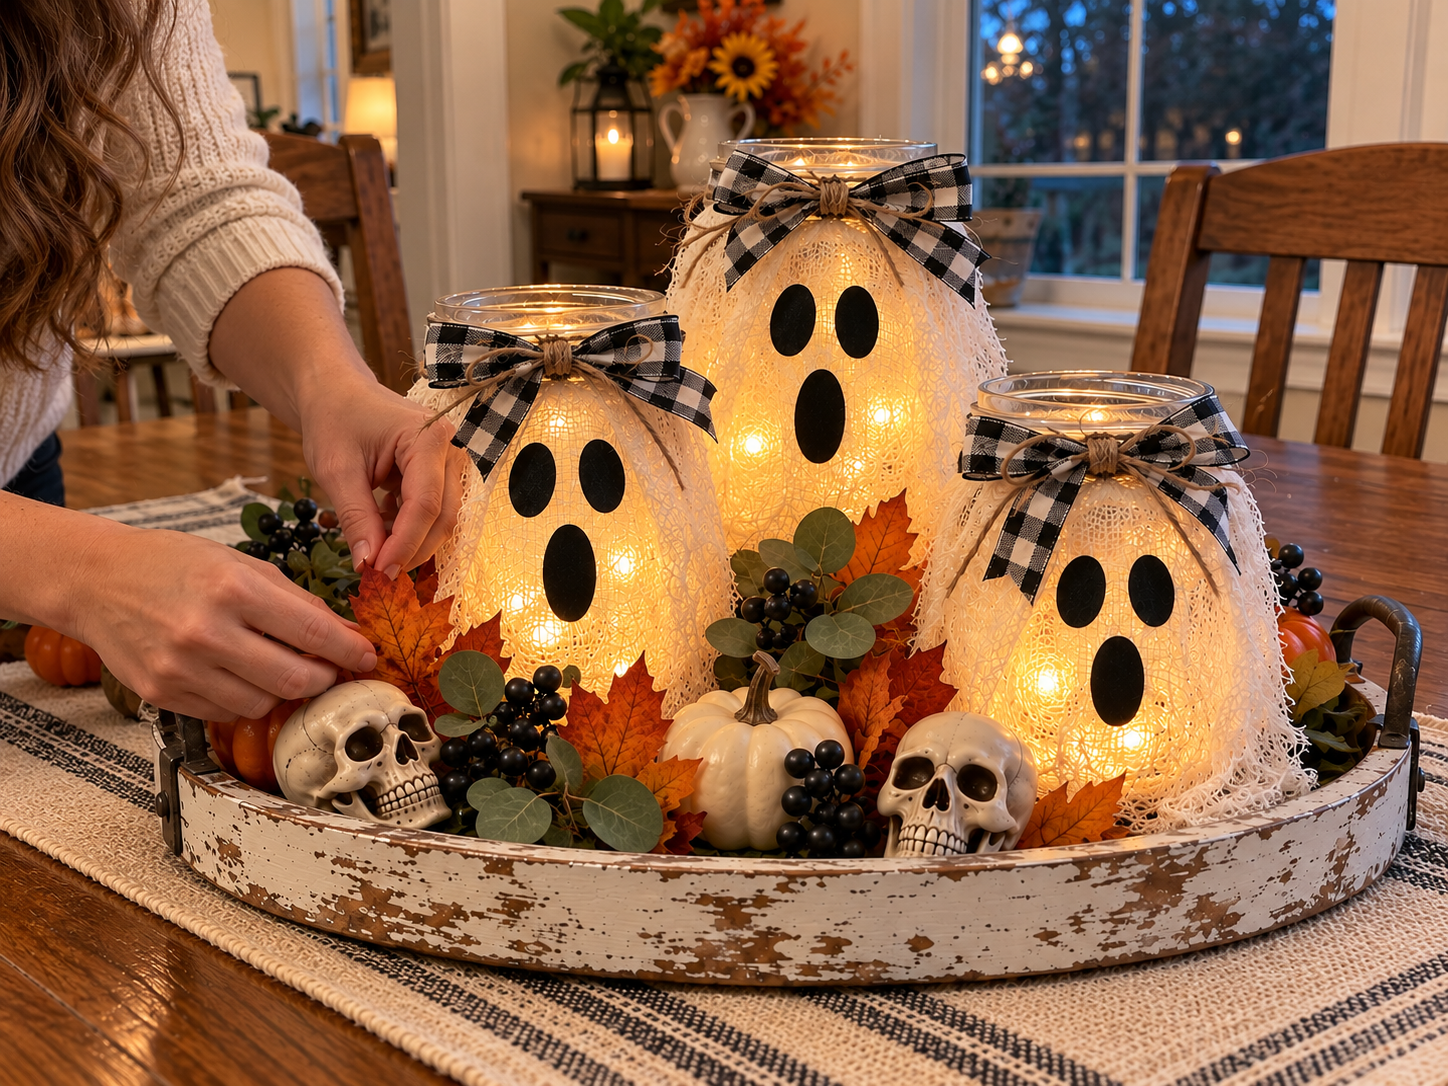
Now, fill the remaining empty spaces in the tray around and between the ghost jars with your assorted fall decor. Start by layering faux fall leaves and eucalyptus sprigs as a base. Then, nestle in the mini pumpkins (orange or cream), black berry stems, and the small plastic skulls. Arrange these elements to complement the glowing ghosts and enhance the cozy, slightly spooky farmhouse Halloween aesthetic.
Displaying Your Farmhouse Halloween Centerpiece
Once assembled, this glowing ghost jar centerpiece offers a warm and inviting focal point for your Halloween celebrations. Its farmhouse-inspired design makes it suitable for various indoor placements, from a dining table to an entryway console. Enjoy the cozy, spooky ambiance it brings to your home throughout the fall season.
Related project collection: Cheerful Farmhouse Lemon Summer Tray Centerpiece
Practical Questions About This Project
What type of jars are recommended for this ghost centerpiece?
Clear glass jars in assorted sizes are recommended to create the glowing ghost effect. Three jars are used in total for the centerpiece arrangement.
Can different types of lights be used for the ghost jars?
The tutorial specifies warm battery-operated fairy lights to achieve the desired glowing effect and ensure the centerpiece is portable without needing an outlet.
What materials are used to create the ghost faces?
Black craft foam or cardstock is used to cut out simple oval shapes for the eyes and a longer oval for the mouth, which are then attached to the cheesecloth-wrapped jars.
What kind of tray is best for arranging this centerpiece?
A shallow rustic decorative tray is ideal for arranging the ghost jars and complementary fall decor, enhancing the farmhouse aesthetic.
Is this glowing ghost jar centerpiece suitable for outdoor display?
This centerpiece is intended for indoor use, as indicated by its design and components like battery-operated lights and decorative elements.
Explore glass craft supplies at Dollar Tree.

Leave a Reply