
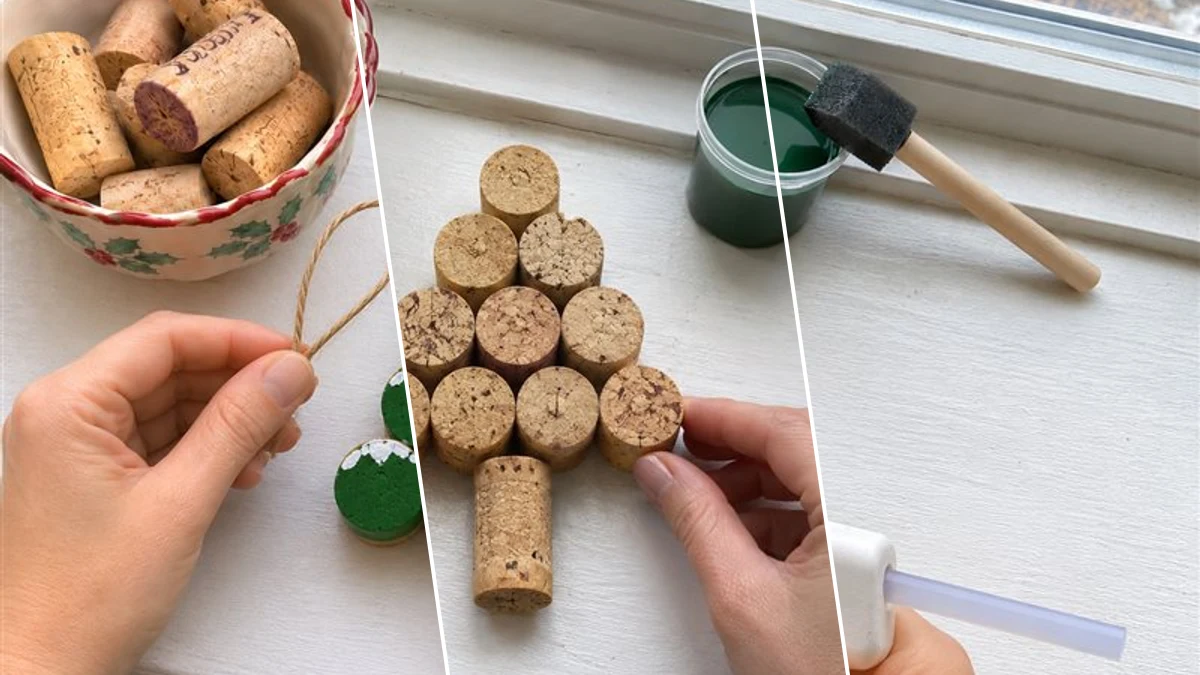
Transform saved wine corks into charming miniature Christmas trees. These festive decorations feature green-painted corks, whimsical white snow accents, and a glittering gold star topper. Perfect for adding a rustic touch to your holiday decor or as handmade gifts, these trees are a simple way to celebrate the season.
Project at a Glance
- Difficulty: Easy
- Estimated active time: 25 minutes to 35 minutes (drying and curing waits not included)
- Estimated component cost: very low (reusable tools and general supplies excluded)
- Main material: Wood
About These Wine Cork Christmas Trees
Repurpose saved wine corks into charming miniature Christmas trees, a simple and sustainable way to add handmade charm to your holiday display. Each tree features green-painted corks with delicate white snow dabs and a glittering gold star, creating a rustic and festive aesthetic.
This craft is classified as easy, making it suitable for beginner crafters and those looking for a quick holiday project. The estimated active time is about 25 to 35 minutes, excluding unattended drying and curing time. Component costs are very low per tree, excluding reusable tools and general supplies.
Materials for DIY Wine Cork Christmas Trees for Rustic Holiday Decor
- Wine Corks (approx. 11 per tree)
- Green Craft Paint
- White Craft Paint
- Small Foam or Craft Brush
- Hot Glue Gun and Glue Sticks
- Mini Gold Glitter Stars
- Jute Twine (optional, for hanging)
Need another material? Browse current craft supplies and deals.
Craft Your Wine Cork Christmas Trees
Follow these steps to create your own festive wine cork Christmas trees. This guide details the assembly, painting, and finishing touches for these charming holiday decorations. The process involves hot gluing corks into a tree shape, painting them green, adding snow details, and topping with a star.
Step 1: Dry-Fit Cork Tree Shape
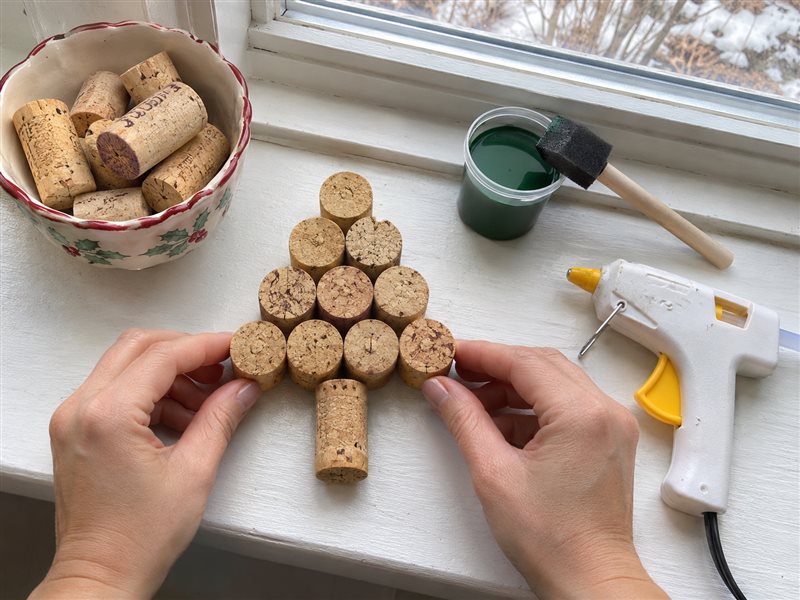
Before gluing, lay out 10 wine corks in a triangular pyramid shape: a bottom row of 4 corks, then 3, then 2, then 1 at the top. Set aside one additional cork to serve as the tree trunk. Arrange these on your workspace to visualize the final structure and ensure you have enough corks.
Step 2: Assemble the Cork Pyramid
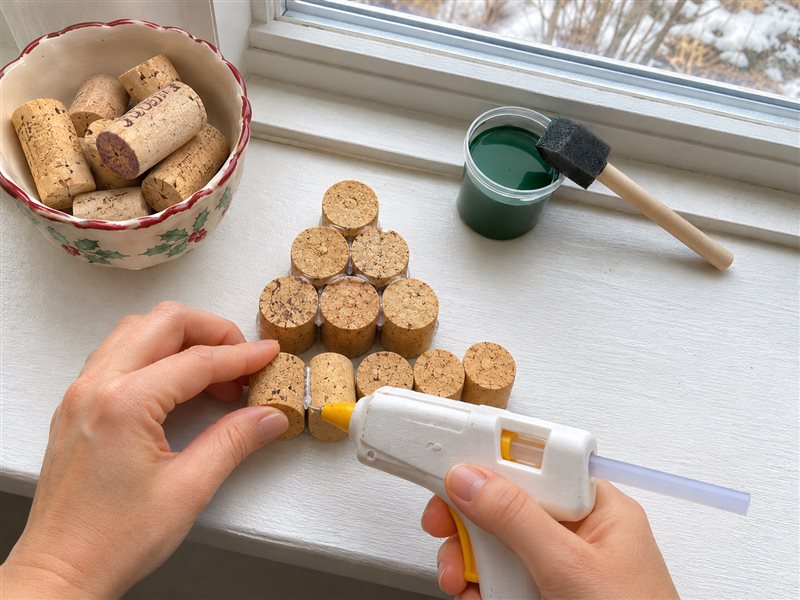
Using a hot glue gun, carefully glue the corks together. Start with the bottom row of 4 corks, applying a small bead of glue to the sides where they touch to bond them securely. Once the first row is stable, build the next rows (3, 2, 1) on top, gluing the sides of the corks together and to the corks below them. Allow each bond to set for a few seconds.
Step 3: Attach the Tree Trunk
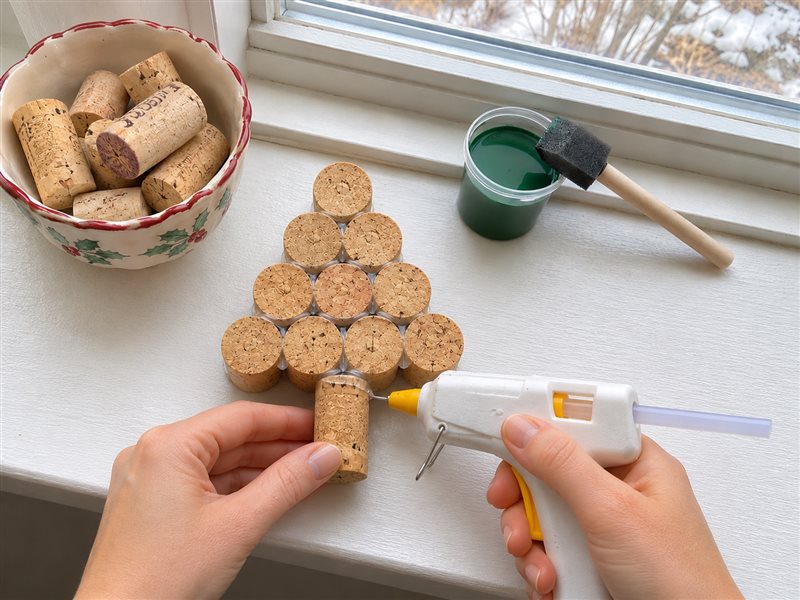
Take the single reserved cork and apply a generous amount of hot glue to one end. Carefully center and press this glue-covered end onto the bottom center of your cork pyramid's base (the 4-cork row). Hold firmly for several seconds to ensure a strong bond and allow the glue to cool and set completely before proceeding.


Step 4: Paint the Tree Green
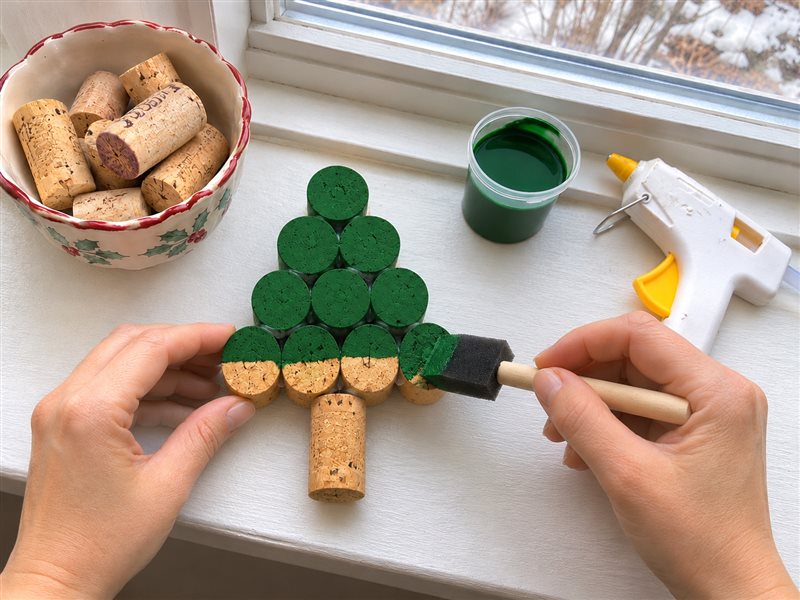
Pour a small amount of green craft paint into a dish. Using a small foam brush, carefully paint all the exposed circular faces of the corks that make up the tree portion. Aim for even coverage. Avoid painting the sides where corks meet or the trunk. Allow the paint to dry thoroughly according to the product instructions, which may take 15-30 minutes.
Step 5: Add Snow, Star & Hanger
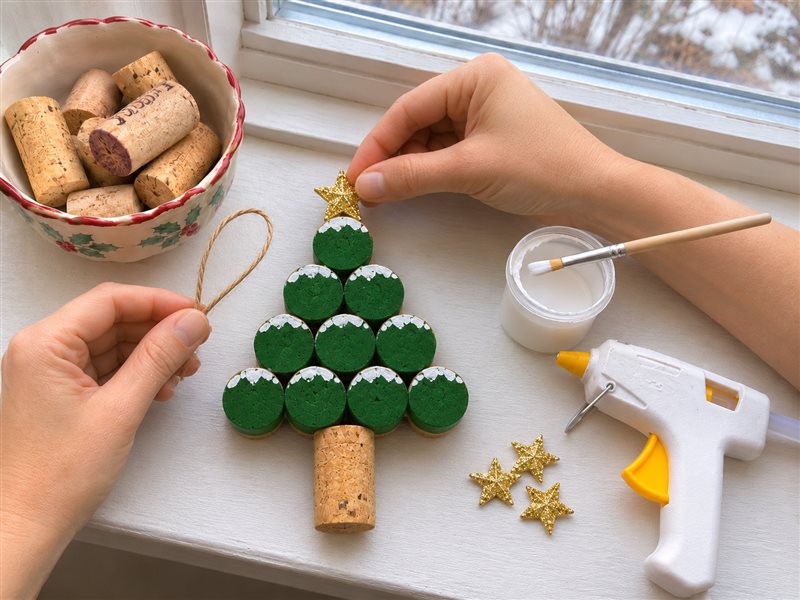
Once the green paint is dry, use a small amount of white craft paint and dab it gently onto the upper edges of the green cork faces to create a snowy effect. Then, hot glue a mini gold glitter star firmly to the very top cork of your tree. If you wish to hang your tree, cut a 6-inch piece of jute twine, tie it into a loop, and hot glue the knot to the back of the top cork.
Enjoy Your Handmade Wine Cork Christmas Trees
These miniature wine cork Christmas trees offer a unique, rustic accent for your holiday decor. Place them on a mantel, shelf, or as part of a festive centerpiece. They also make thoughtful, handmade gifts for friends and family during the Christmas season.
Related project collection: DIY Honeycomb Paper Christmas Trees for Elegant Holiday Tabletop Decor
Practical Questions About This Project
How many wine corks are needed for one Christmas tree?
Approximately 11 wine corks are needed for each tree, with 10 forming the pyramid and one for the trunk.
Can these wine cork Christmas trees be hung?
Yes, a jute twine loop can be hot-glued to the back of the top cork for hanging, as an optional step.
What type of paint is recommended for this project?
Green craft paint is used for the main tree color, and white craft paint is applied for the snow effect. A small foam or craft brush is suitable for application.
Where can I find the mini gold glitter stars?
Mini gold glitter stars are available in the Dollar Tree Christmas aisle, as noted in the craft record.
What is the estimated time to make one of these cork trees?
The estimated active crafting time for one tree is between 25 and 35 minutes, not including any unattended drying or curing time for the paint.
Explore wood craft supplies at Dollar Tree.

Leave a Reply