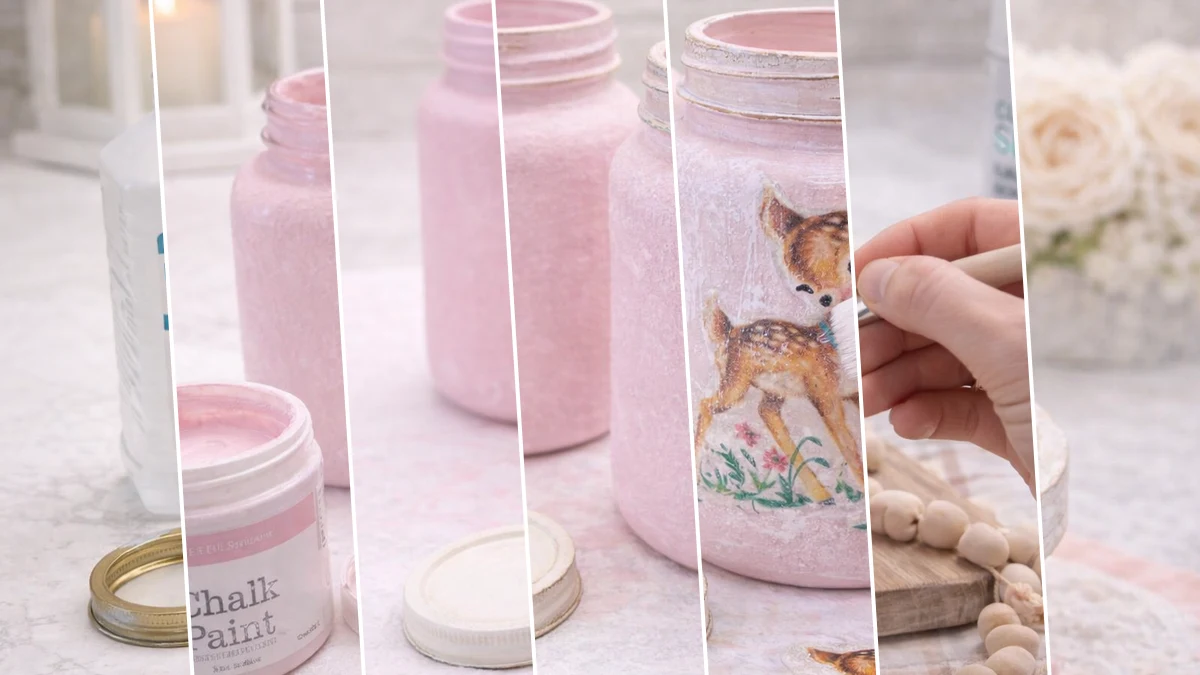
My best friend just told me she’s having a baby girl, and you know I just HAD to make something super special for her nursery. I wanted something sweet and gentle, so I started digging through my craft stash. That’s how I came up with these adorable Shabby Chic Vintage Fawn Decoupage Jars that are just perfect for Baby & Nursery Home Decor!
See also: Diy Farmhouse Kitchen Canister Upcycling Your Old Jars
Theme: Baby & Nursery
Materials Needed
- Glass Jars with Lids (assorted sizes)
- Chalk Paint (light pink, off-white)
- Matte Mod Podge (or decoupage medium)
- Vintage Fawn & Bird Printables (or decoupage paper)
- Sponge Brushes & Small Paintbrushes
- Fine-Grit Sandpaper
- Clear Matte Sealer Spray (optional)
📋 Love staying organized while crafting? Check out our printable planners & craft designs at CraftersDT on Etsy and use code CRAFT20 for 20% off your entire order!
Step-by-Step Instructions for Shabby Chic Vintage Fawn Decoupage Jars
Get ready to have some fun, because this project is seriously so easy peasy. You won’t believe how quickly these cute little Shabby Chic Vintage Fawn Decoupage Jars come together, even if you’re a total beginner. It took me less than an hour, and it’s such a relaxing craft for a cozy afternoon. This is perfect for adding a sweet touch to any Baby & Nursery Home Decor.
Step 1: Prepare & Clean Surfaces
Begin by thoroughly cleaning your glass jars and their lids. Use warm soapy water to remove any labels or residue, then wipe down with rubbing alcohol to ensure there are no oils or fingerprints. This creates a pristine surface for paint adhesion.
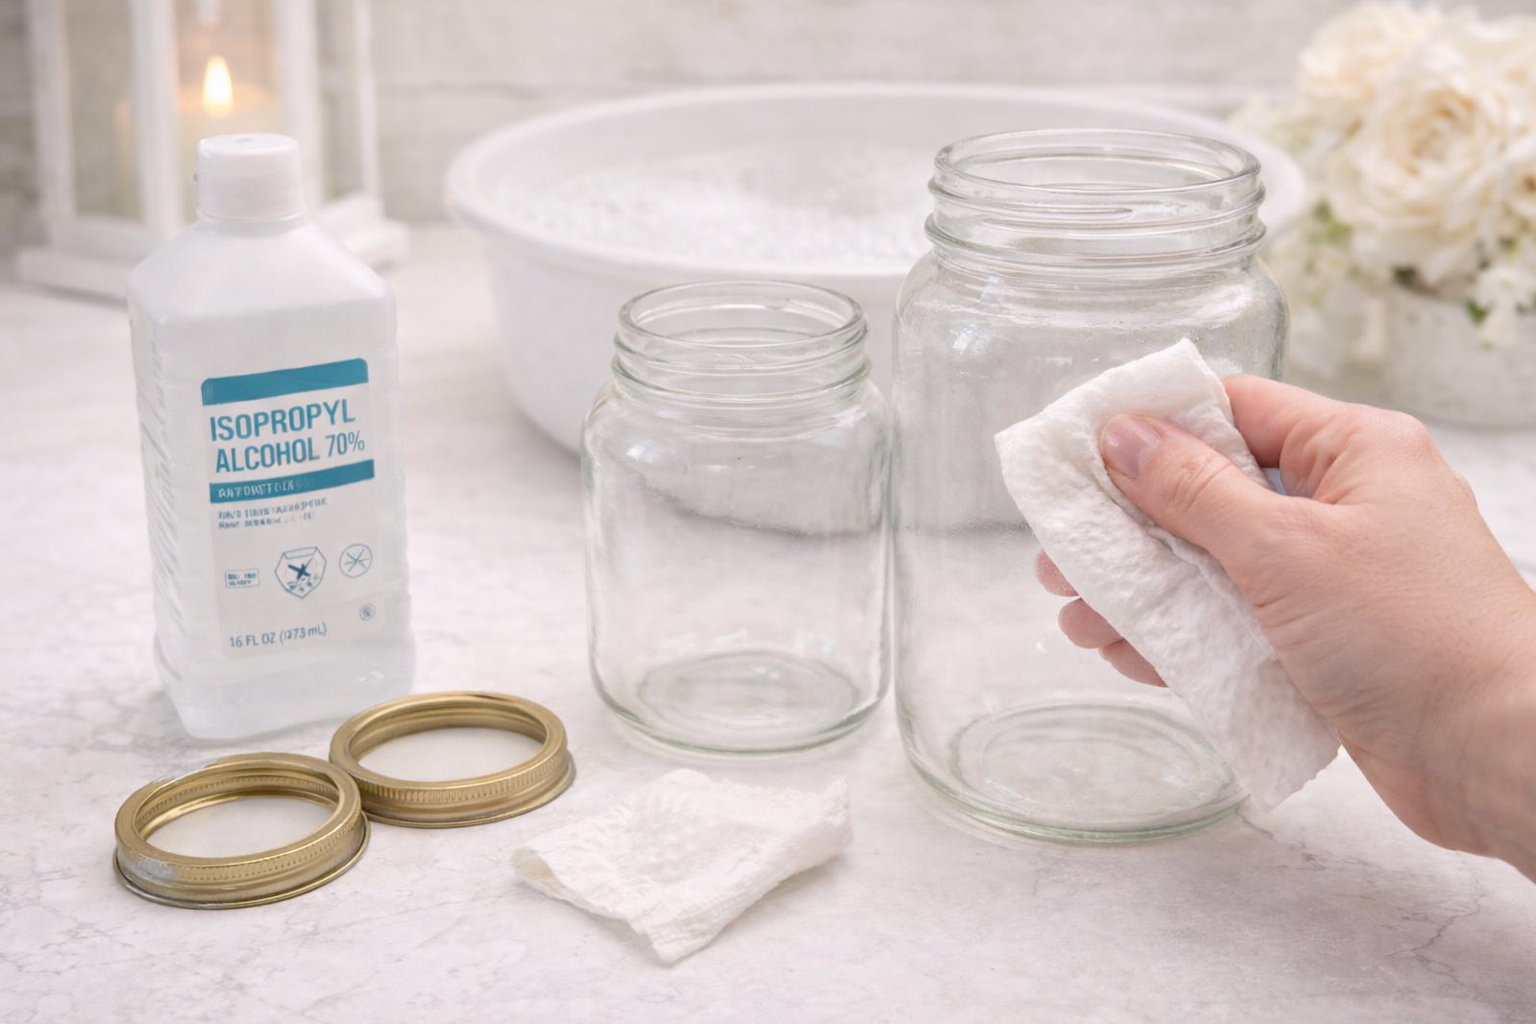
💡 Pro Tip: For best paint adhesion on glass, always degrease with isopropyl alcohol after washing and before painting. Ensure the jars are completely dry before proceeding to prevent paint bubbling.
Step 2: Apply Base Paint Layer
Using a sponge brush, apply the first coat of light pink chalk paint to the entire exterior of the glass jars. Use a dabbing motion rather than long strokes to create a slightly textured finish that mimics vintage painted wood. Allow this coat to dry completely.
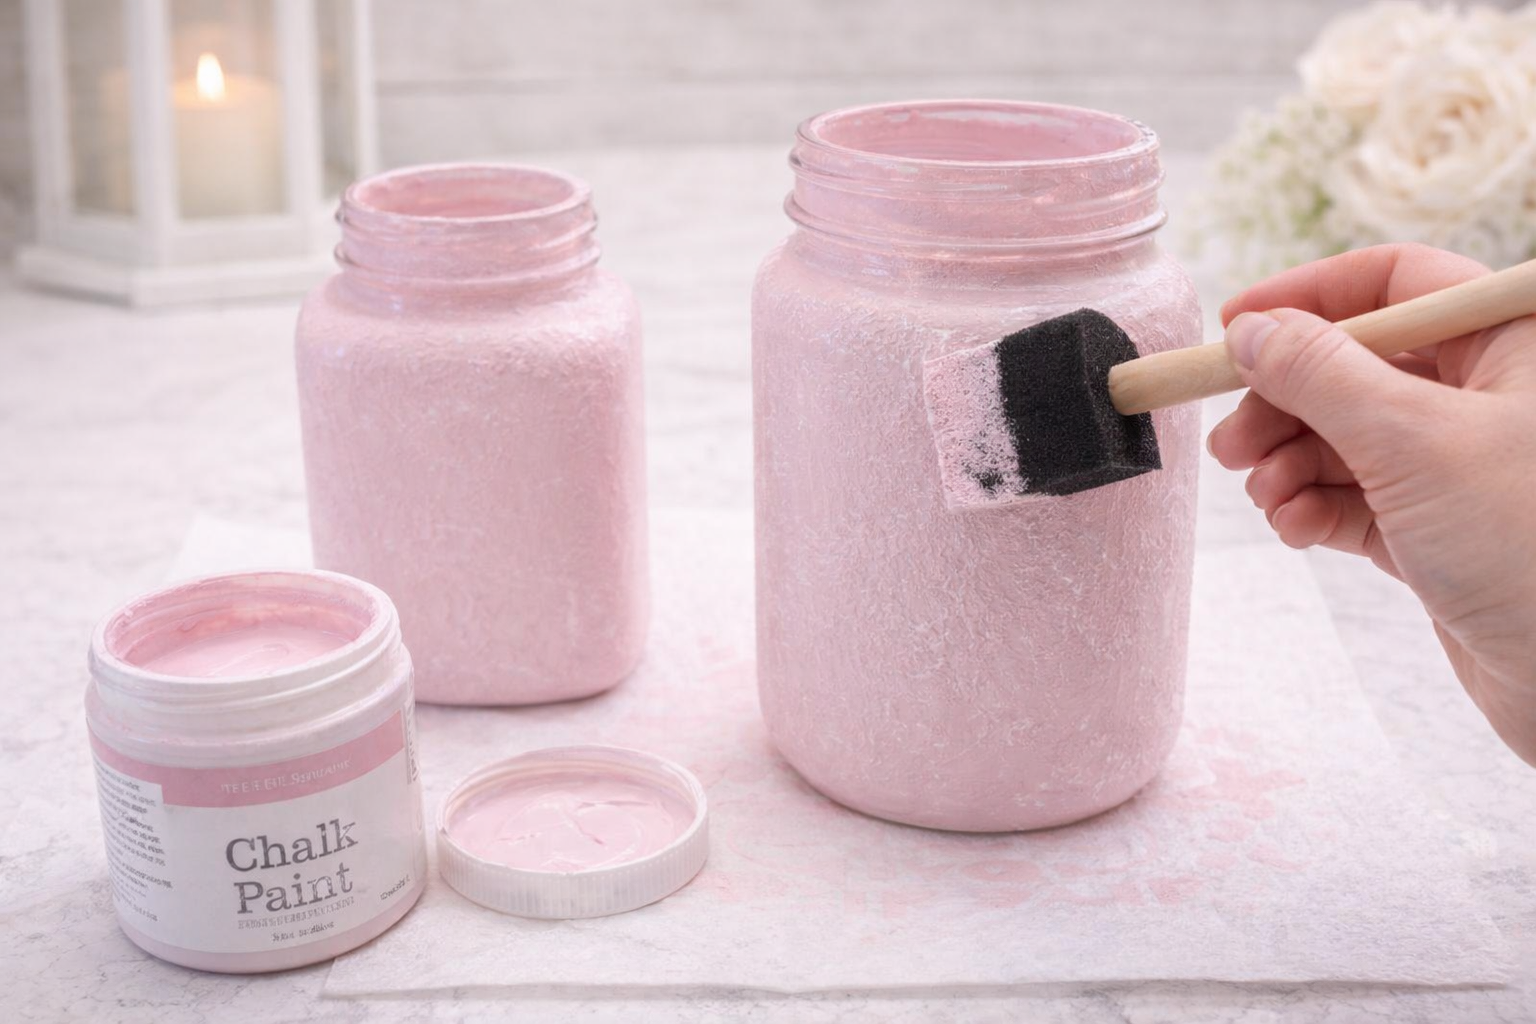
💡 Pro Tip: Chalk paint adheres well to glass without primer and gives a beautiful matte, slightly textured finish. A dabbing motion with a sponge brush helps minimize visible brushstrokes and adds to the rustic charm. Allow at least 30-60 minutes drying time between coats.
🗓️ Keep all your craft projects on track! Explore our printable planners & templates at CraftersDT on Etsy and use code CRAFT20 for 20% off!
Step 3: Layer & Lighten Lids
While the jars are drying, paint the metal lids with off-white chalk paint using a regular paintbrush. Apply two thin coats for even coverage, allowing drying time between them. Once the jars’ first coat is dry, apply a second, thin coat of pink chalk paint to the jar bodies, ensuring full opacity.
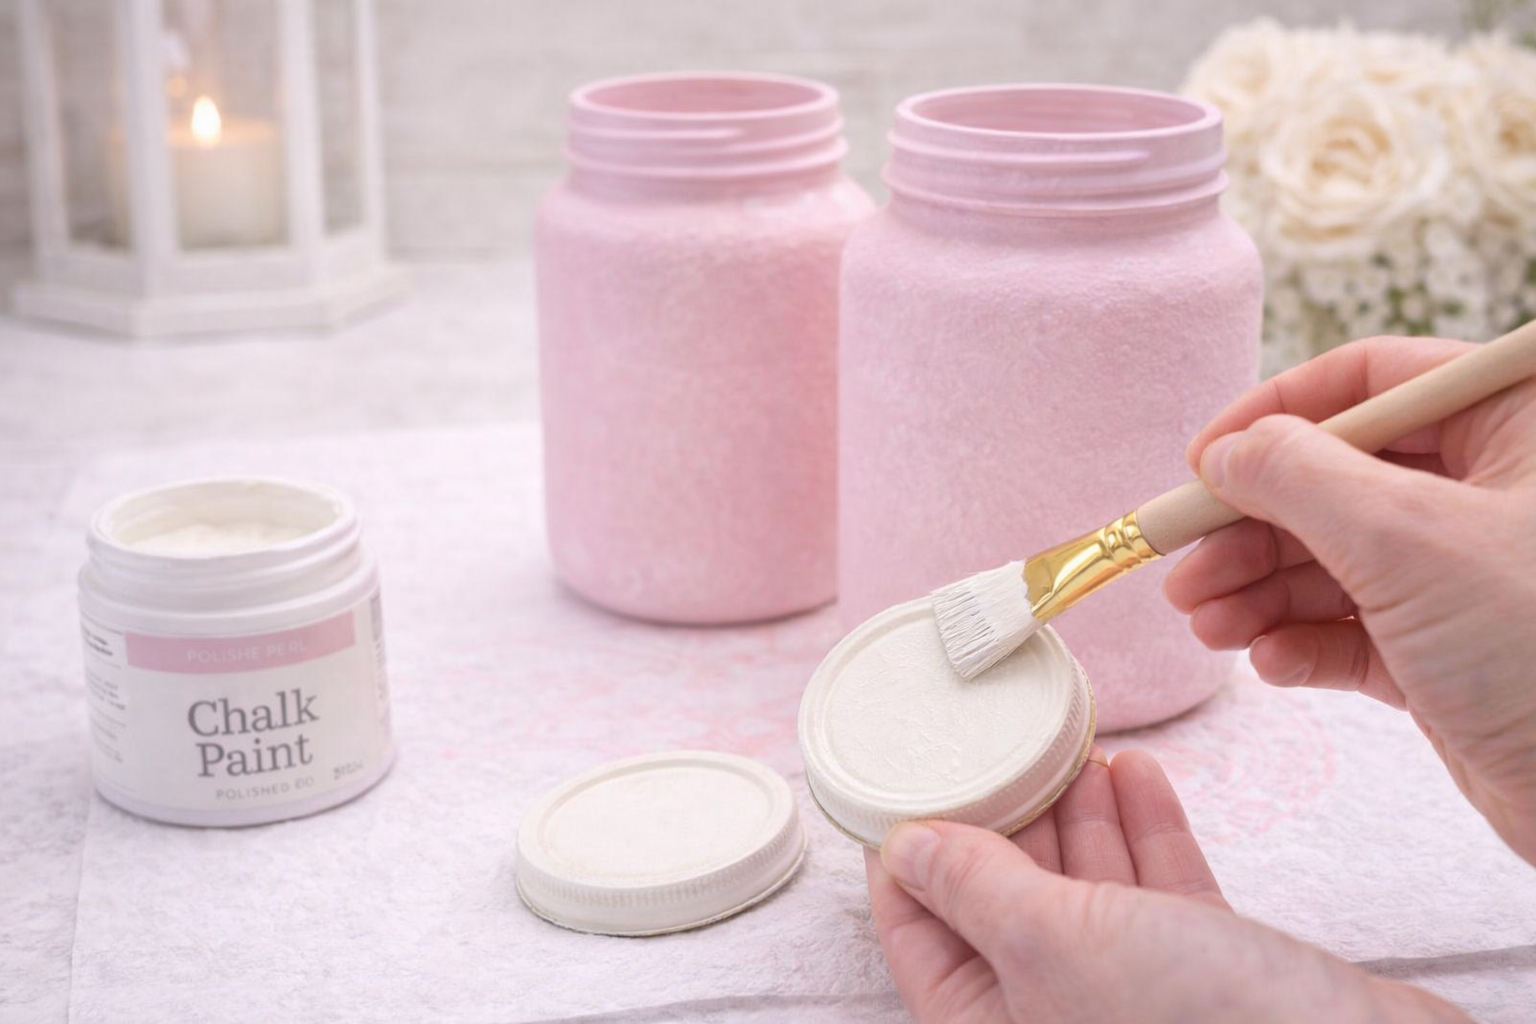
💡 Pro Tip: When painting lids, pay attention to the threads for smooth opening and closing. Thin coats prevent paint buildup. For the second coat on the jars, ensure it’s fully opaque but avoid thick globs, which can make distressing difficult.
Step 4: Distress for Vintage Charm
Once all paint is completely dry (preferably after several hours), gently sand the painted lids and the raised edges and rims of the jars with fine-grit sandpaper. The goal is to create a naturally worn look, allowing hints of the clear glass or metal to show through in areas where natural wear would occur.
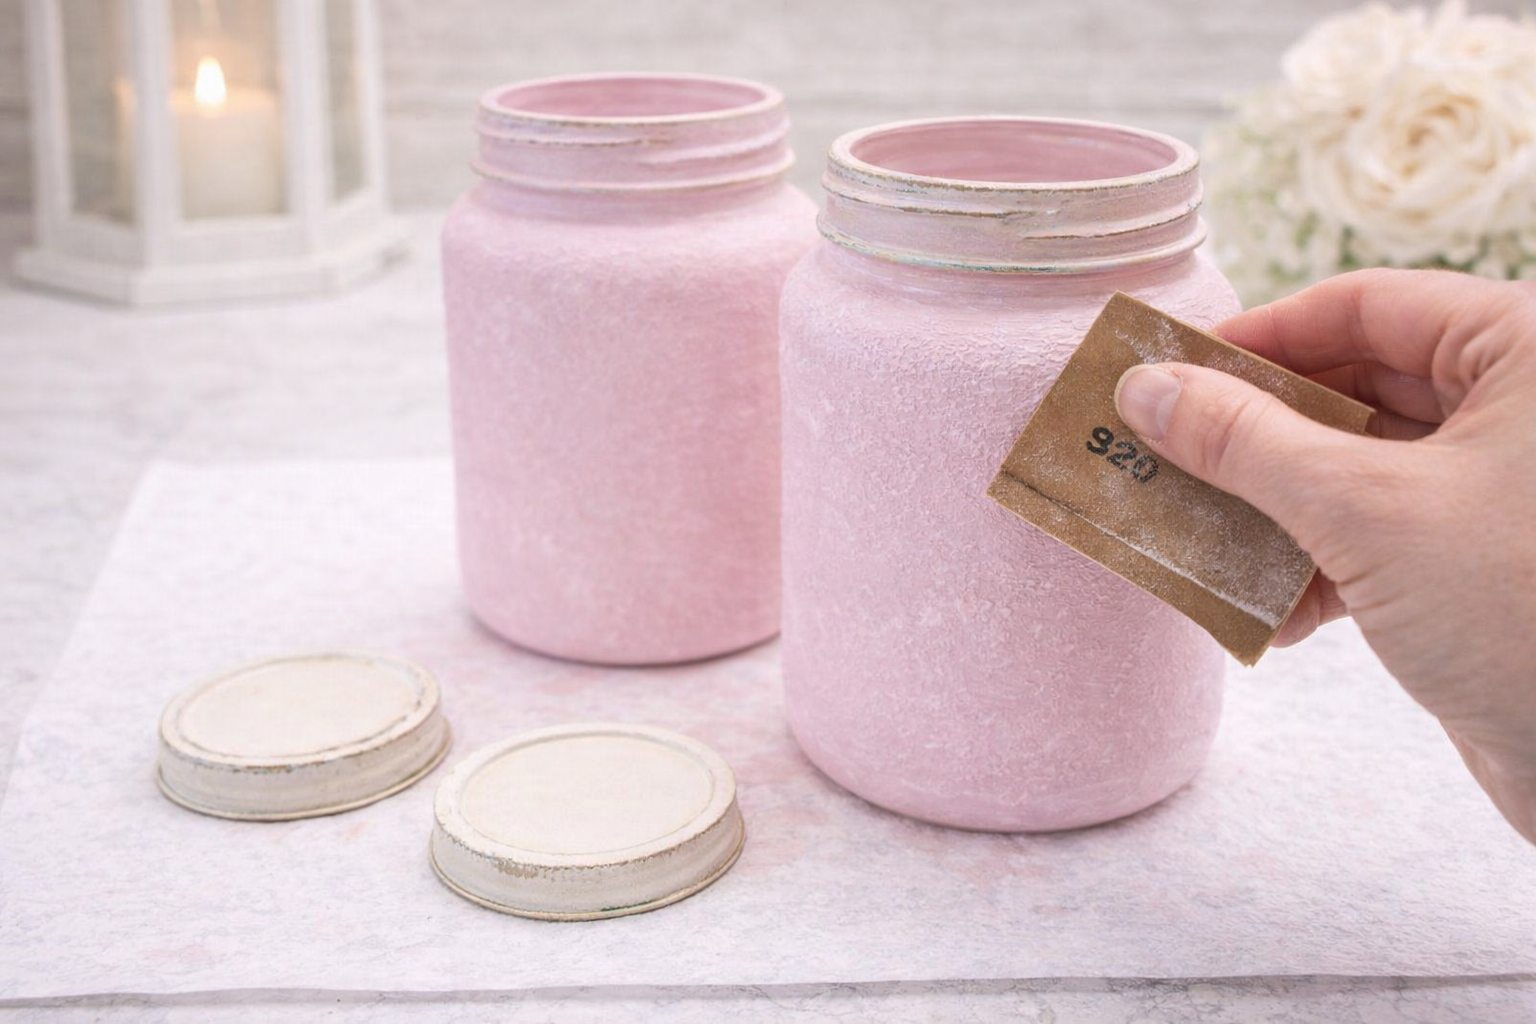
💡 Pro Tip: Start with a very light hand and gradually increase pressure. Focus on areas that would naturally chip or rub over time. Use 220-320 grit sandpaper for a subtle, aged effect. Wipe off any dust with a dry cloth after distressing.
Step 5: Decoupage Delightful Images
Carefully cut out your vintage fawn and bird images. Apply a thin layer of Mod Podge to the back of each image and press it firmly onto the desired spot on the jar. Immediately apply another thin layer of Mod Podge over the top of the image, smoothing gently from the center outwards with a silicone brush or your fingers to remove any air bubbles and seal it in place. Repeat for all images.
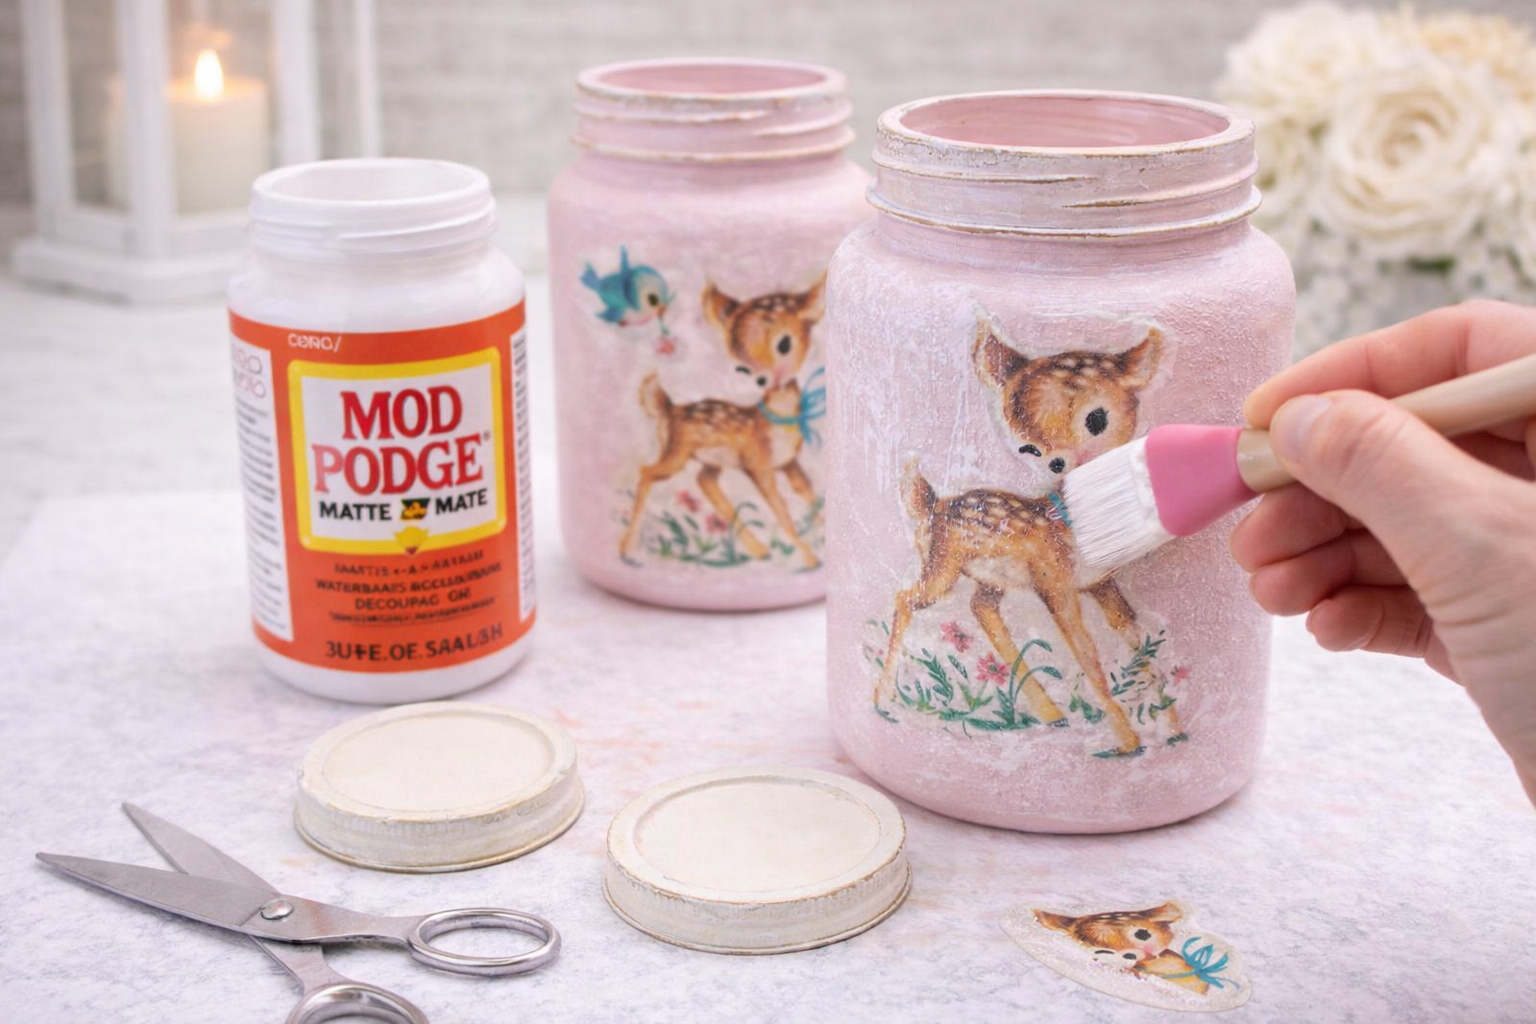
💡 Pro Tip: Use thin paper or decoupage napkins for the best results; they blend more seamlessly. Work quickly but carefully to position the image before the Mod Podge dries. If bubbles appear, gently push them to the edge or prick with a needle after drying, then re-seal.
Step 6: Protect & Perfect Finish
Once all the decoupaged images are completely dry, apply one or two smooth topcoats of Matte Mod Podge over the entire surface of the jars and lids. Use a soft brush and long, even strokes to seal everything and create a soft, vintage matte finish. Allow each coat to dry fully before applying the next.
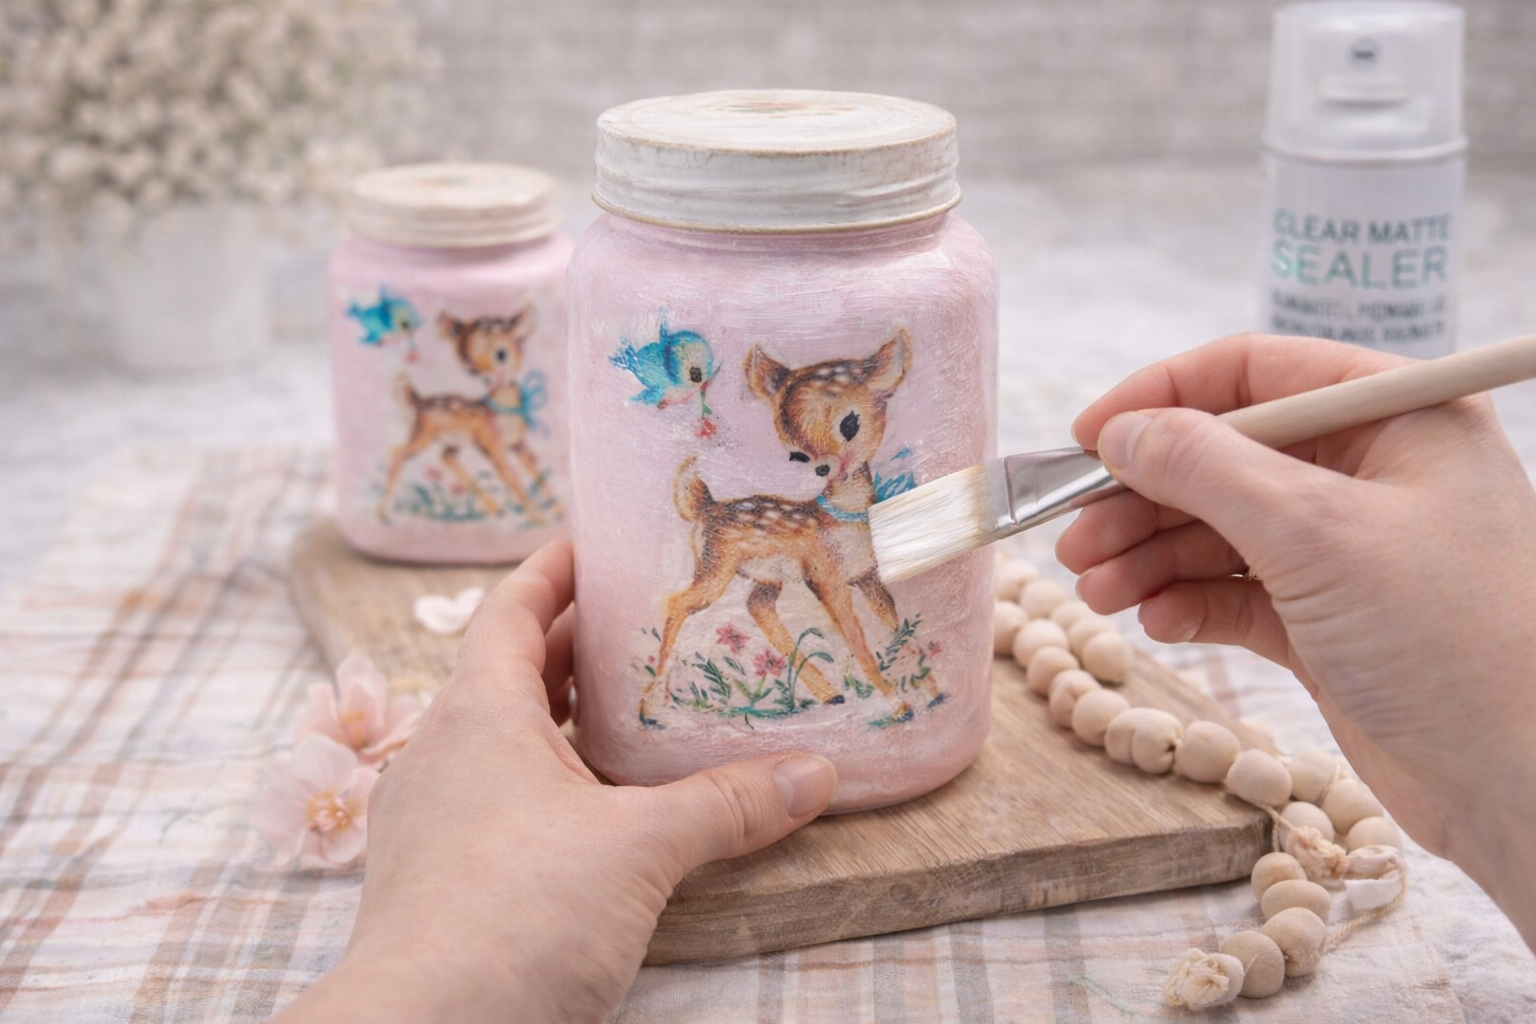
💡 Pro Tip: Avoid over-brushing, as this can create streaks. A light, even coat will give the smoothest finish while preserving the soft chalky texture.
Step 7: Style & Display Your Finished Jars
Once everything is fully dry and sealed, place your finished jars onto a decorative tray or pedestal stand. Arrange them with soft florals, beads, or small decor pieces to create a cozy, vintage-inspired display.
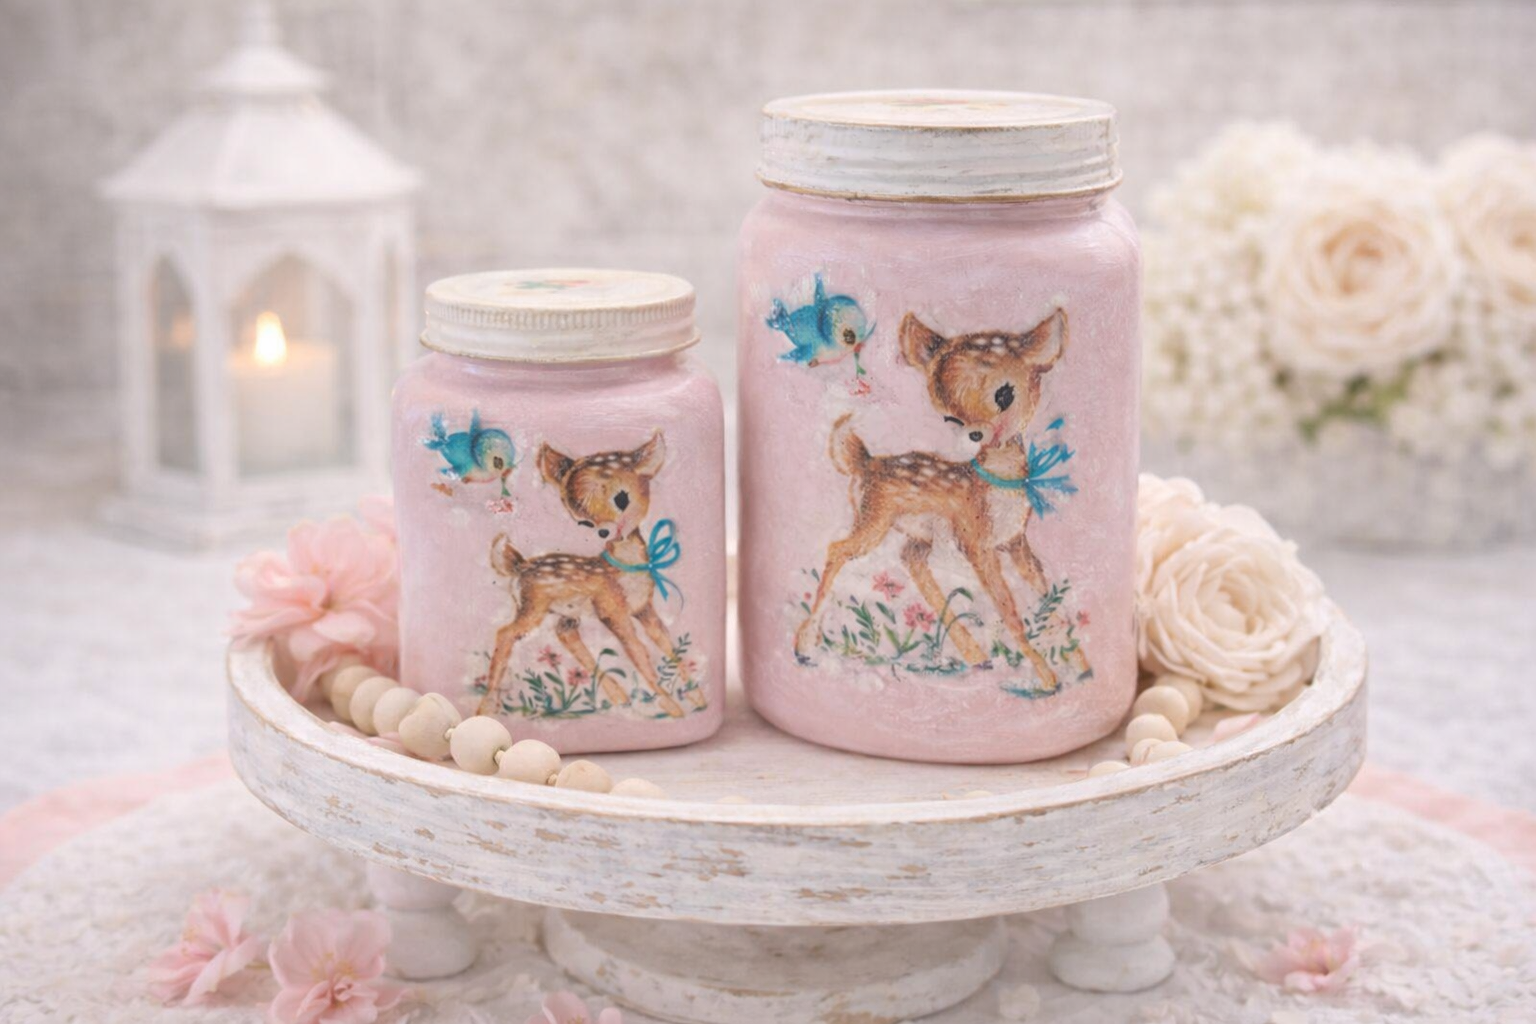
💡 Pro Tip: Use neutral or pastel-toned accessories to match the soft vintage aesthetic. A wooden or distressed white tray works perfectly for this style.
Your Shabby Chic Fawn Jars Shine Bright!
Aren’t these little Shabby Chic Vintage Fawn Decoupage Jars just the cutest? They look so precious on a nursery shelf holding cotton balls or tiny baby socks. Don’t forget to tag me on Instagram when you make your own, I can’t wait to see them.
📱 Free to Download
Craftino, The #1 Craft App
✓ Save crafts & browse fully offline
✓ Download printable PDF guides for every project
✓ Step-by-step photo tutorials, nothing left out
✓ 1,000+ craft projects with new ones added every week
Frequently Asked Questions
Is making Shabby Chic Vintage Fawn Decoupage Jars hard for beginners?
Not at all, sweetie! Decoupage is super beginner-friendly and these Shabby Chic Vintage Fawn Decoupage Jars are a great first project.
How long do these Decoupage Jars usually take to make?
You can whip up a few of these adorable Decoupage Jars in under an hour, not including drying time for the glue.
What kind of jars can I use for this Home Decor project?
Any clean glass jar works great, like old pickle jars or mason jars. You can also use other cute images instead of fawns for different themes.
Can I use these Shabby Chic Vintage Fawn Decoupage Jars for something other than Baby & Nursery?
Absolutely! They make lovely Home Decor for a craft room or a cute gift for any friend who loves a touch of vintage charm.
Discover the newest Dollar Tree arrivals for your next craft project here.
Inspiration / Credit: Theresa Carrico Radabaugh
Leave a Reply